Controller Removal - Xplorer SeriesUpdated 5 months ago
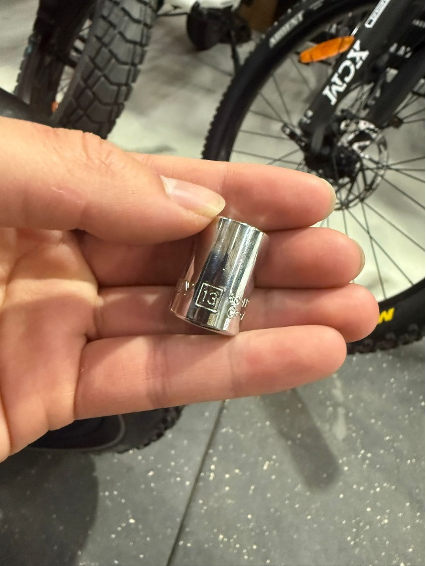
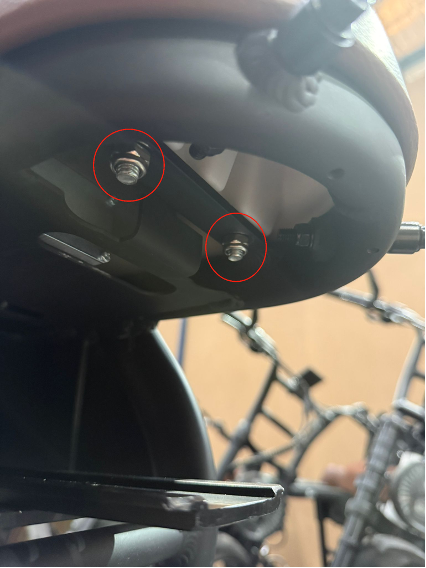
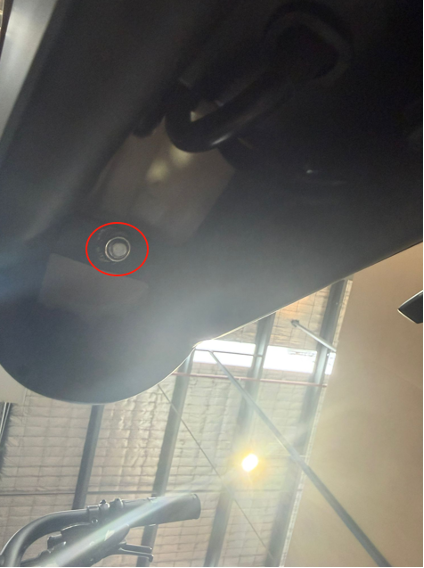
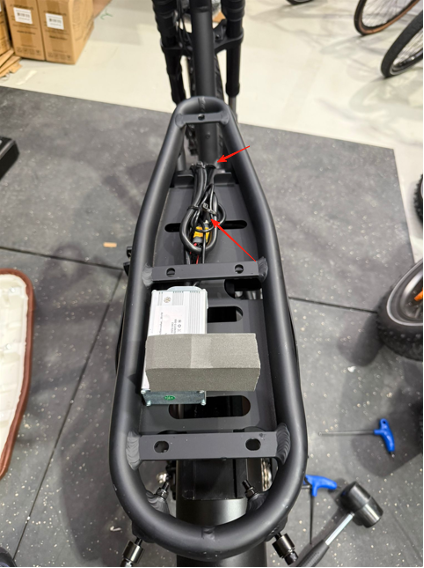
Begin by removing the seat using a 13mm socket and ratchet. Unscrew the two bolts located at the rear of the seat, followed by the single bolt at the front. To gain proper clearance for this step, remove the battery from the frame beforehand.
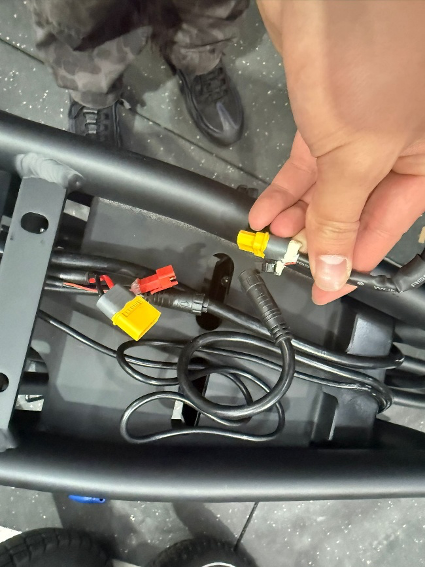
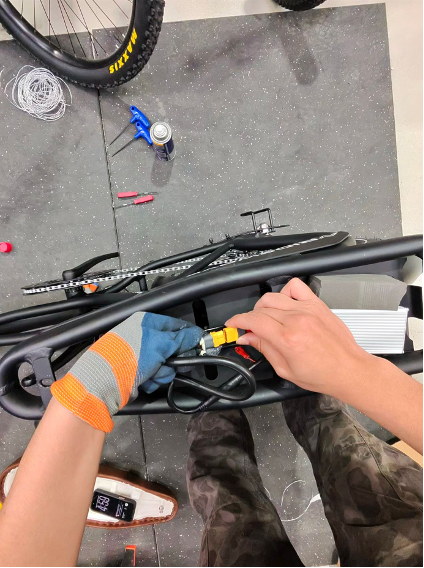
Once the seat has been removed, cut the two zip ties securing the wiring together and disconnect the three connectors near the seat area — including the XT-60 and the multi-cable connectors.
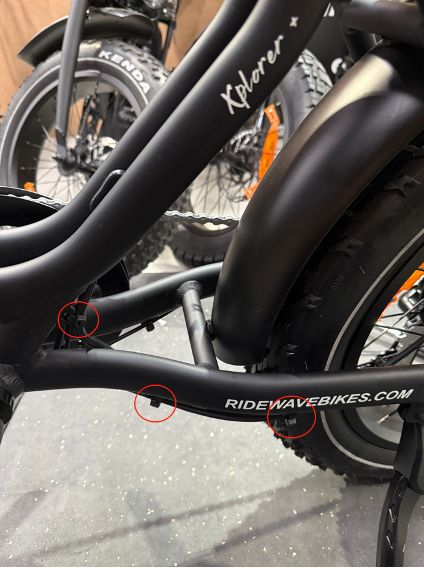
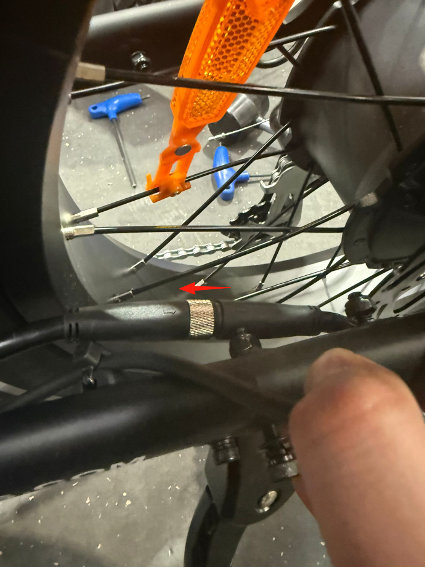
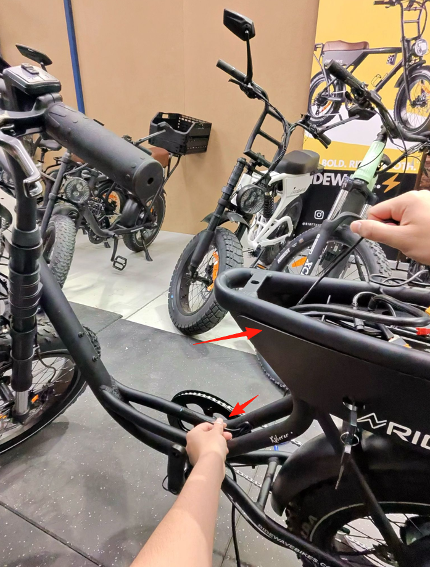
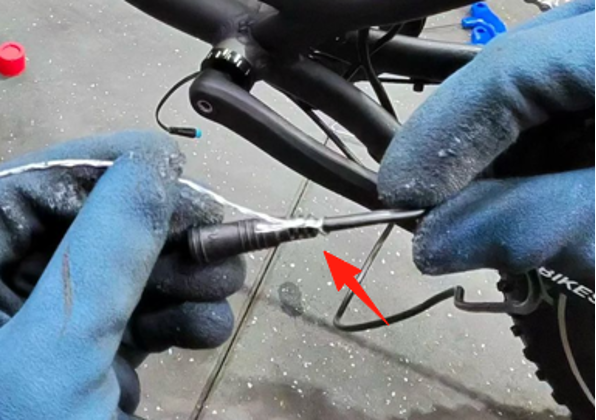
Next, cut the zip ties that hold the motor cable against the frame. This will allow you to carefully pull the cable upward and feed it through the frame. Unscrew the silver connector on the motor cable until it is fully detached, then gently separate the two ends.

Unscrew the silver connector on the motor cable until it is fully detached, then gently separate the two ends.
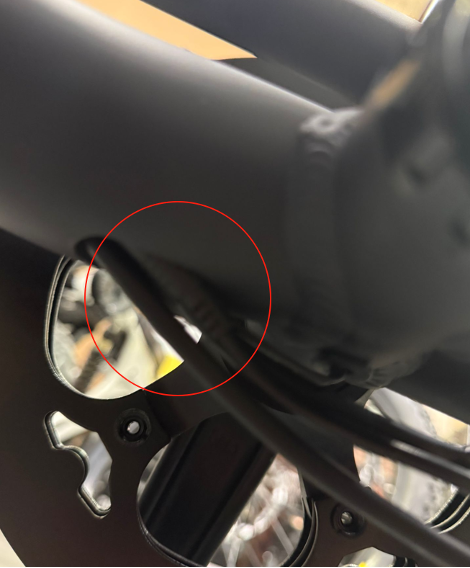
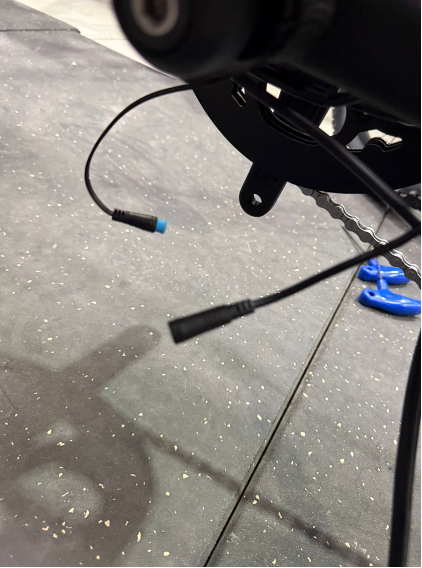
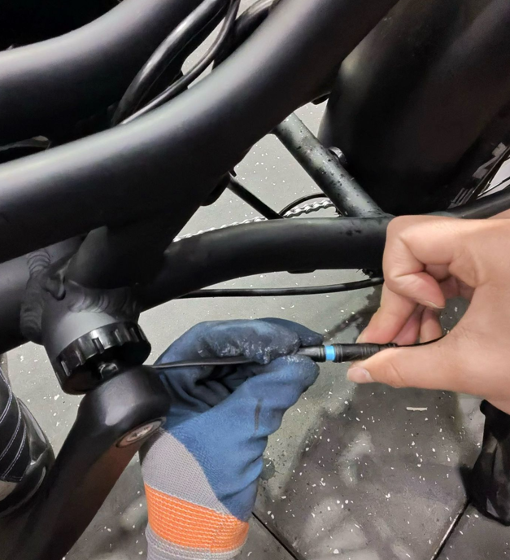
Locate the blue PAS sensor cable at the bottom of the frame near the bottom bracket and disconnect its two ends.
Cut the zip ties holding the cables together so the PAS cable can be pulled up through the opposite side of the frame.
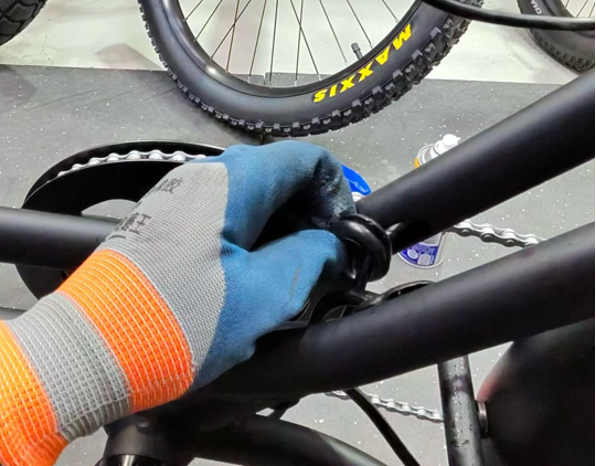
Feed the blue PAS sensor cable upward through the top of the frame, using both hands — one hand positioned above the seat post area and the other guiding it from the side where it exits the frame.
Repeat the same process for the motor cable on the other side until the controller can be completely removed from the bike. Once removed, install the new controller and reconnect the three connectors in the same configuration as before. Take care to route the wiring neatly, but leave the final zip-tying until the end.
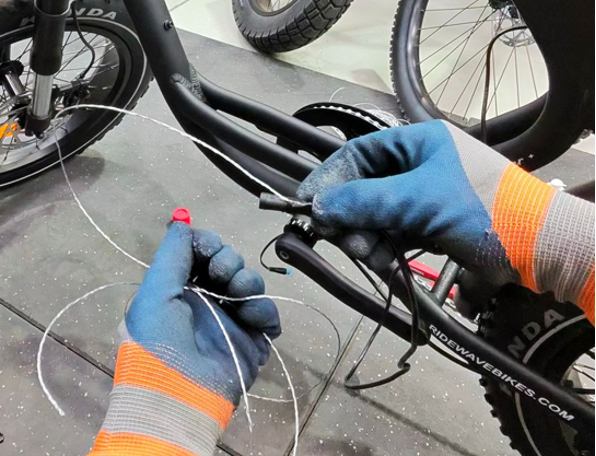
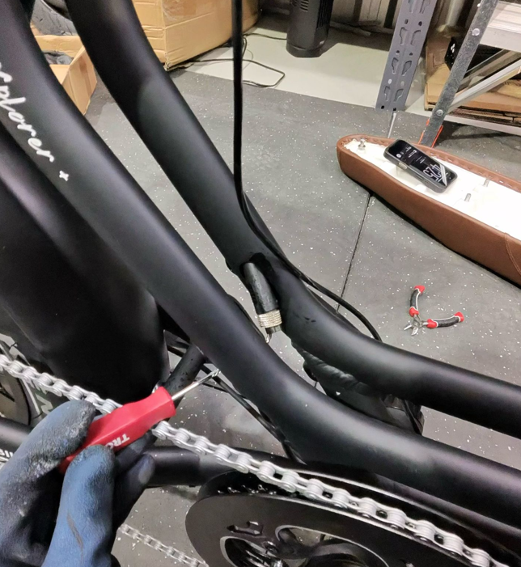
To guide the blue PAS sensor cable back through the right-hand side of the frame, you may find it easier to use a short length of brake line or a similar stiff wire. Tape the PAS cable to the line and use a push-and-pull motion from both ends to thread it through. Approximately 50 cm of brake line and a small amount of electrical tape work well for this step.
Once the cable has been successfully fed through, reconnect it to the blue PAS connector and gently push it back into position underneath the bike.
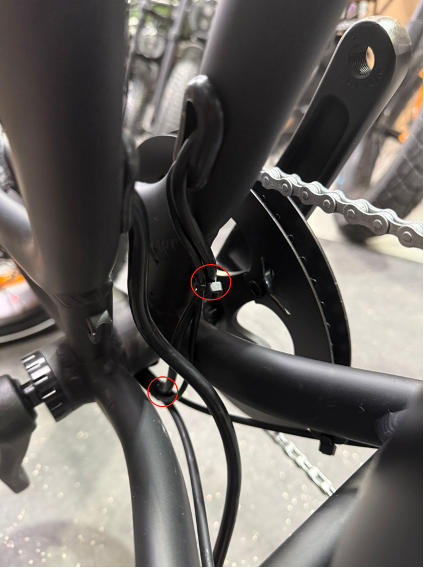
It can help to temporarily remove the black plastic washers from the frame during this step. After feeding both cables through, slide the washers back over the cables and press them securely into place.
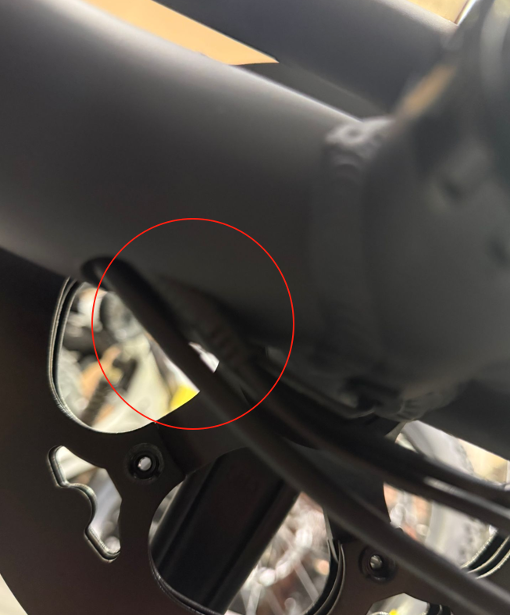
If you have trouble feeding the motor cable through the frame exit, try the same tape-and-wire method. Alternatively, a small hook tool can be used to pull the cable head out once it becomes visible. When the cable is through, connect it to the motor, ensuring the alignment arrows on both connectors line up before securing.
After both cables have been routed through the frame, fasten them neatly with new zip ties in the same locations as before. Finally, reinstall the seat using the 13mm ratchet, making sure the small piece of foam rests properly on top of the controller before tightening everything down.