Miniwave Front Light Troubleshooting ManualUpdated 5 months ago
Step 1: Check the Front Light Cable Connection (Controller side)
- Fold the bike to expose the main wiring area inside the frame, behind the black plate.
- Use a Phillips head screwdriver to remove the four screws from the black securing plate.
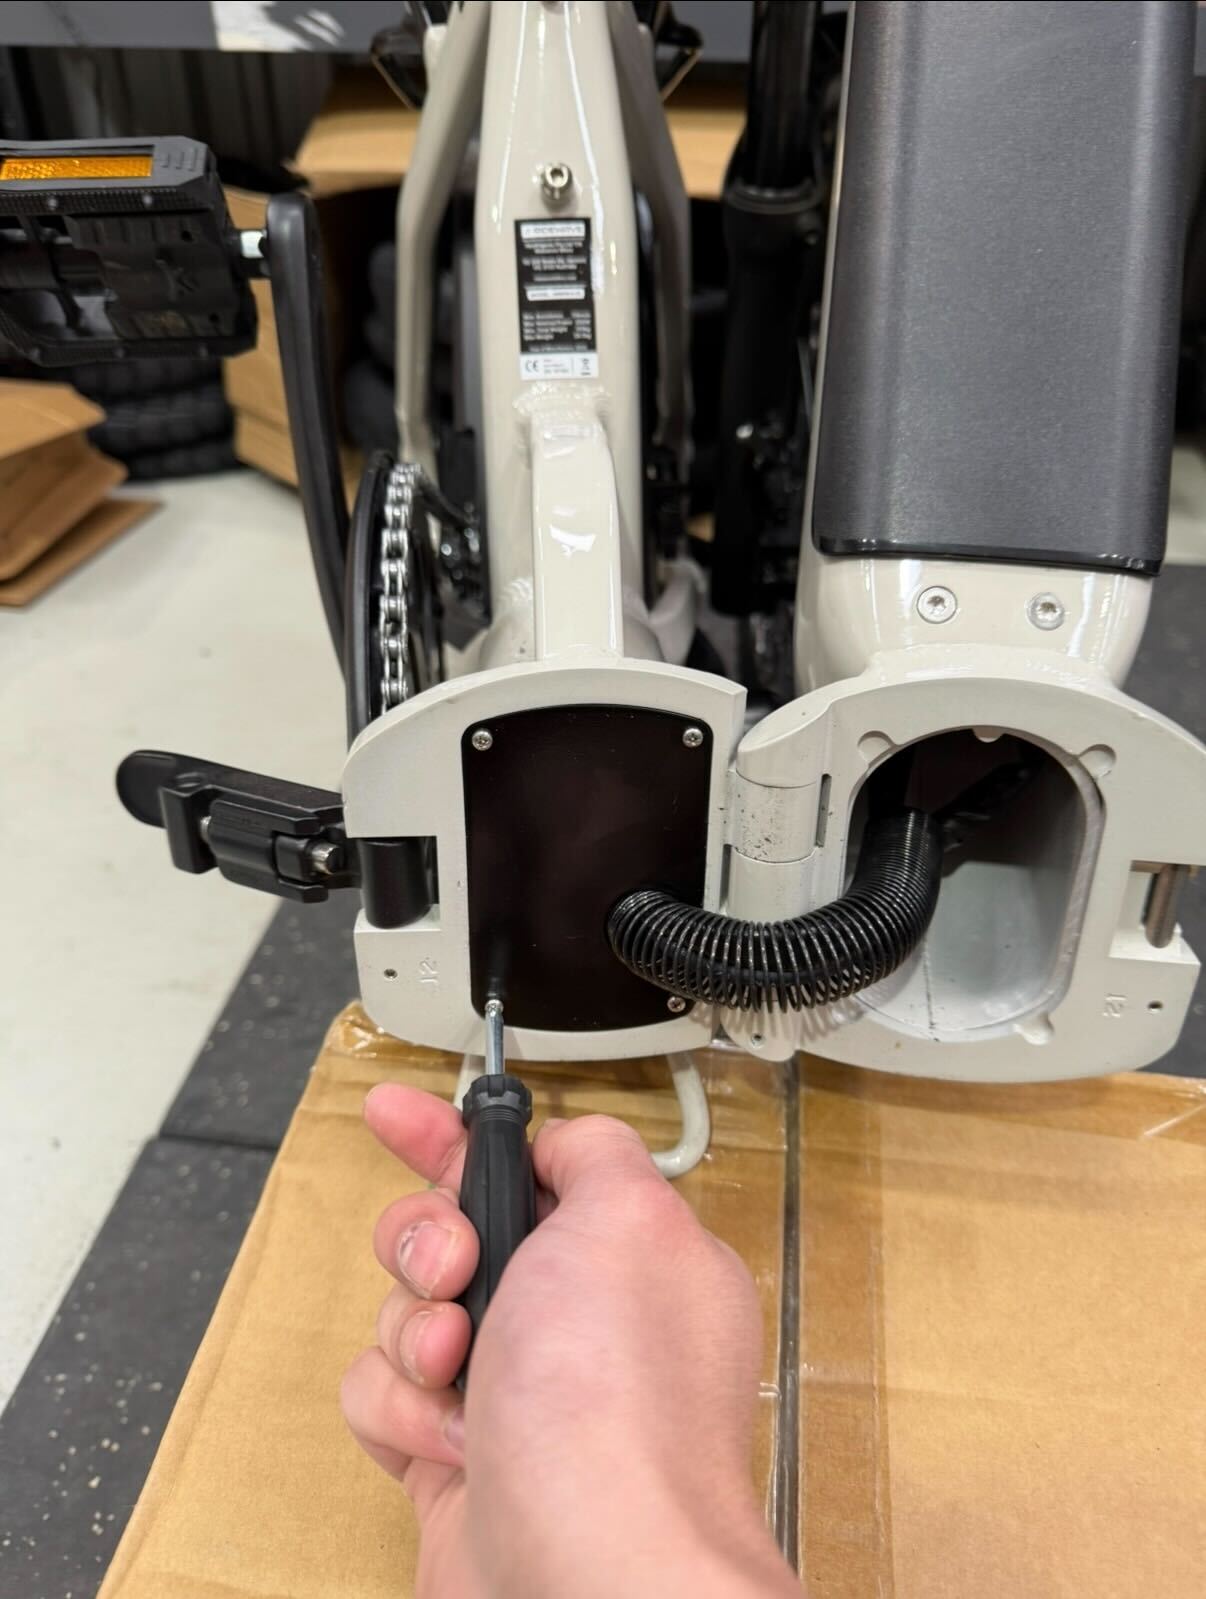
- Once the screws are out, gently slide the plate to the right side to create enough clearance for working inside the frame.
- Locate the red connector inside the wiring compartment (as shown in the image).
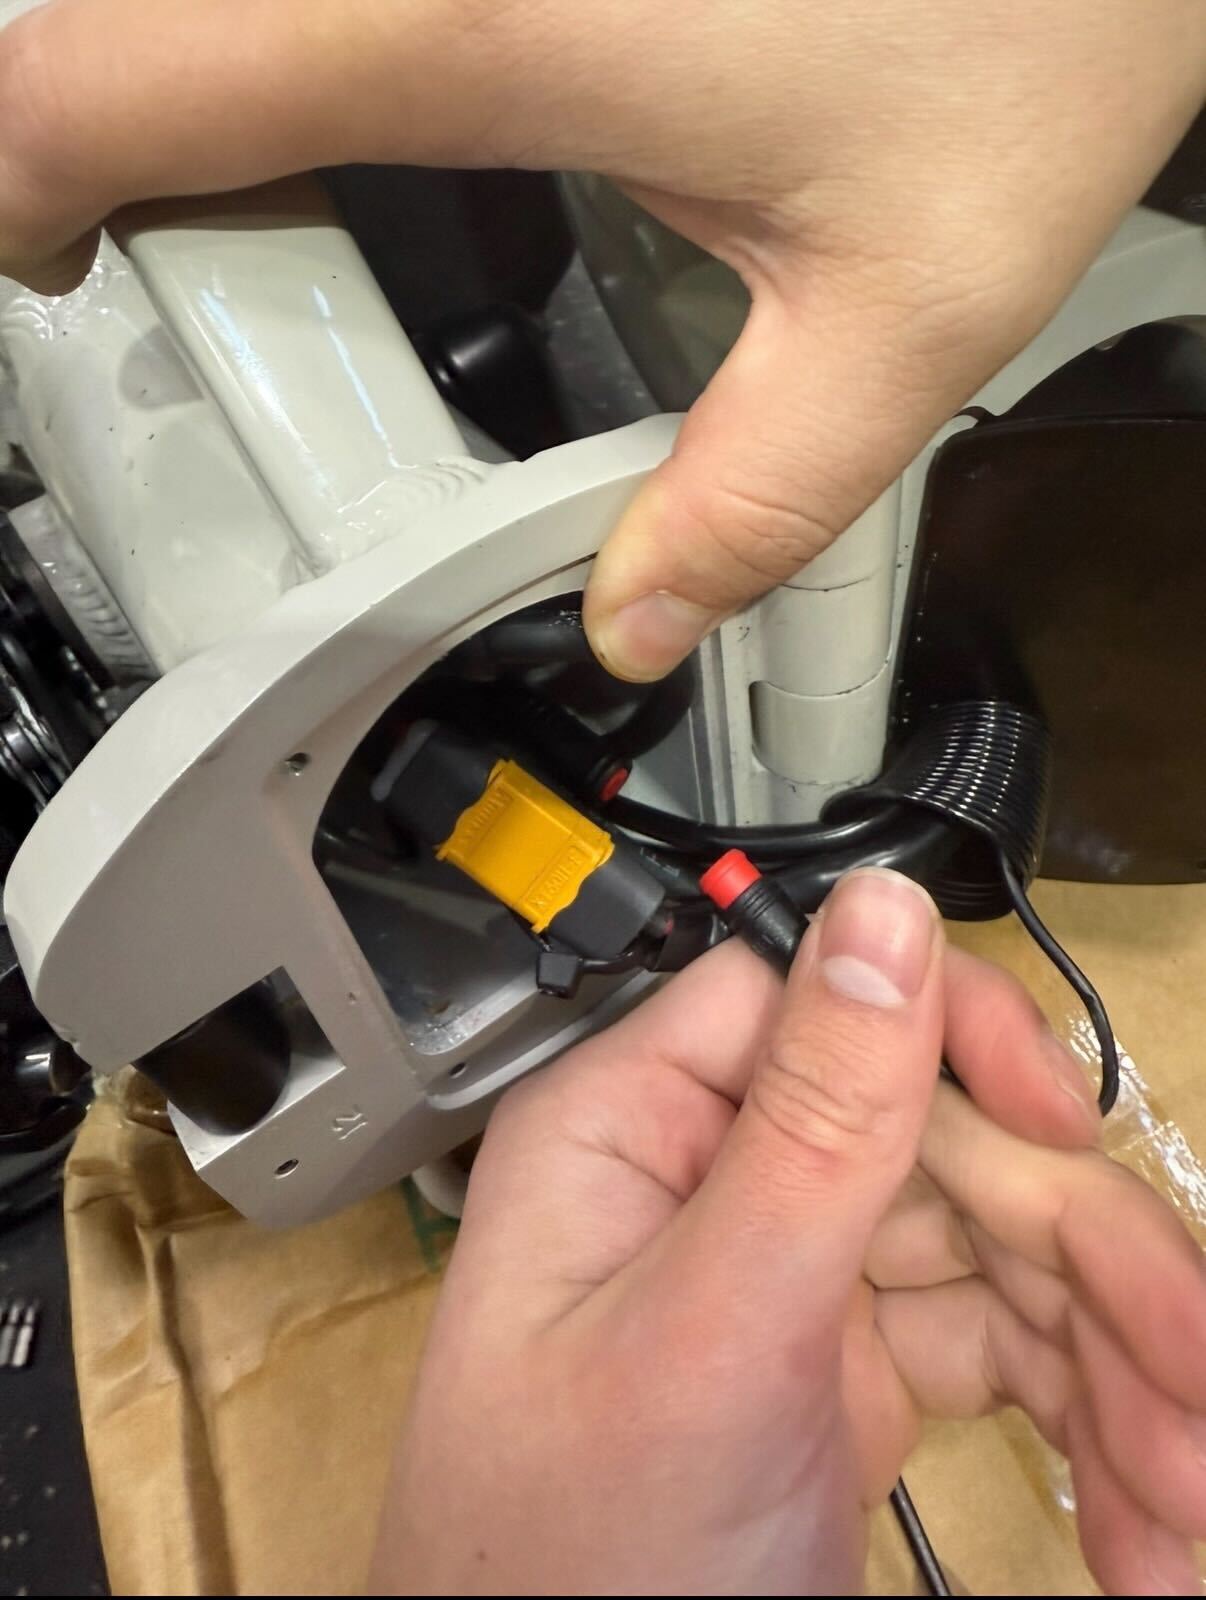
- Make sure the connector is firmly plugged in and has not come loose during riding or folding.
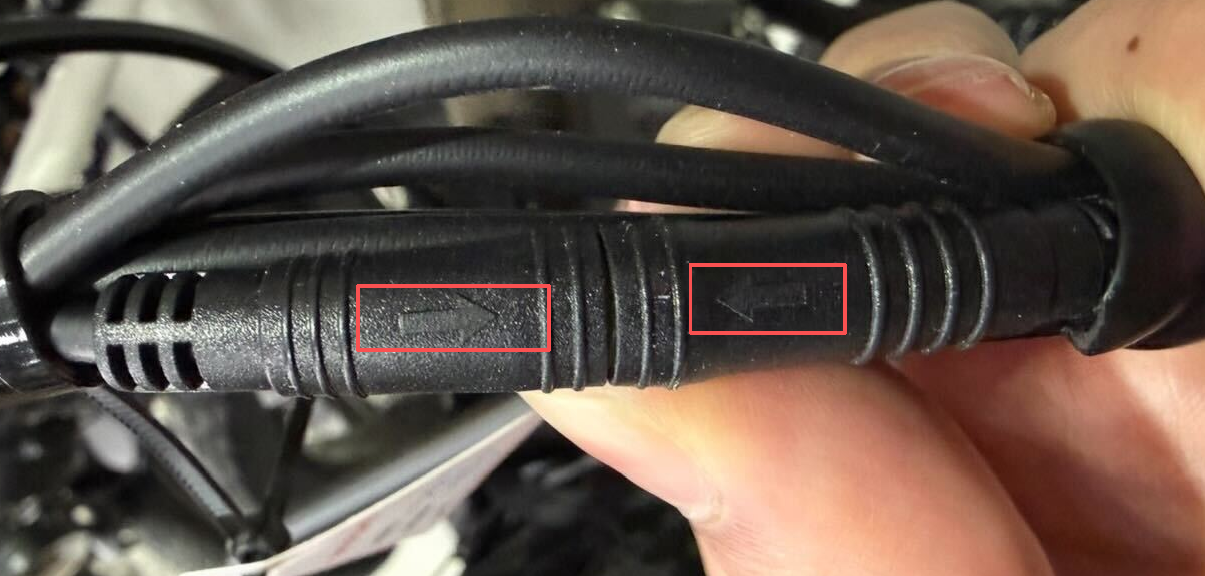
- When plugging the connectors back together, align the arrows on the outside of the connector so they line-up. Carefully inspect the pins inside the connector to ensure none are bent, corroded, or showing signs of damage.
If you notice bent pins, corrosion, or damaged wiring, stop troubleshooting and contact Ridewave Support to arrange a replacement part before proceeding further.