Miniwave Handlebar Install & Headset AdjustmentUpdated 5 months ago
This guide explains how to install the handlebars on your Miniwave and correctly set the headset preload. Following these steps will help ensure the bars are aligned, secure, and free of play.
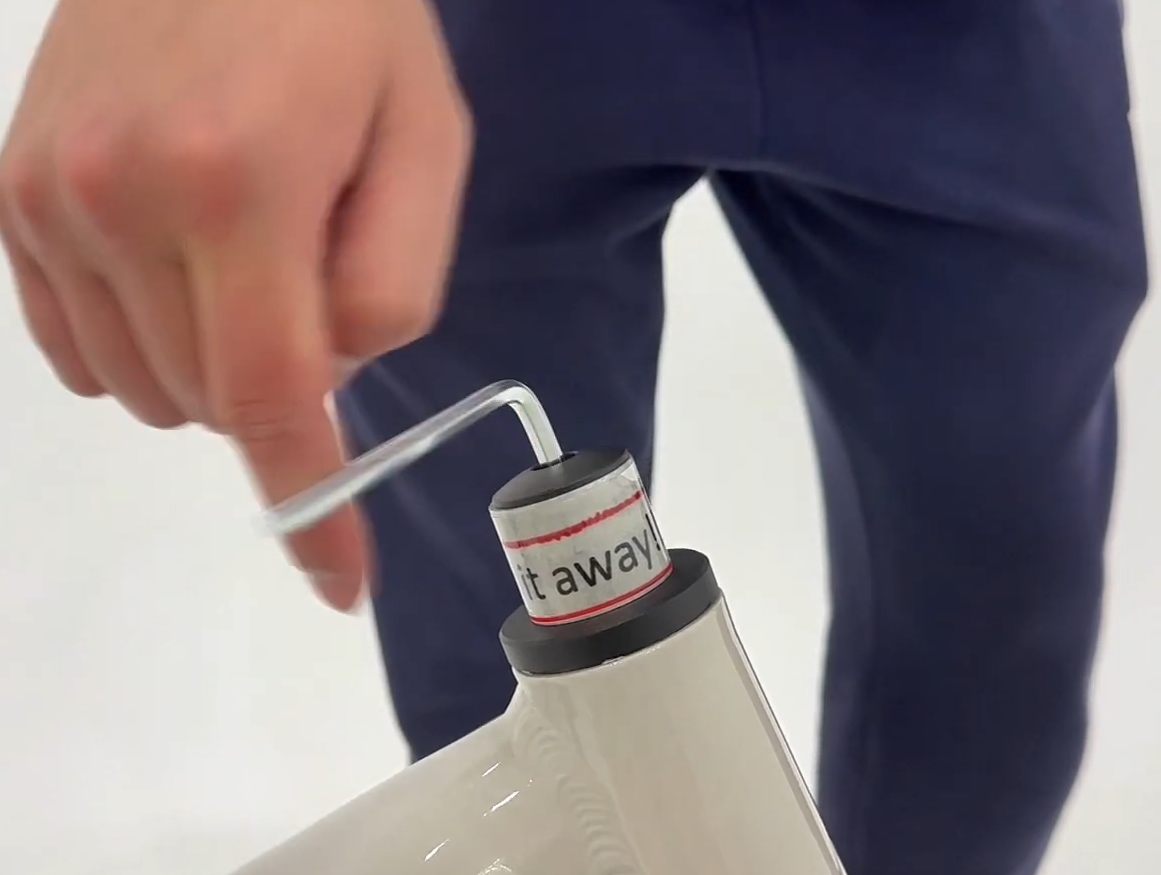
Step 1 — Remove the top cap
- With the bike resting on the kickstand, locate the top cap on the steerer.
- Use a 5mm Allen key to remove the top cap bolt and top cap.
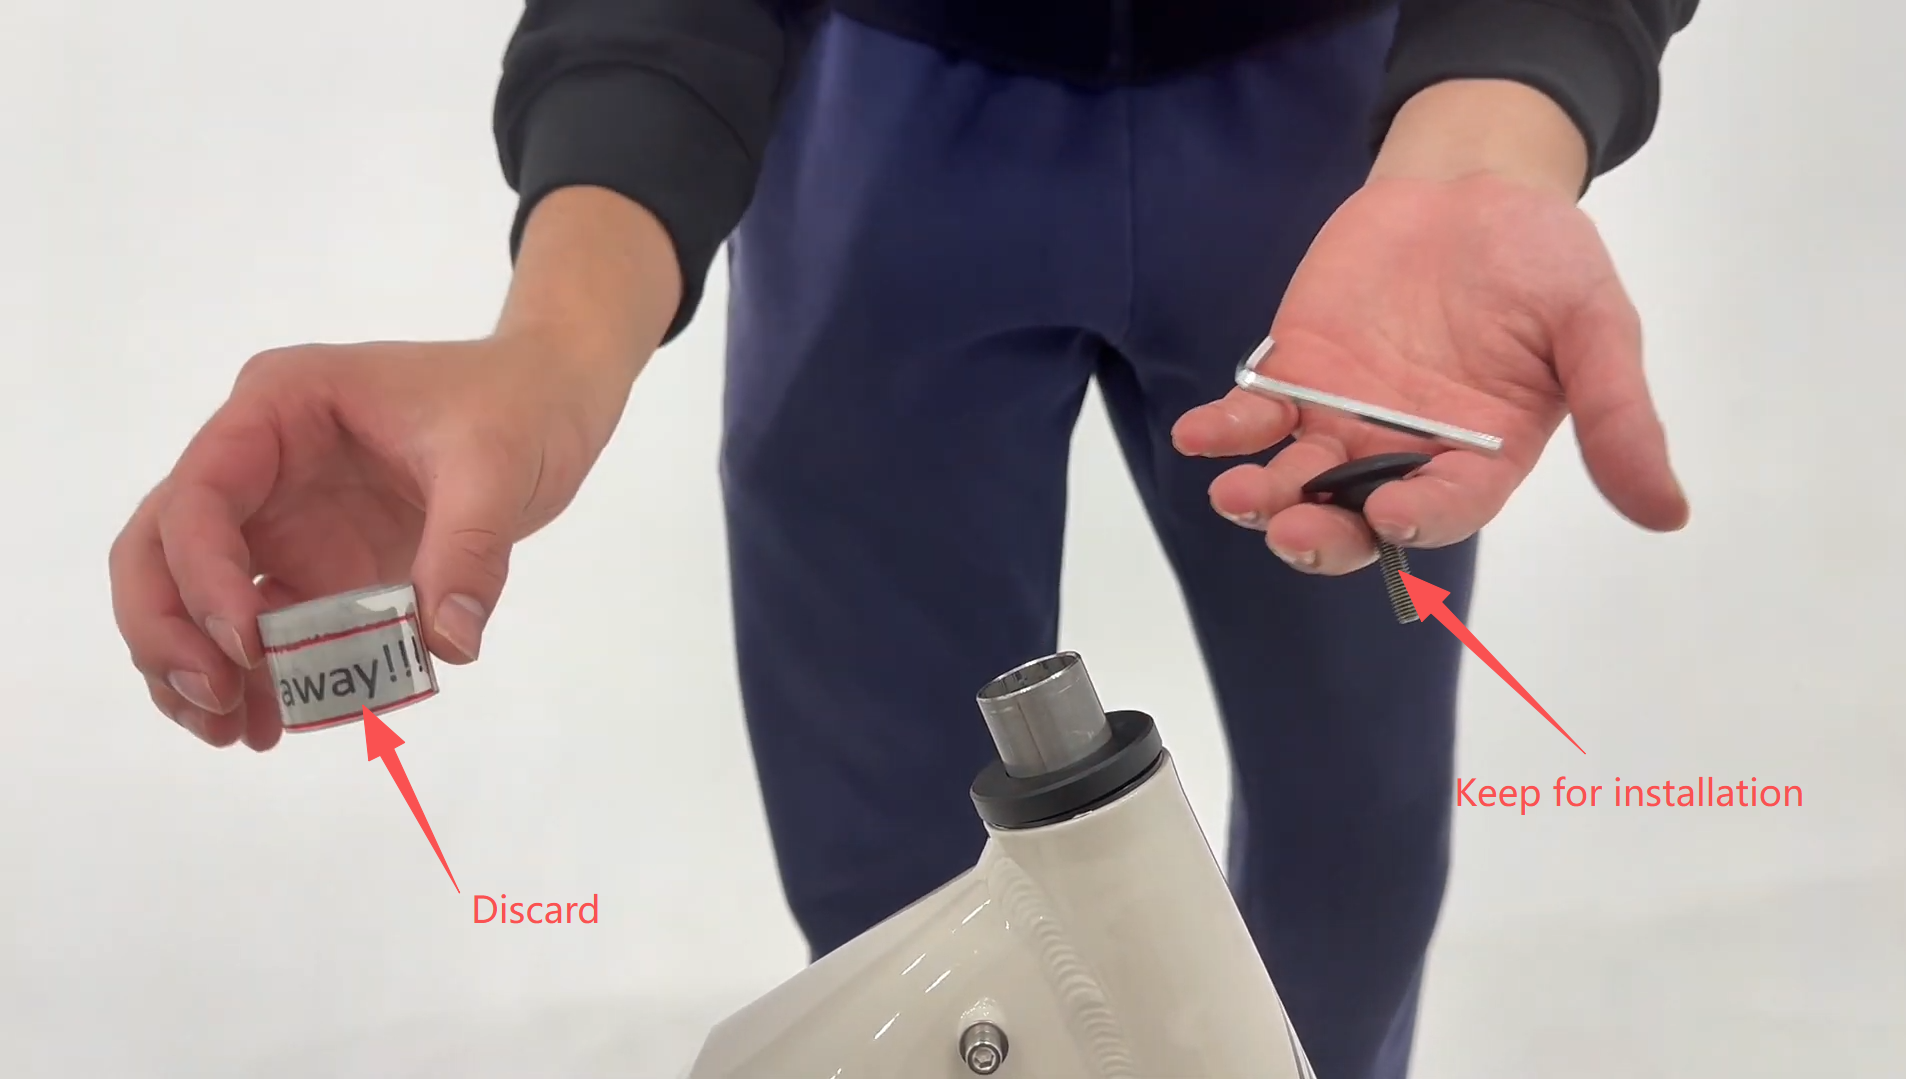
Step 2 — Remove the shipping spacers
- Remove the silver shipping spacer (labelled 'throw it away!!').
- If your Miniwave arrived with an additional black spacer, remove that as well.
- These shipping spacers are for transport only and are not needed for riding.
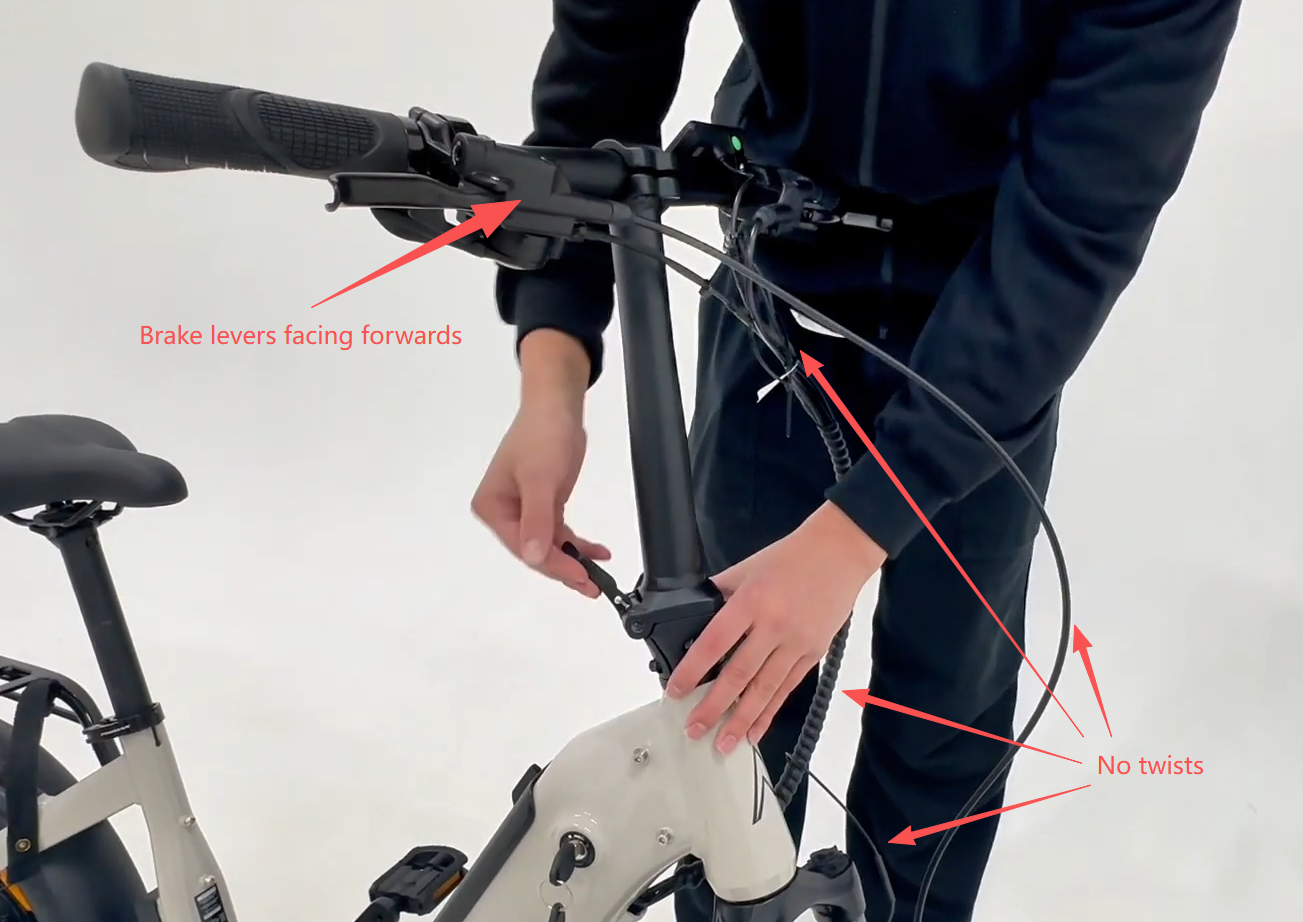
Step 3 — Install the bars
- Install the handlebar assembly onto the fork/steerer as shown in your Miniwave assembly layout.
- Confirm the cables are routed cleanly with no twists, and the brake levers face forward in a natural riding position.
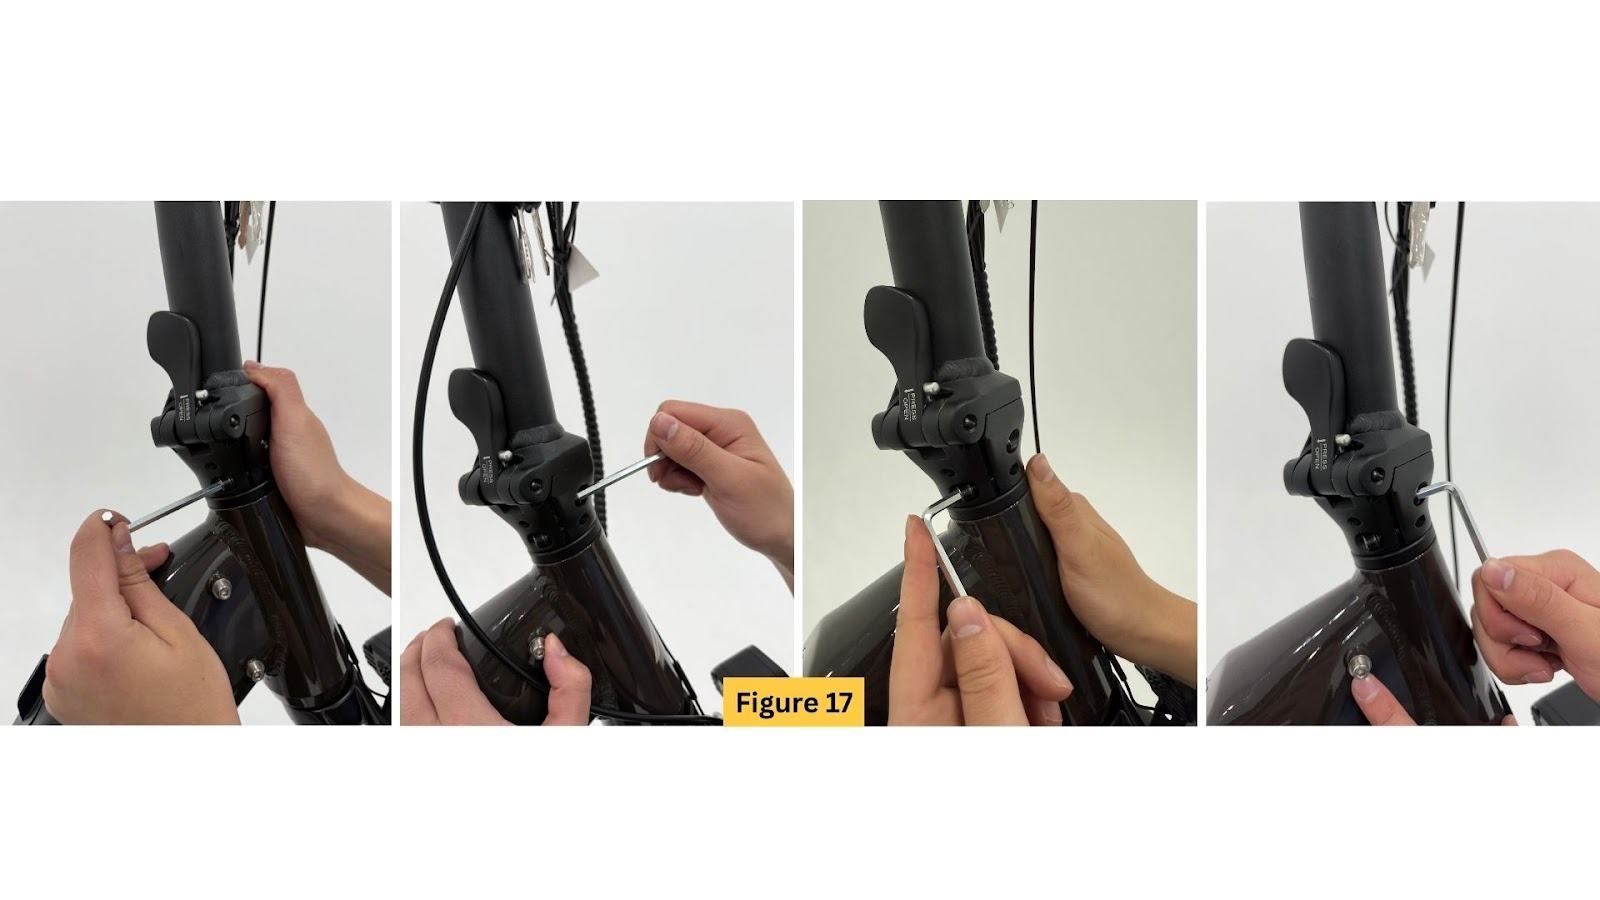
Step 4 — Unlock and fold the bar mechanism (to access alignment bolts)
- Press the silver button.
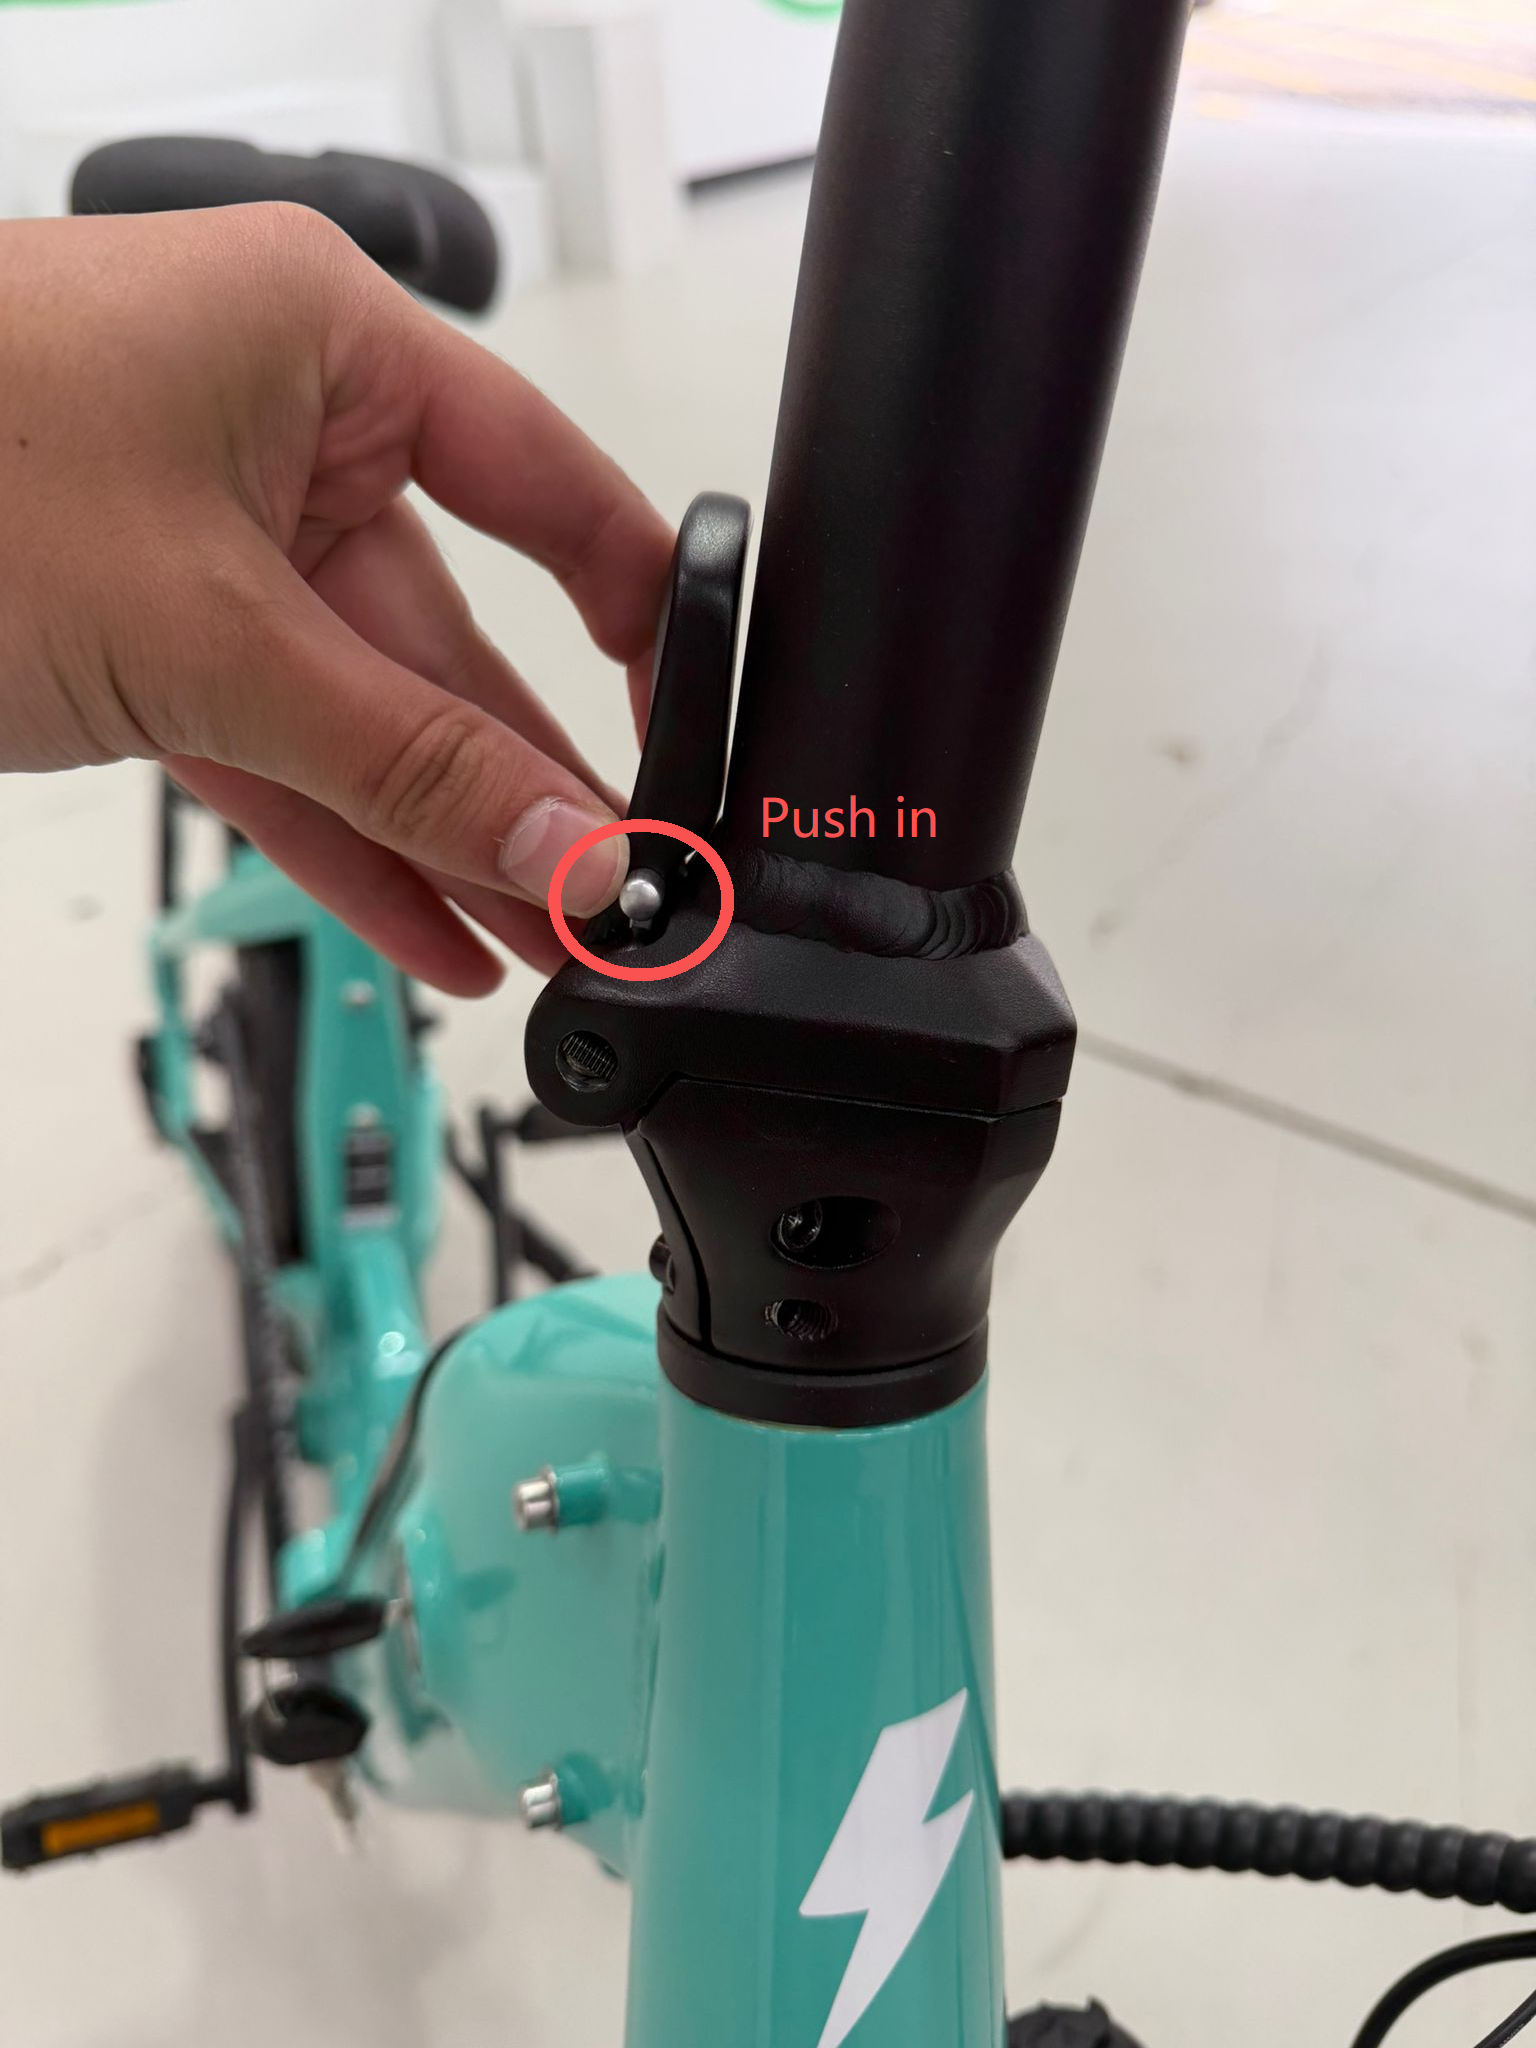
- While holding the silver button, open the lock lever outward.
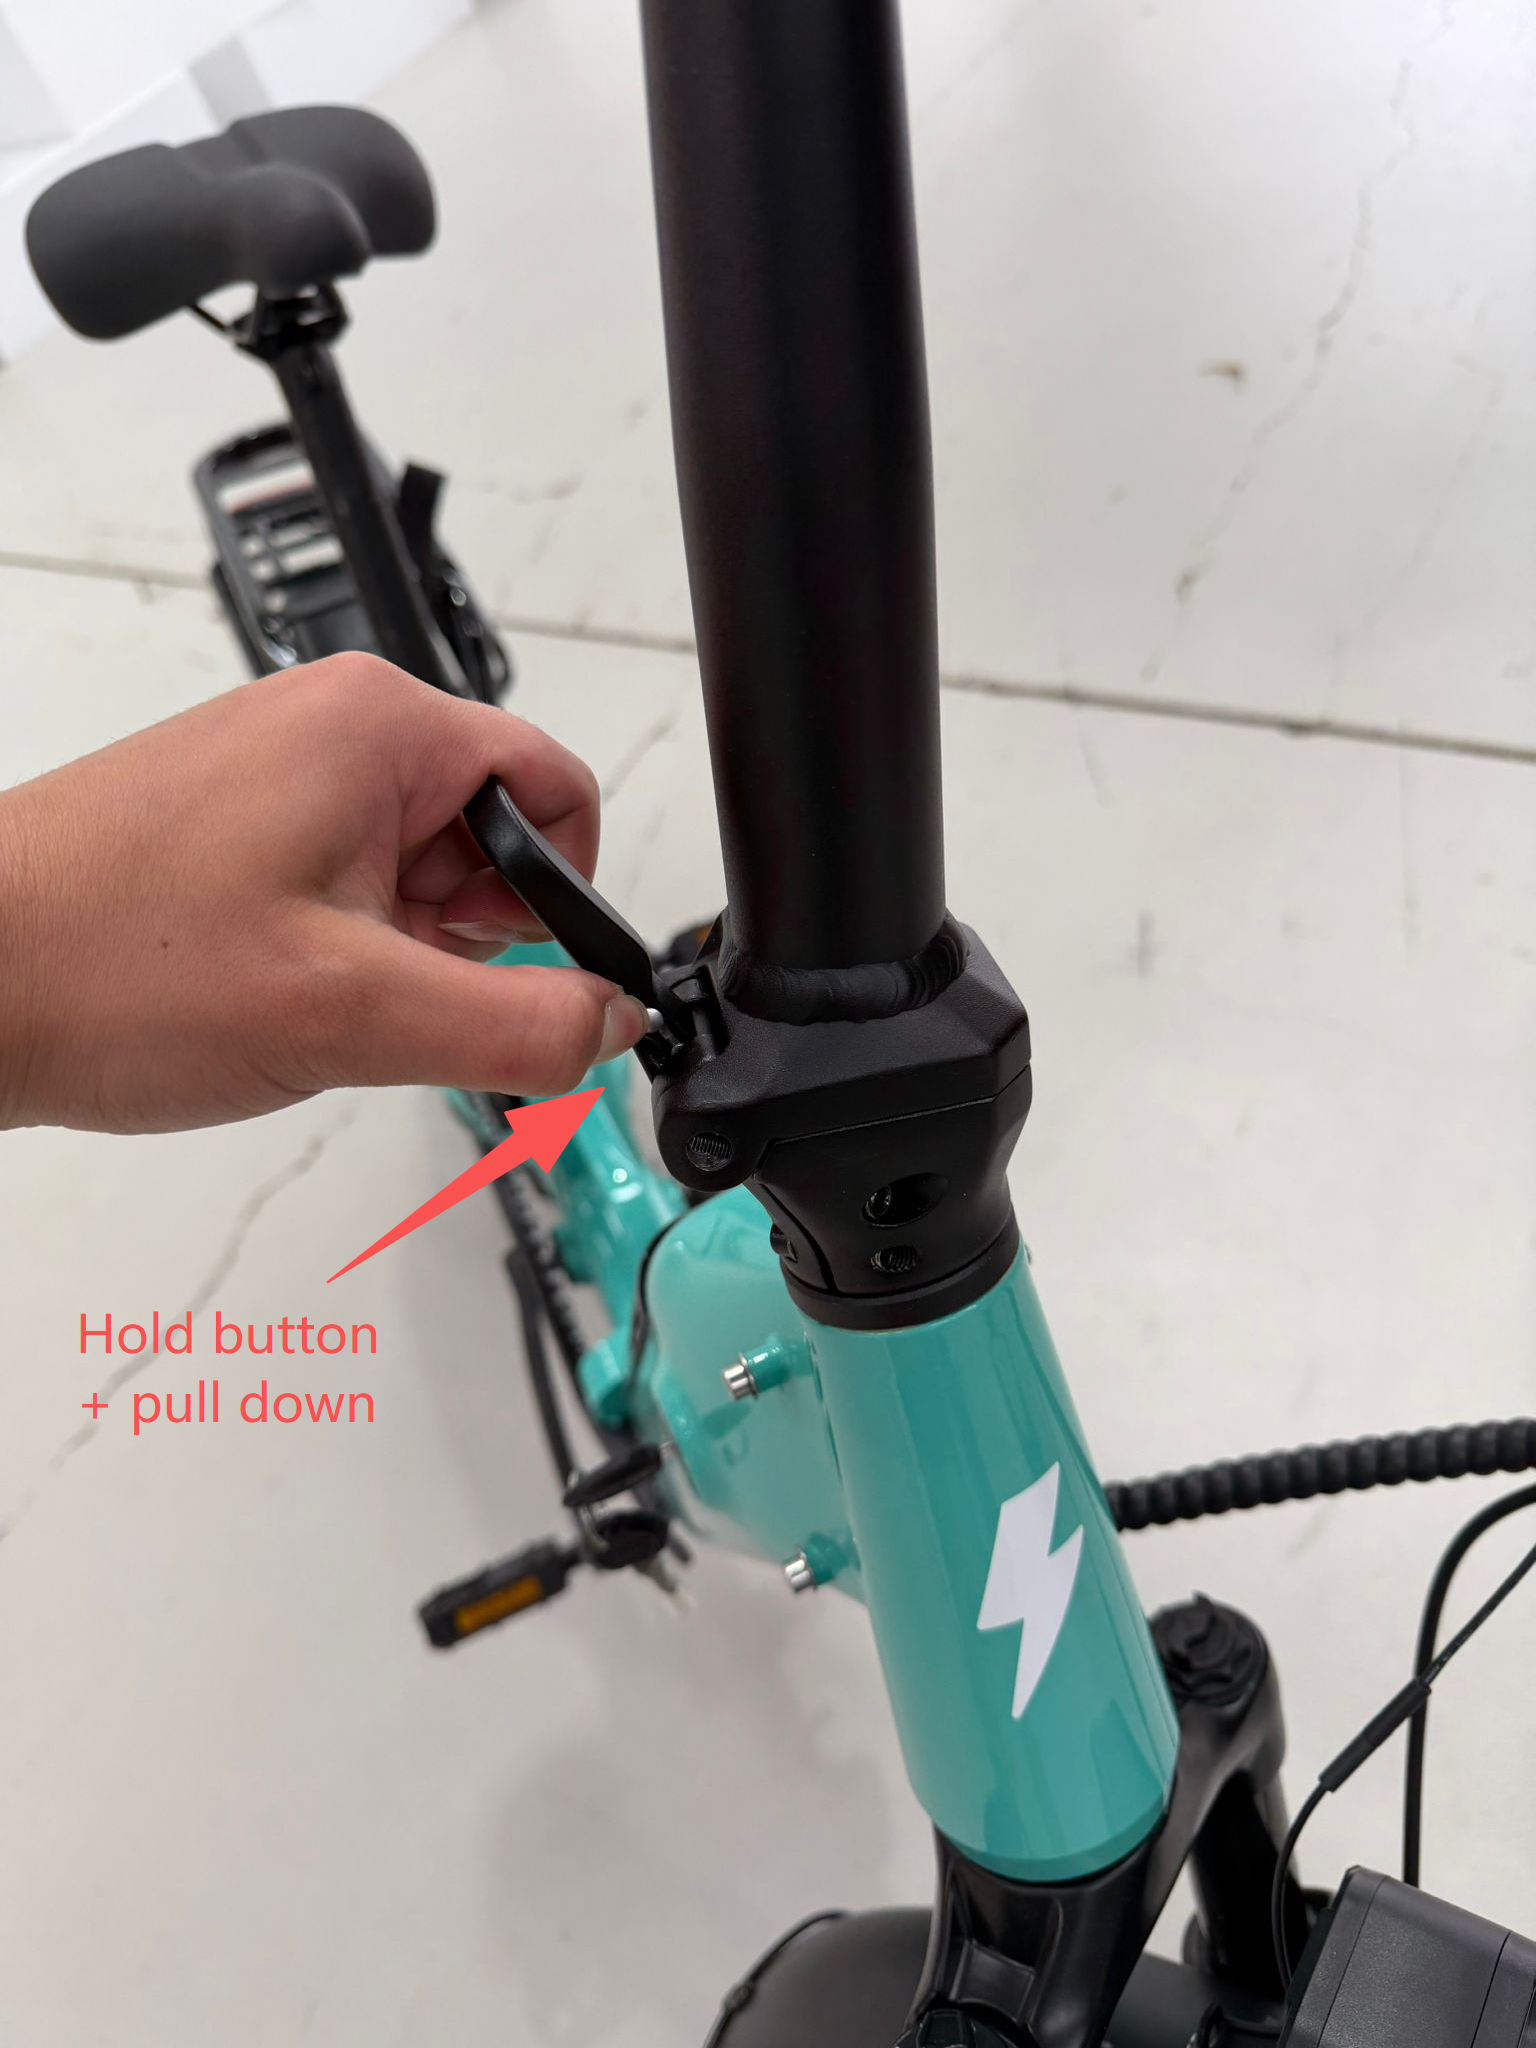
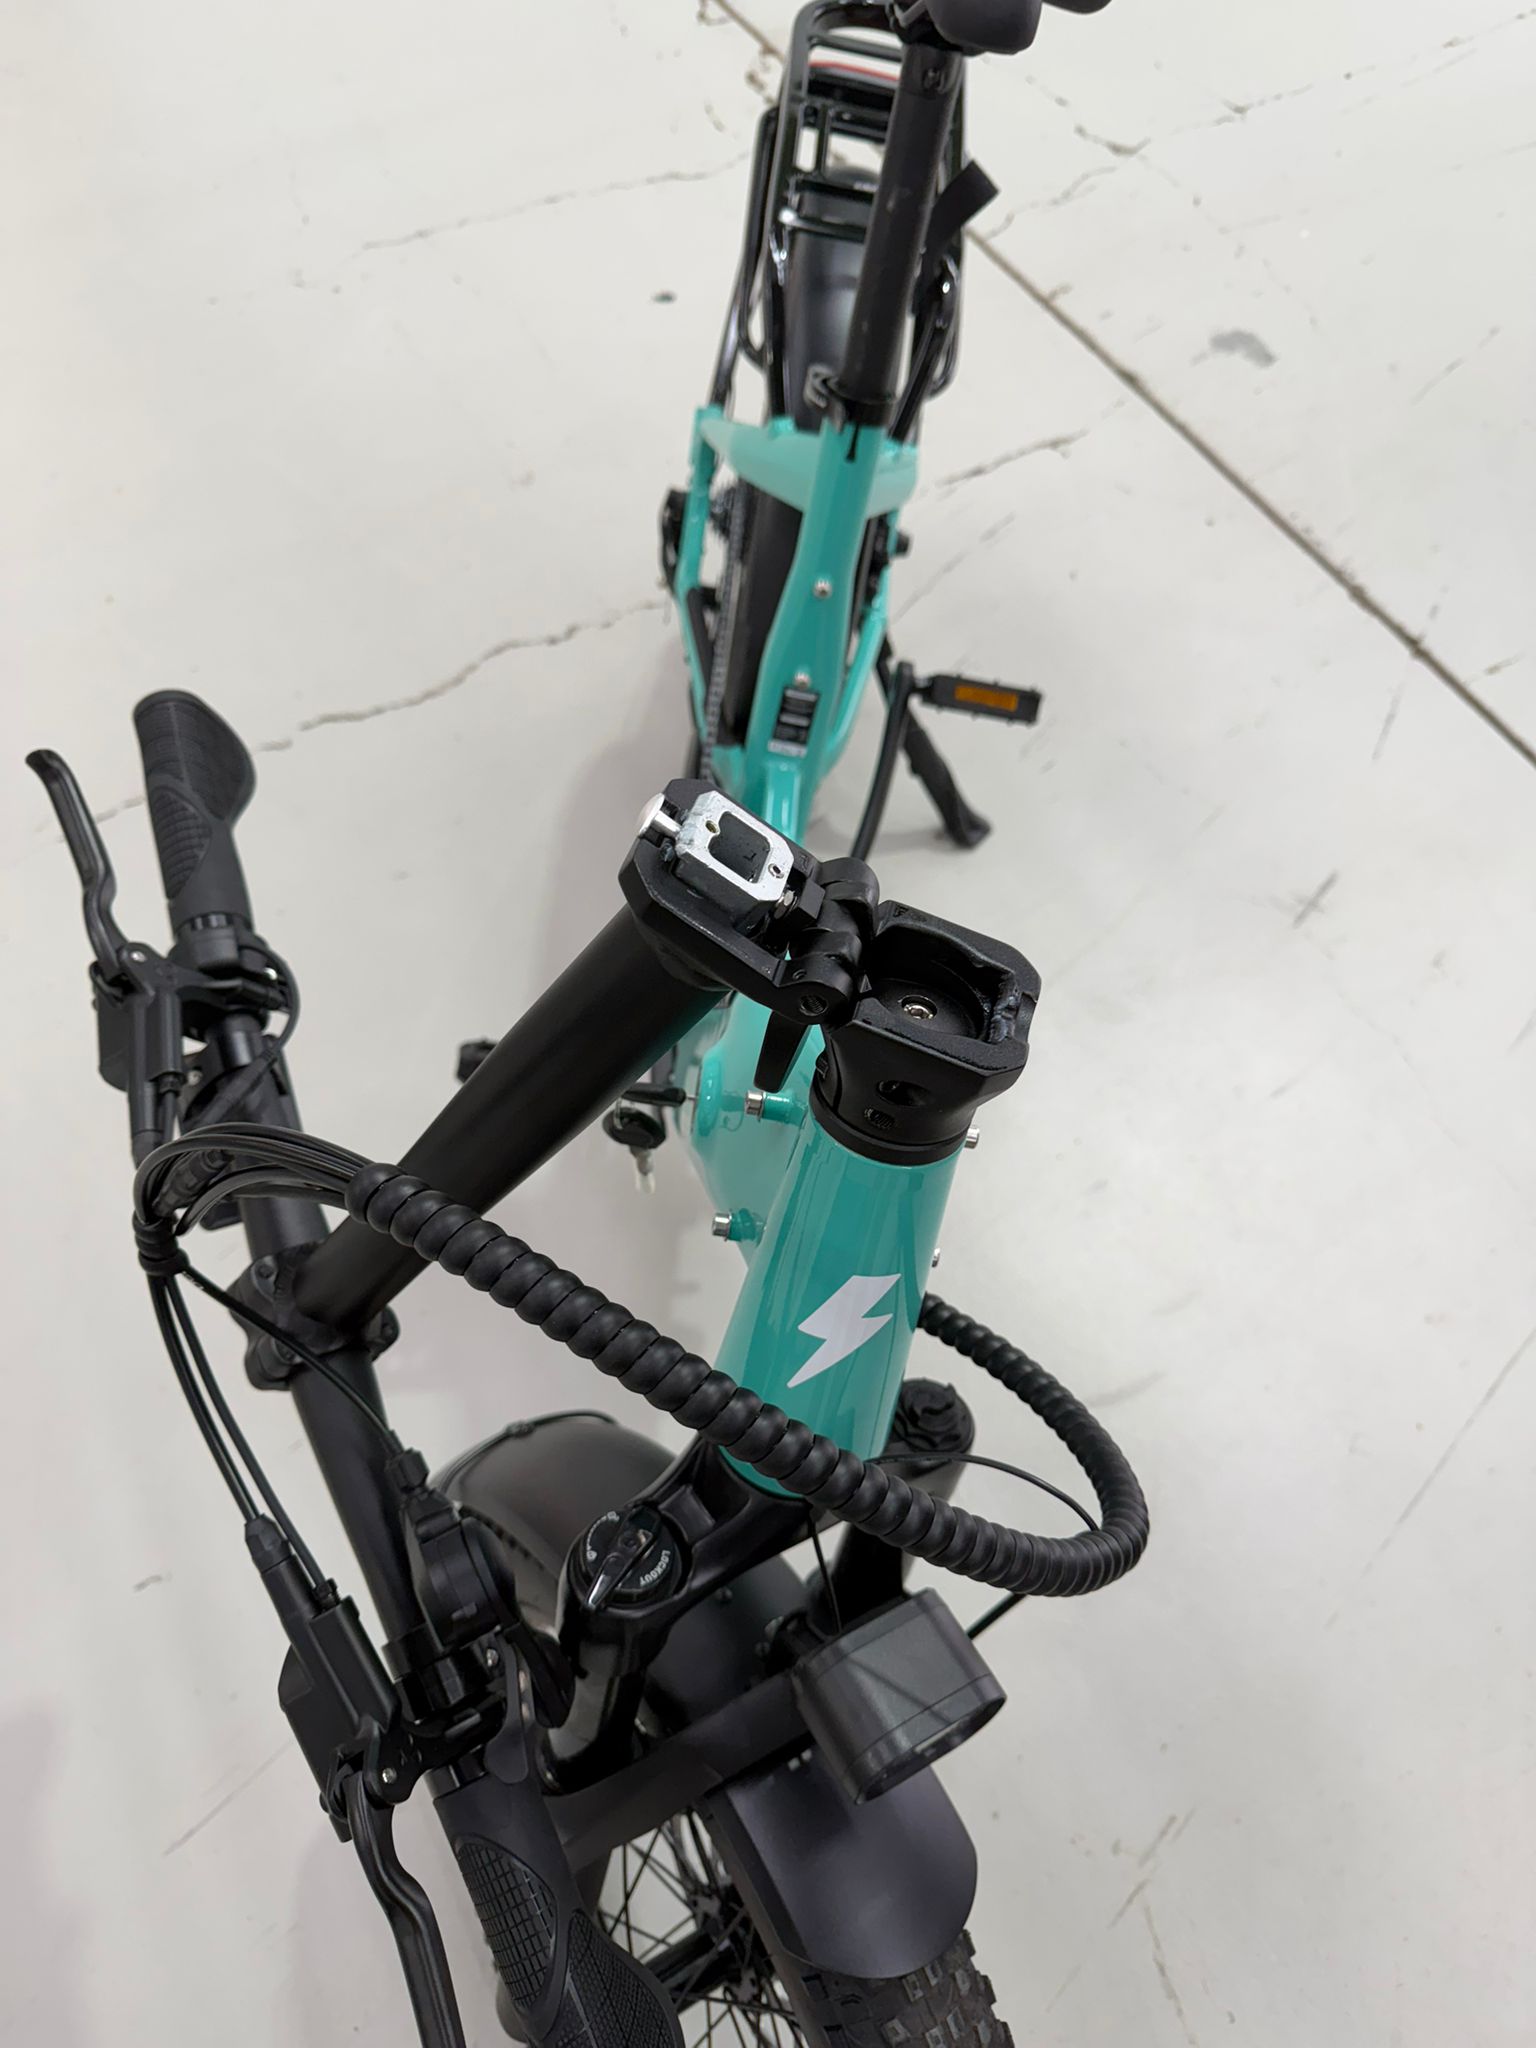
- Press the oval safety button and fold the bars down.
.jpeg)
Note: Make sure the fork is centered in the frame before continuing. This step requires two hands for proper alignment. Place one hand behind the stem and the other on the forks, then shift the stem or the forks until you feel the stem drop securely onto the fork assembly. Maintaining this position, tighten the stem cap bolt to secure the components. As you finish tightening, the gap between the headtube and the fork will close. Once complete, verify the fitment by firmly moving the handlebars with both hands to ensure there is no excessive play or movement between the stem and the fork.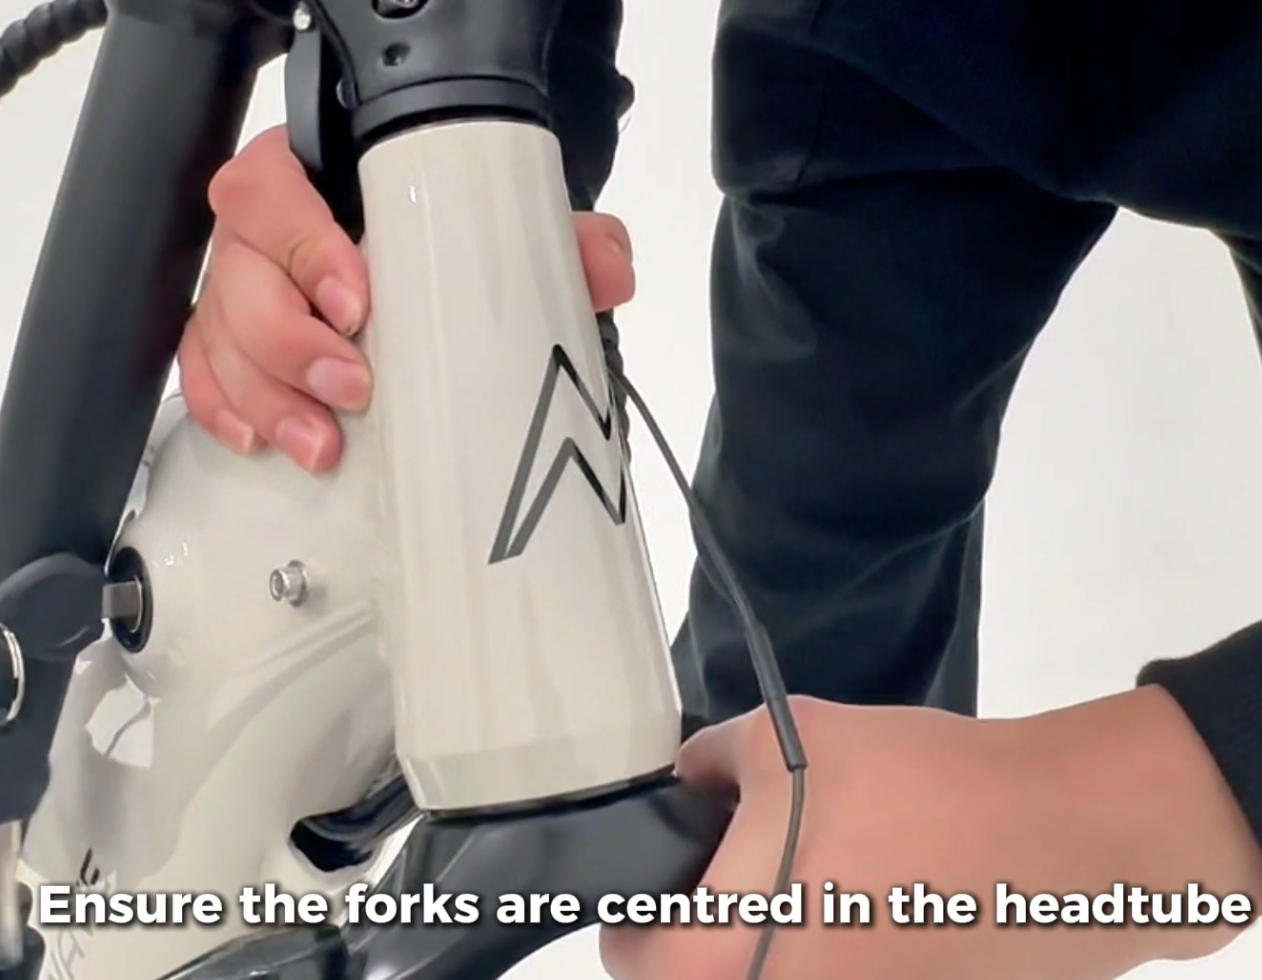
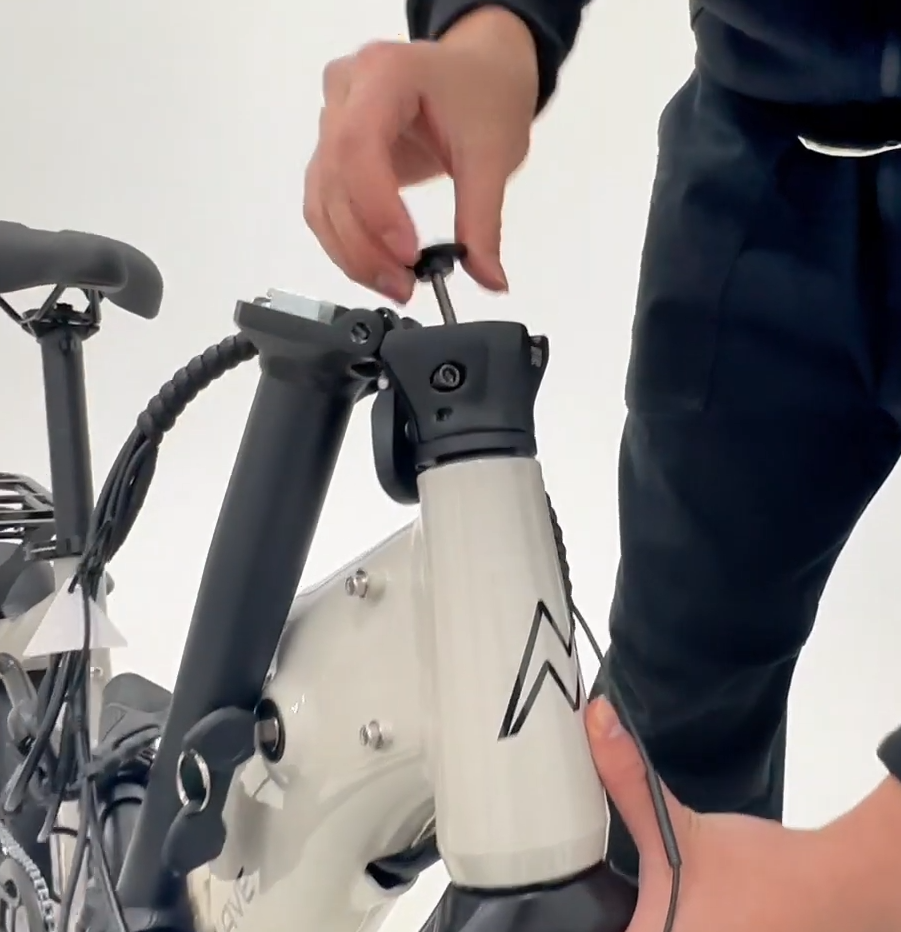
Step 5 — Reinstall and tighten the top cap (set headset preload)
- Reinstall the top cap removed in Step 1.
- Tighten the top cap bolt to approximately 5–7 Nm to set the preload on the headset bearings.
Important: The top cap bolt does not stop the handlebars from turning independently of the front wheel. It is used only to set bearing preload. Do not over-tighten — over-tightening can damage components and may not be covered under warranty.
Step 6 — Raise, lock, align, and clamp the bars
- Fold the bars back up into position and lock them by flipping the lever up.
- Confirm the silver knob/button pops out to indicate the mechanism is fully locked.
- Straddle the bike and rotate the bars until they are aligned with the front tyre.
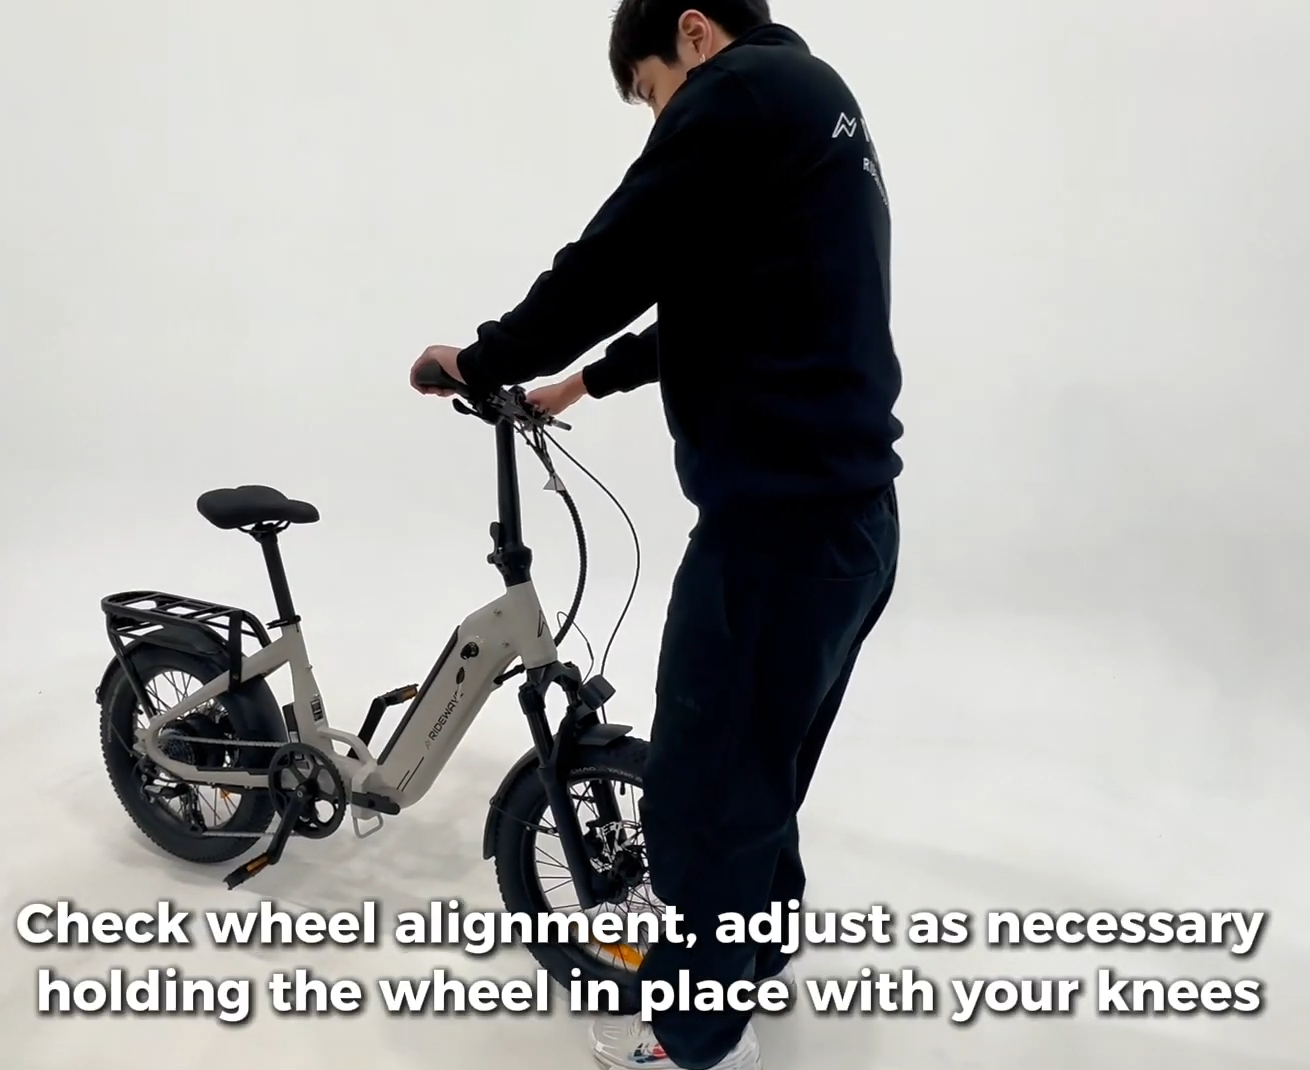
- Tighten the two opposing clamp bolts by alternating between them (a few turns each), until fully secure.
Step 7 — Test for headset play
- Hold the left brake firmly.
- Rock the bike/bars gently forward and backward.
- If you feel any knocking or movement, repeat Steps 4–7 and ensure the fork is properly seated and there are no gaps.
If you have any questions or want us to double-check your setup, contact our support team.