MiniWave Insulated Cooler Assembly ManualUpdated 5 months ago

Tools Required:
- Phillips Head Screwdriver
- Stanley Knife/Scissors
- Carefully open the box using scissors or a utility knife. Lay out all components on a clean, flat surface and ensure all parts are present before starting assembly.
.jpg)
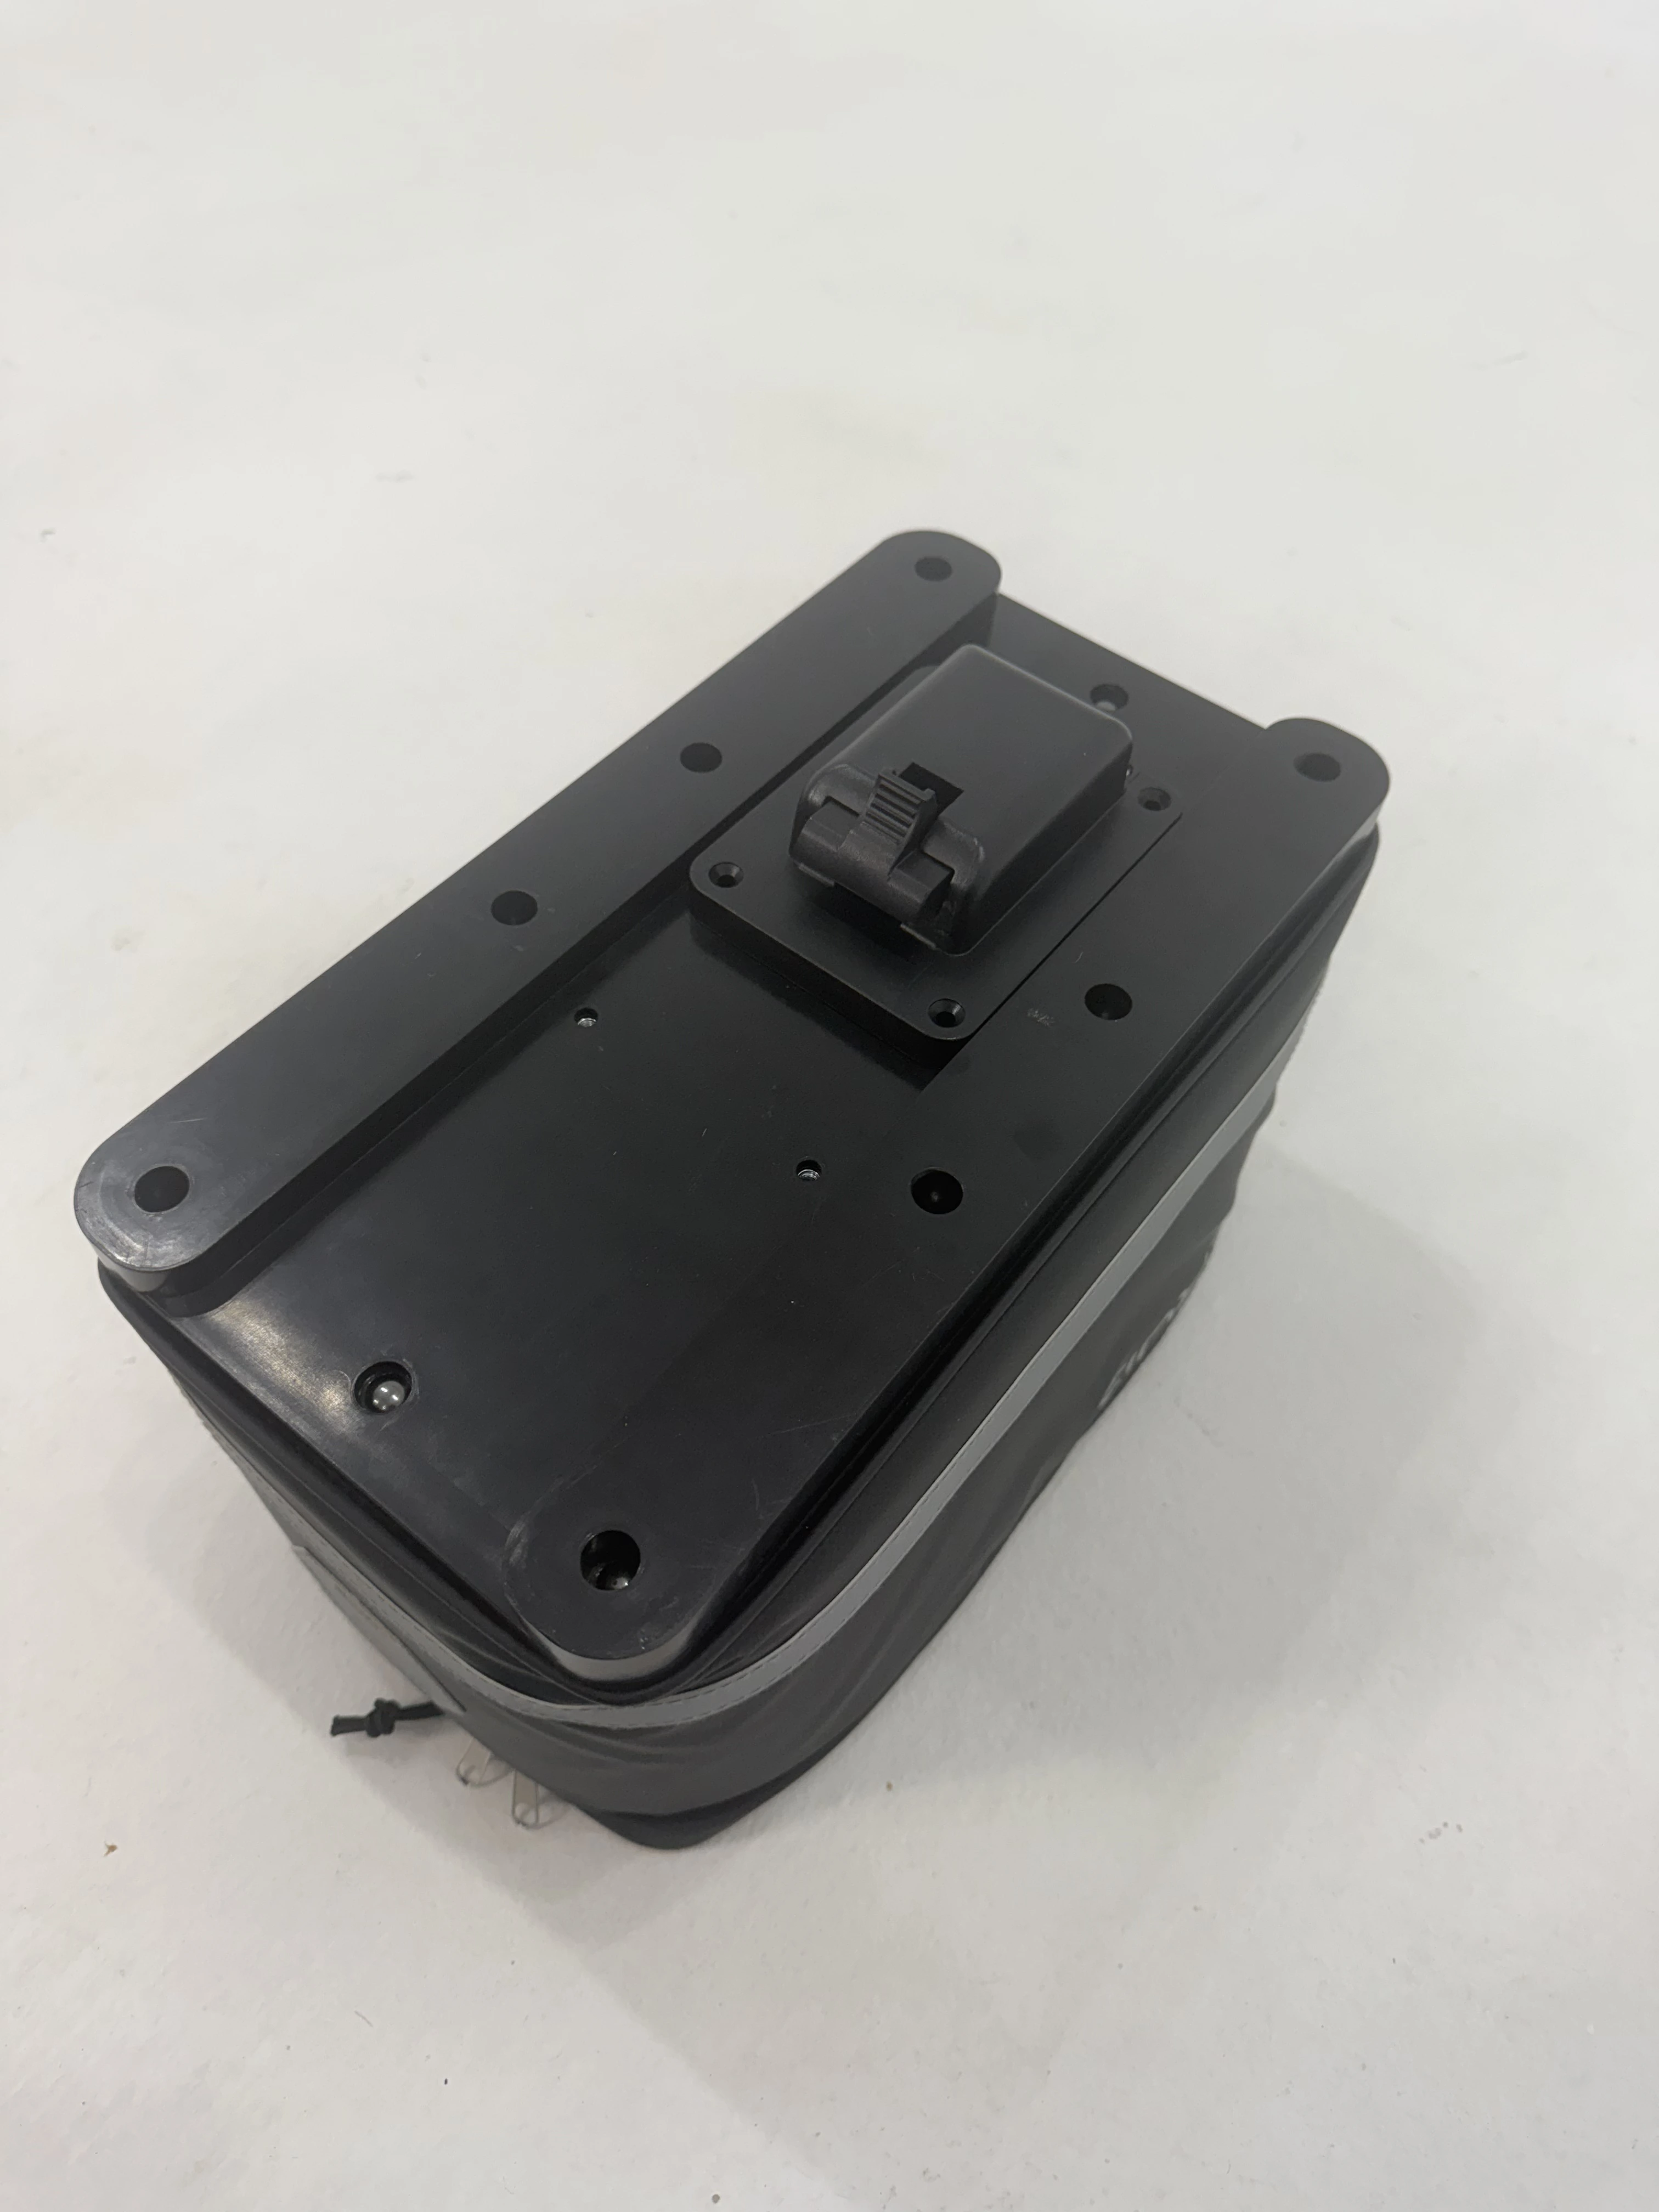
- Turn the insulated cooler upside down. Identify the four screw holes for the quick release latch — these are located at the rear end of the cooler, opposite the logo.
.jpg)
- Position the latch over the four screw holes, making sure the latch mechanism faces towards the logo side (the rear of the bag). Insert all four screws and gently hand-tighten. The screws should catch easily if the alignment is correct.
- Use a phillips head screwdriver to tighten each of these 4 screws. Tighten them in a criss-cross (X) pattern to ensure even pressure and a firm hold.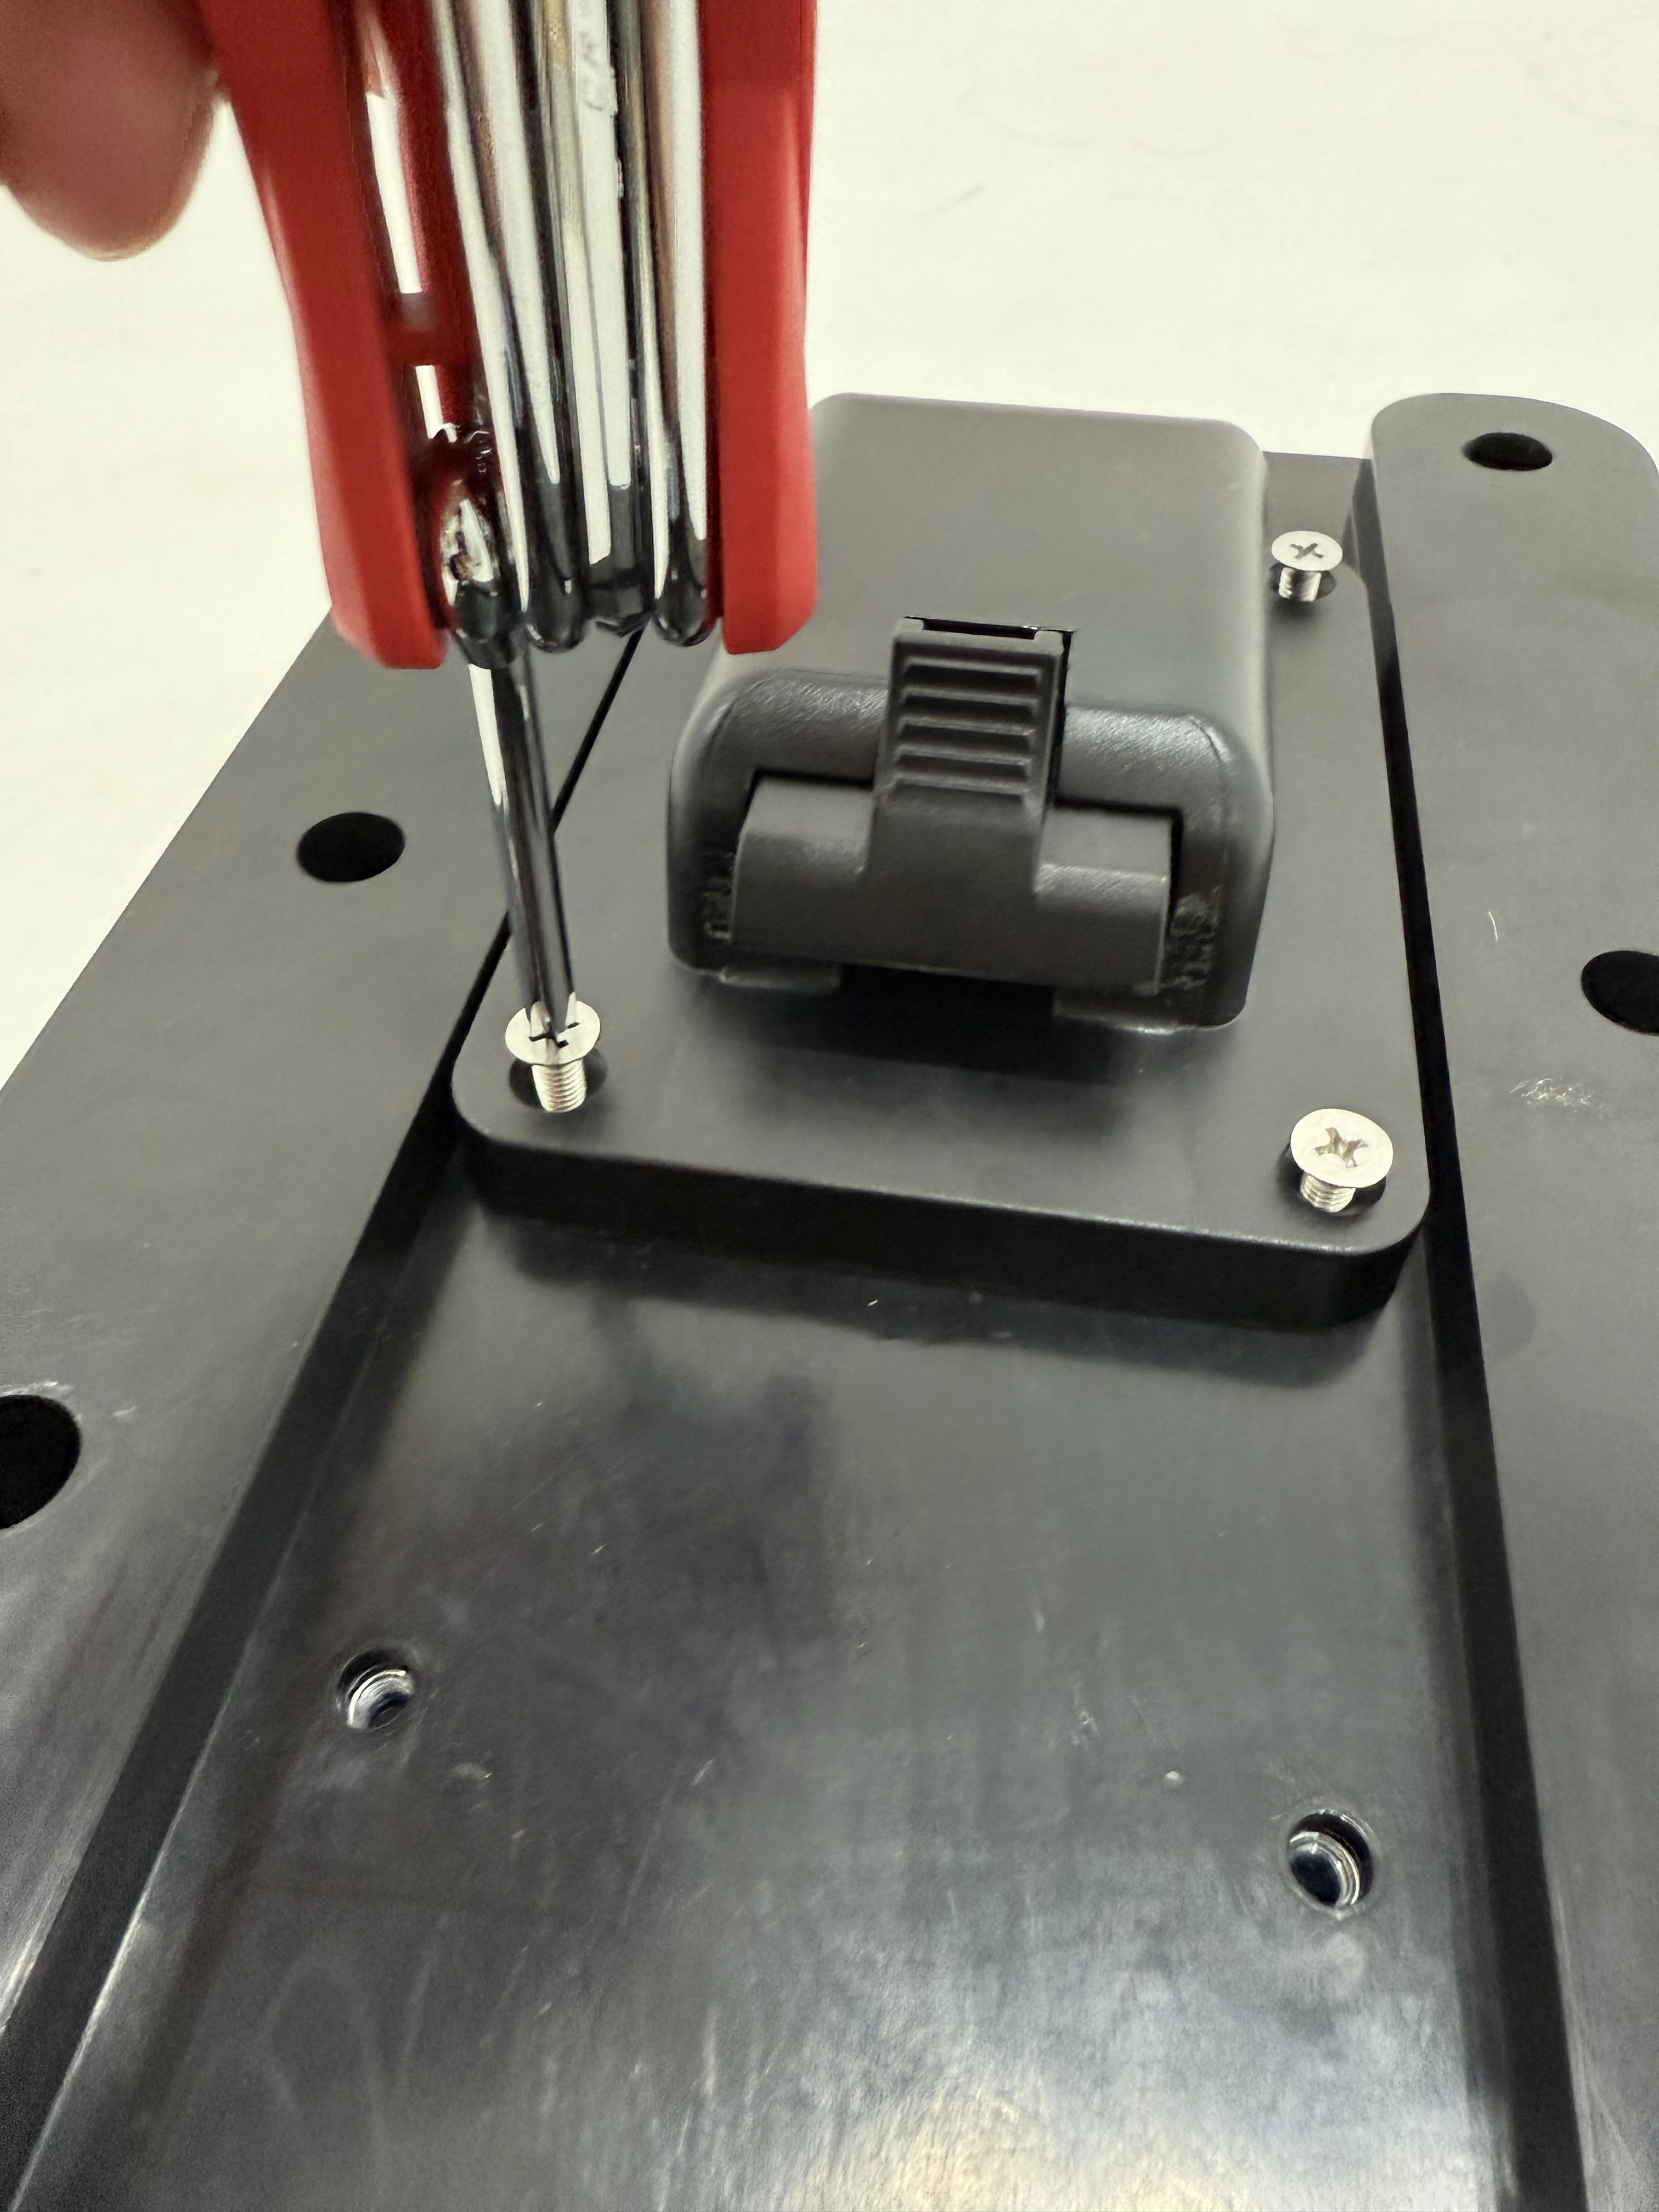
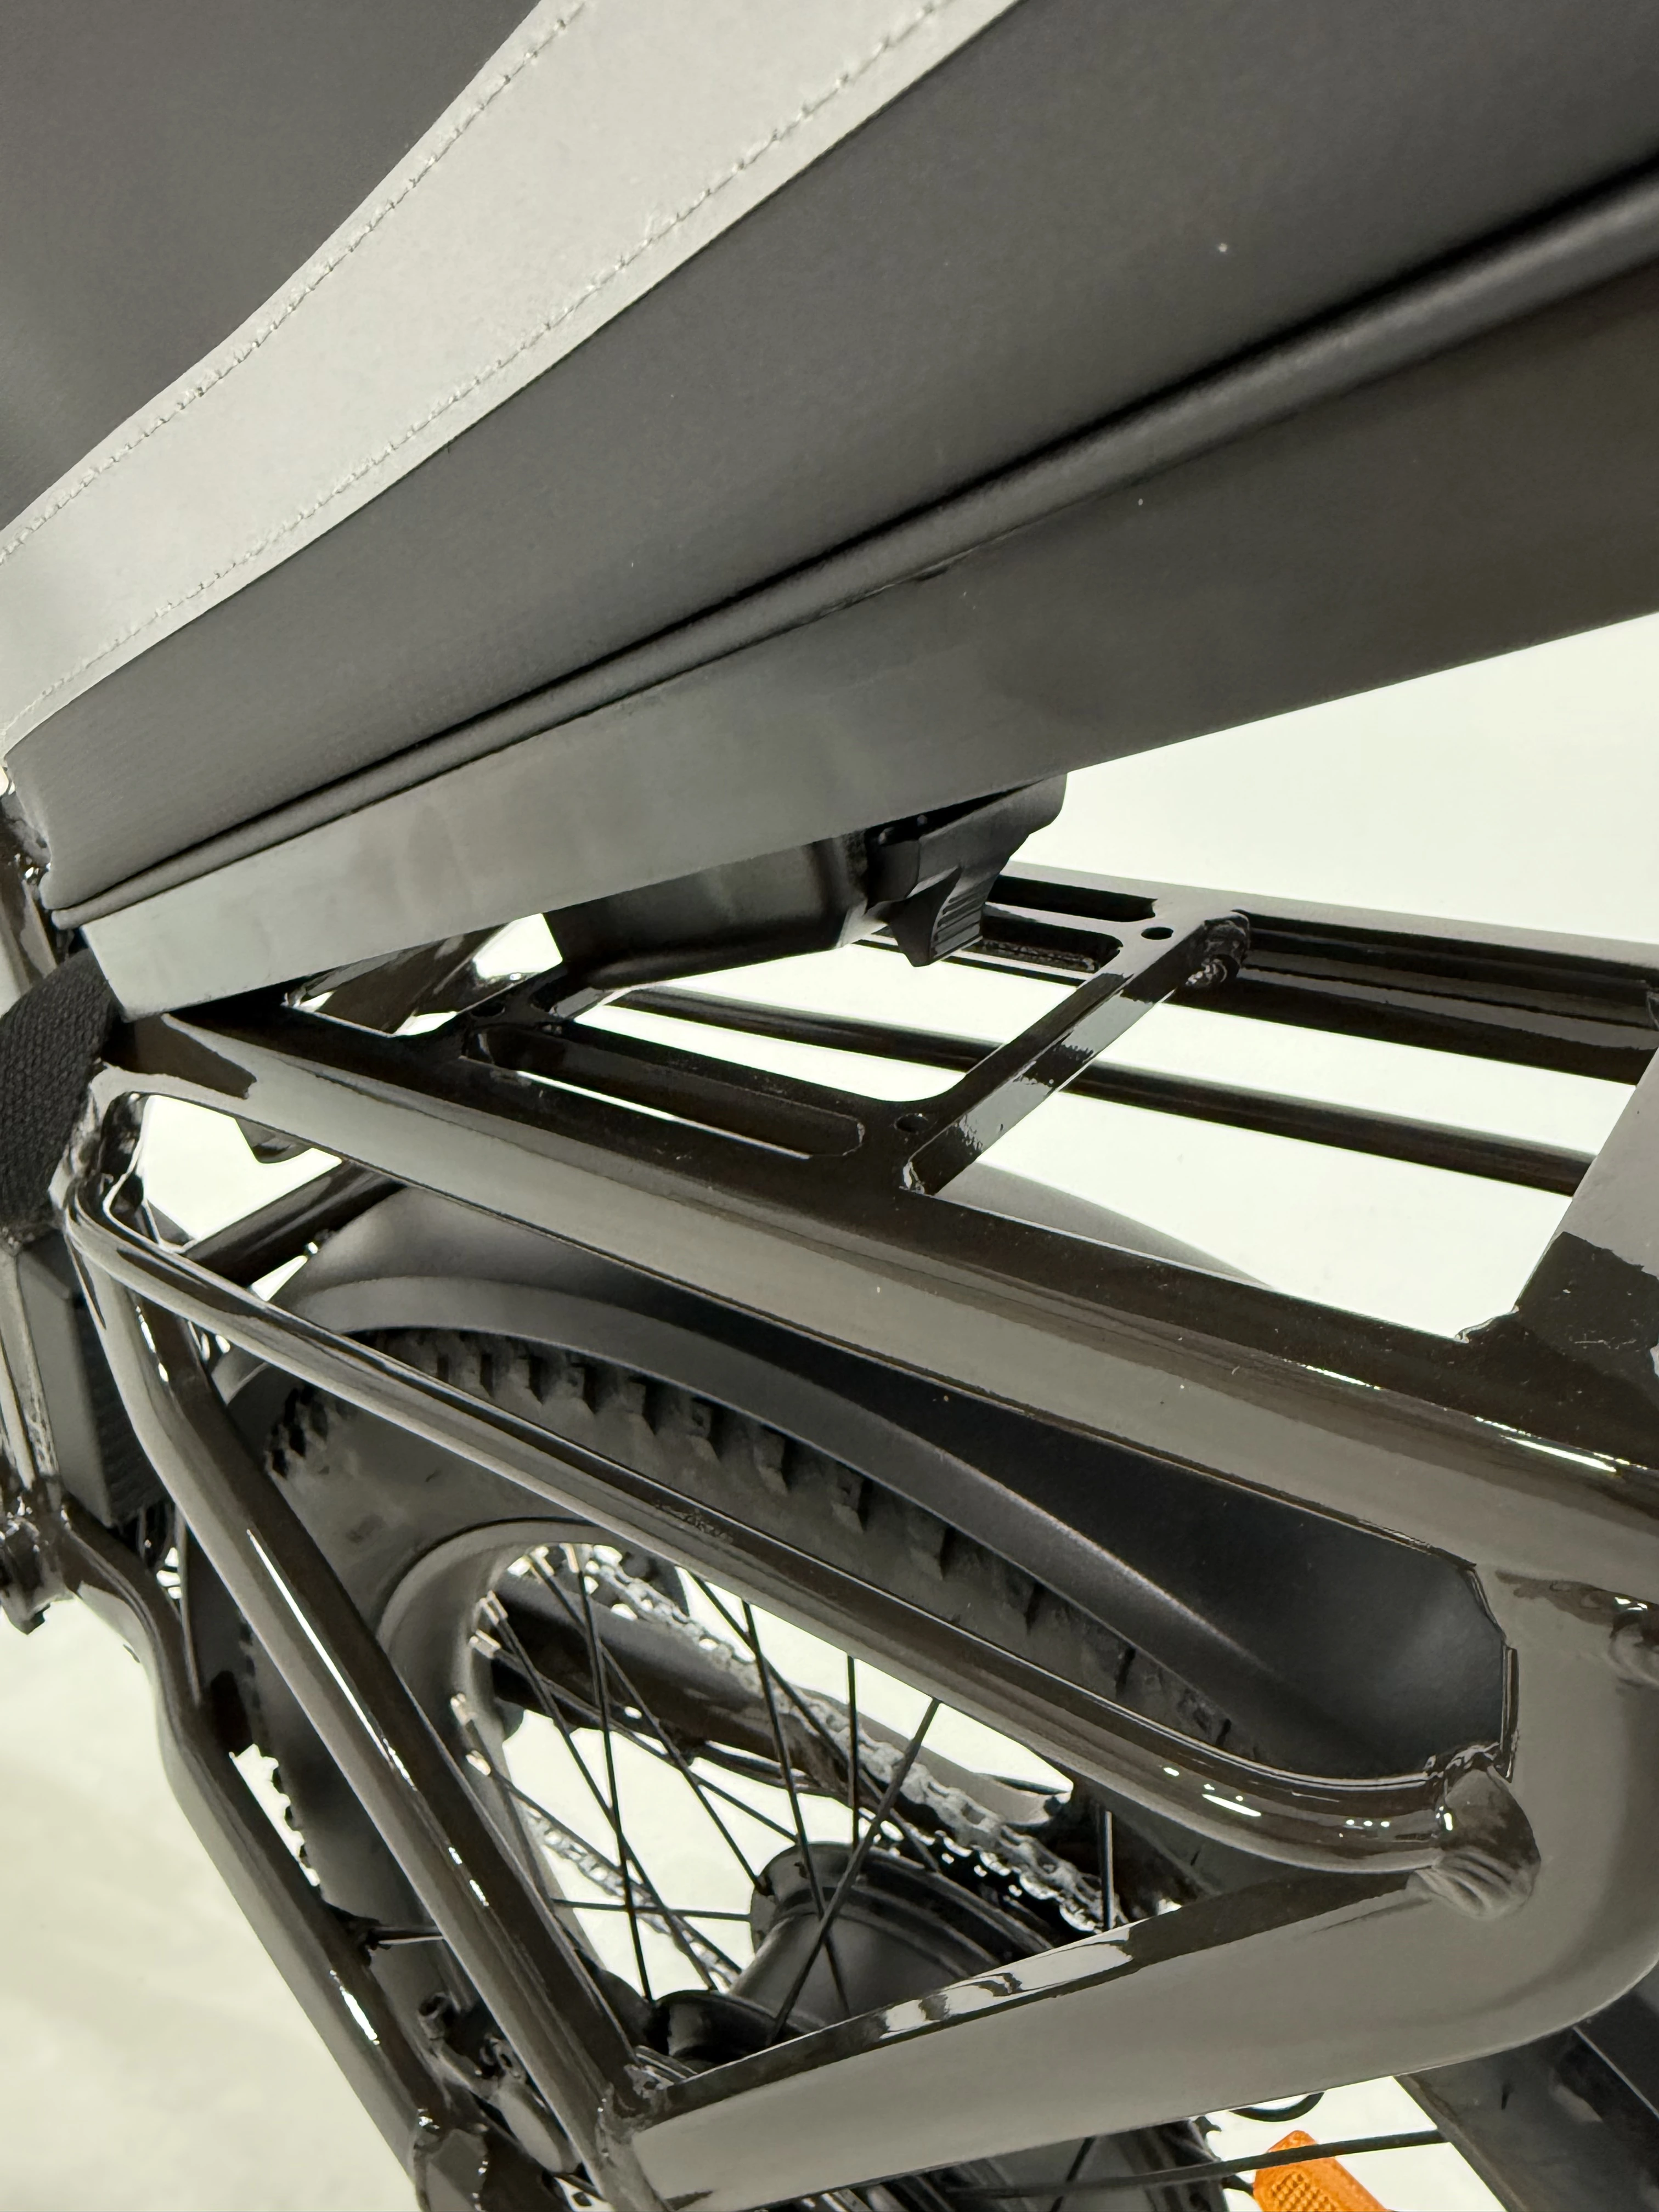
- Align the latch with the square slot in the centre of the MiniWave’s rear rack. Press the cooler down firmly until you hear a click, indicating it’s securely locked in. Gently pull upwards to check that the latch is engaged properly.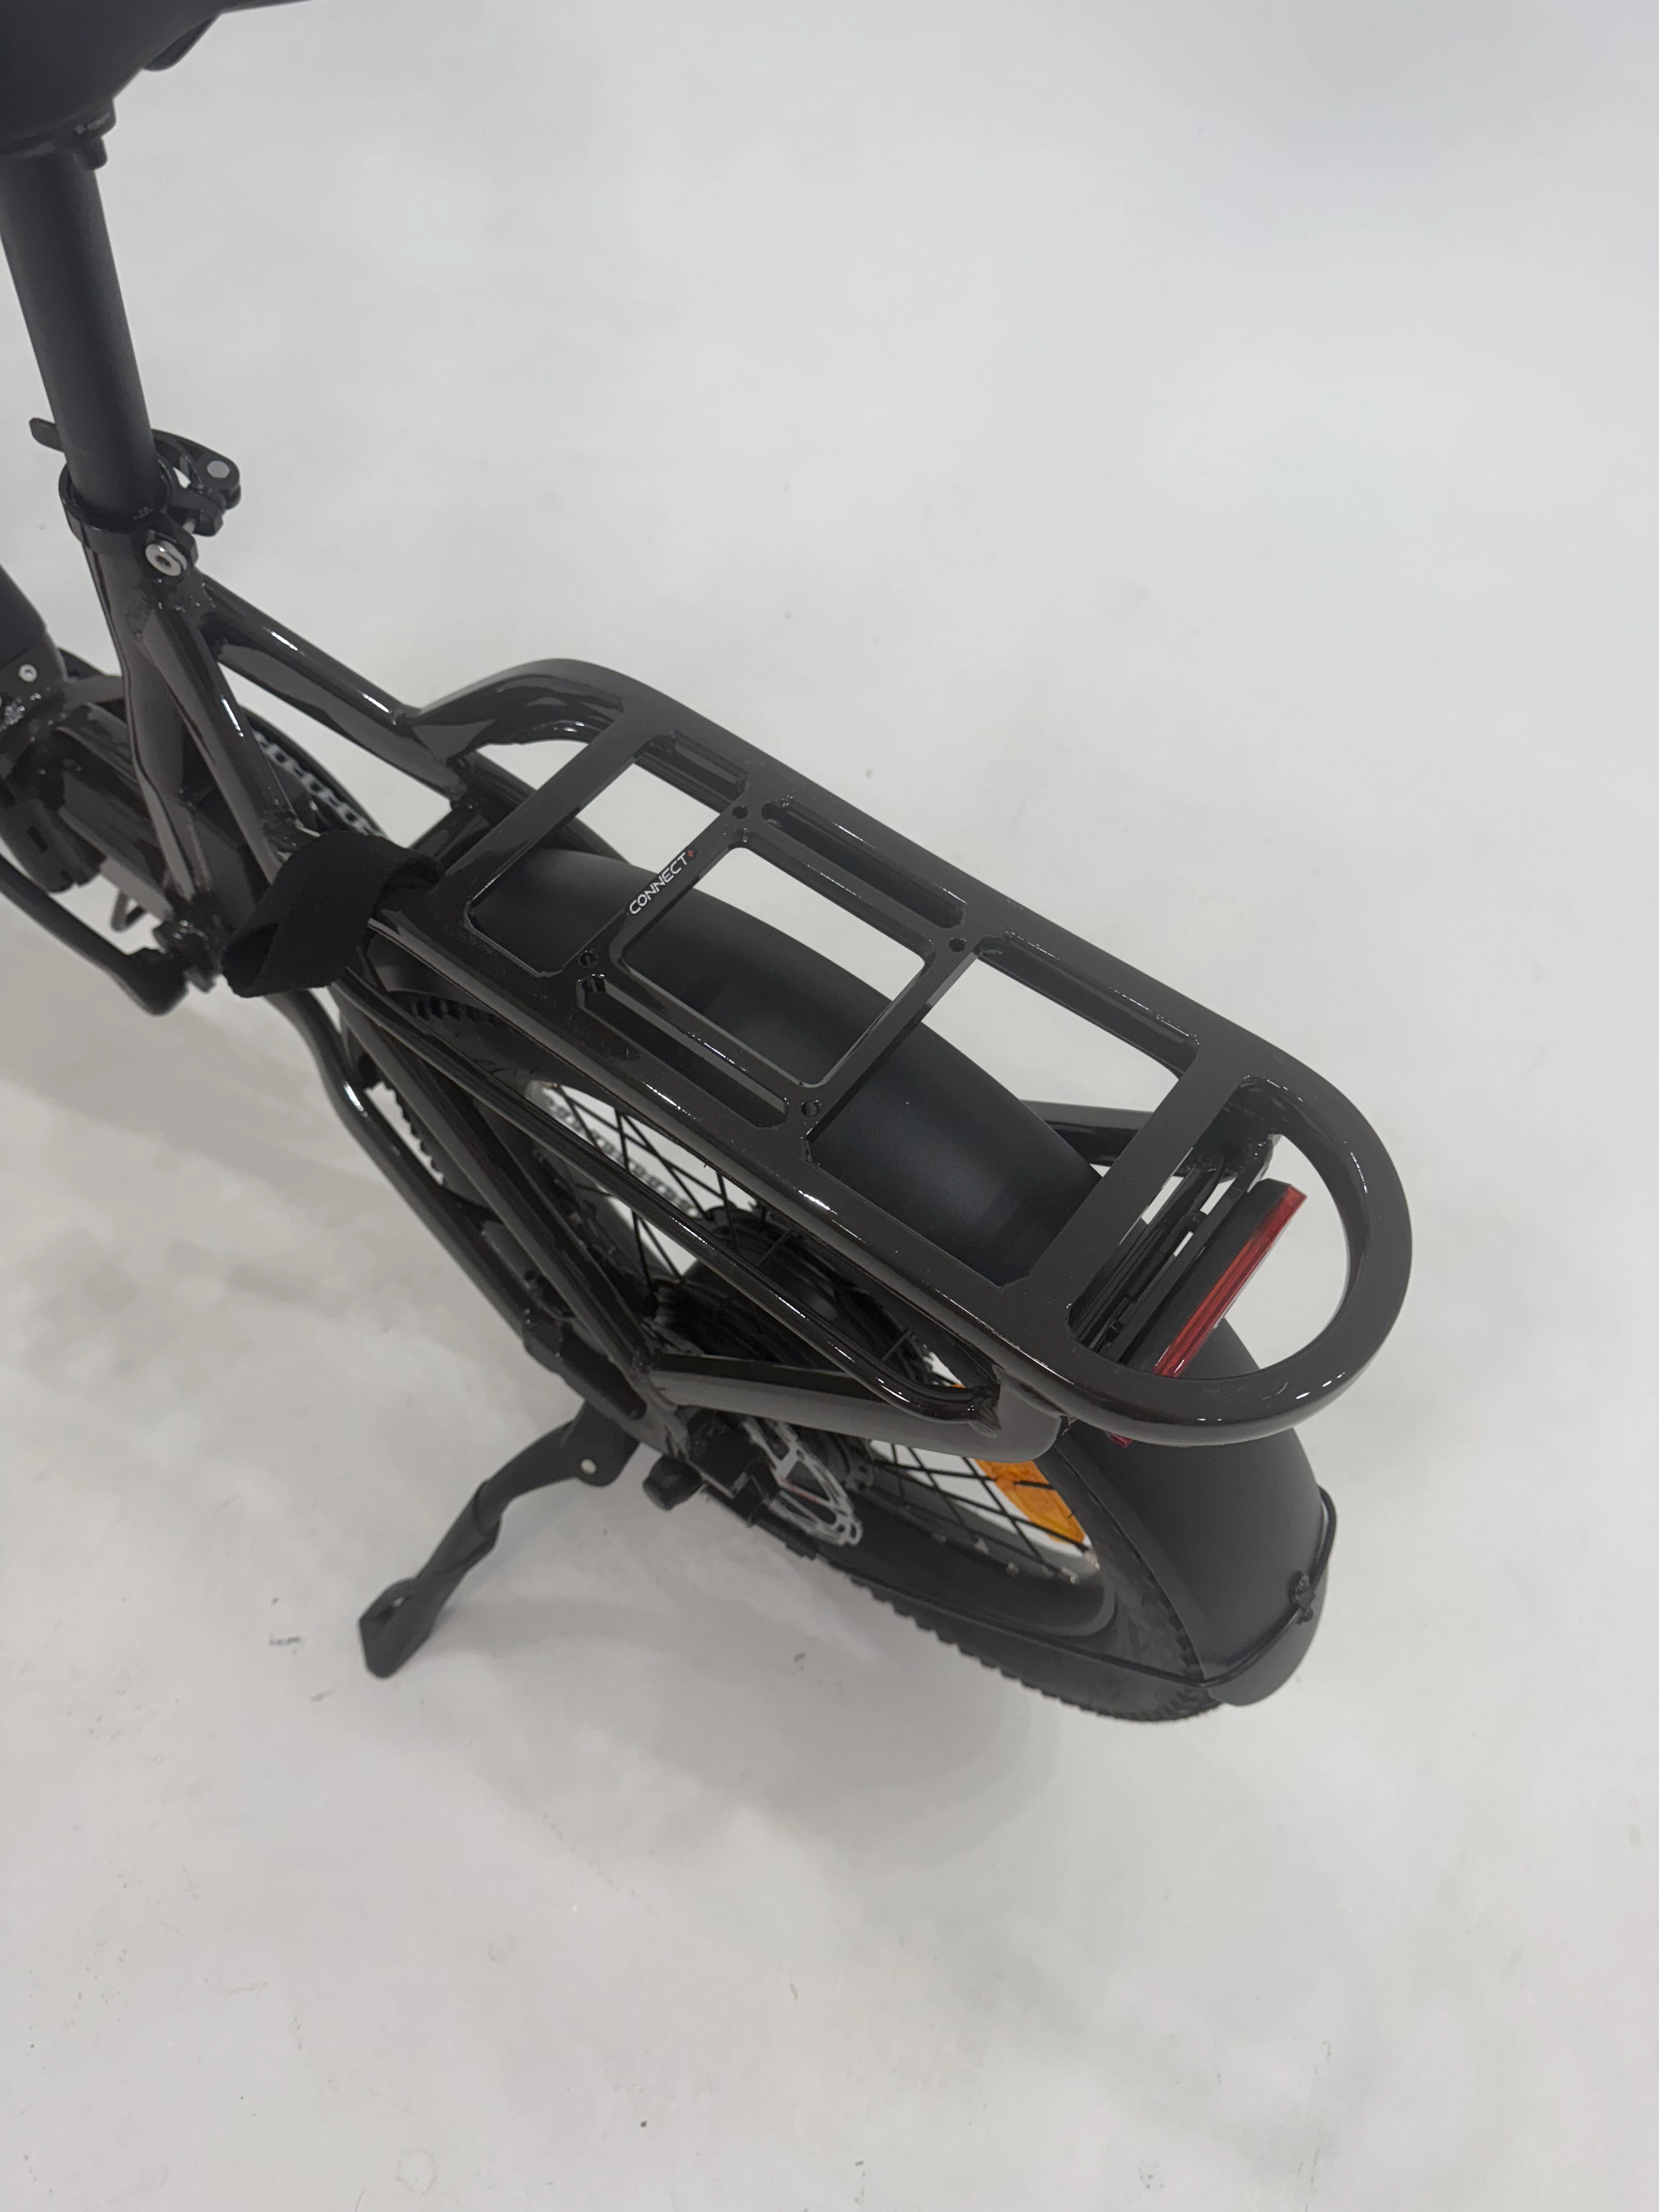
To remove the cooler: Push the latch forward (towards the front of the bike). Lift the cooler upwards and off the rack.