MiniWave Pet Carrier Assembly TutorialUpdated 5 months ago
Installation instructions compatible with both bag variants included with your purchase of the pet carrier.
Tools Required:
- Stanley Knife or Scissors
- Carefully open the box using a suitable tool, lay out all components on a flat, clean surface to ensure nothing is missing.

- Press the base frame firmly into the rear rack of the MiniWave. Loosen the four tube anchors by hand.
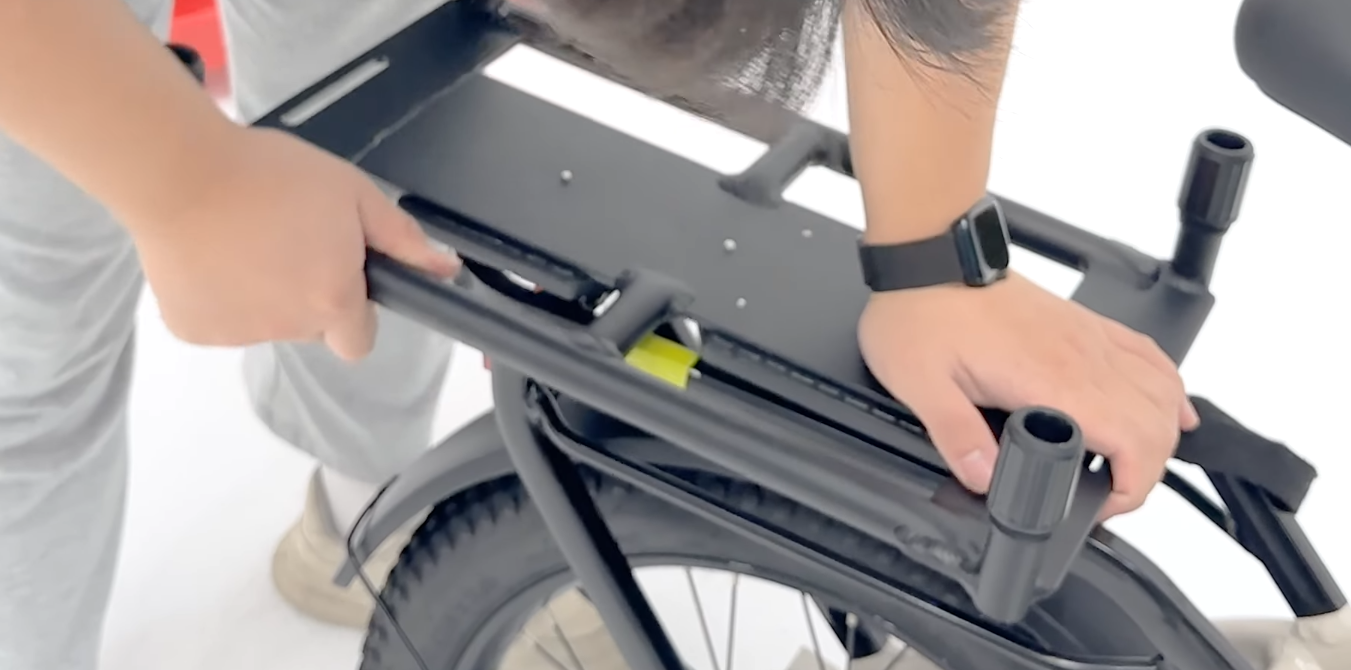
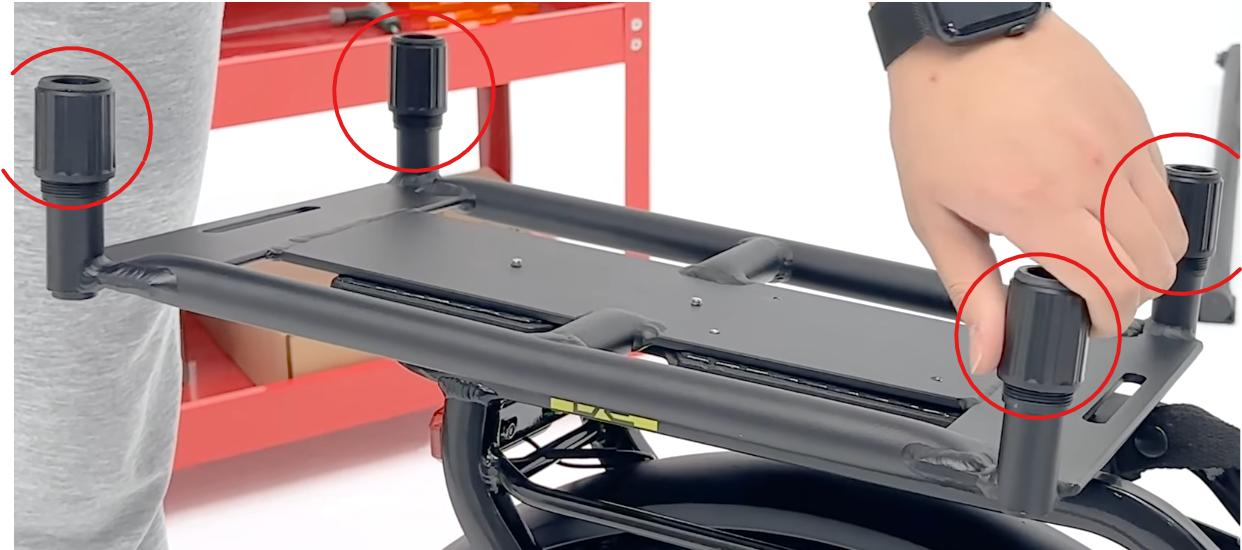
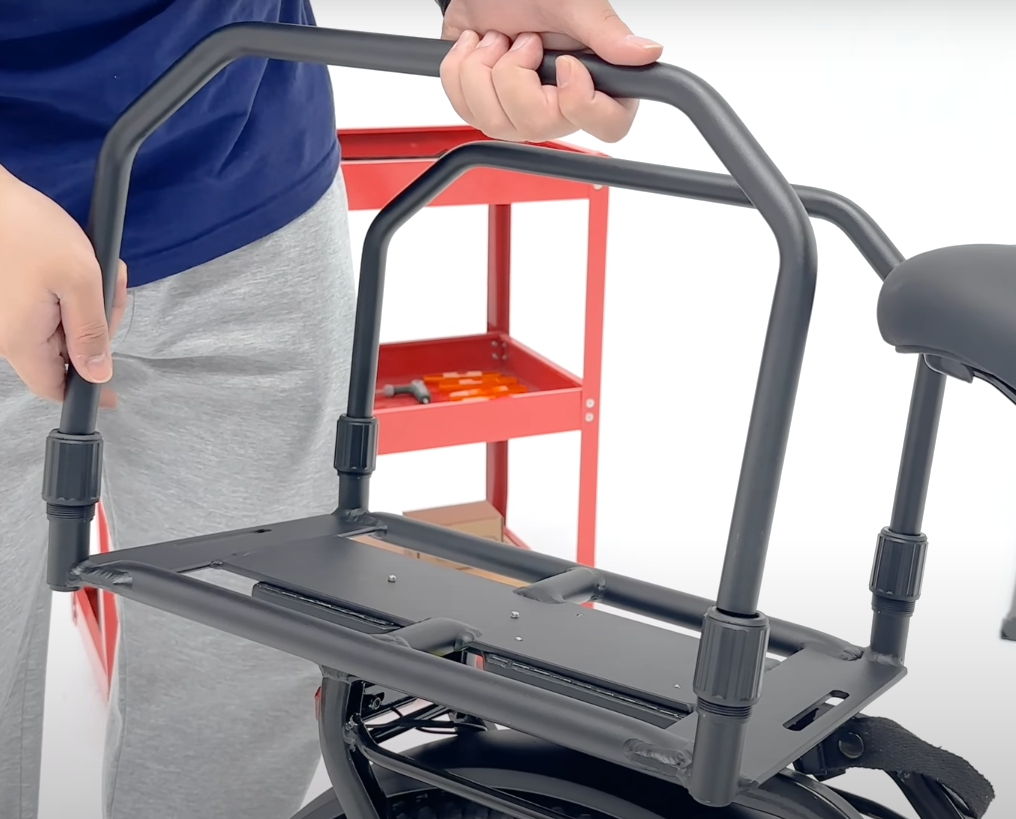
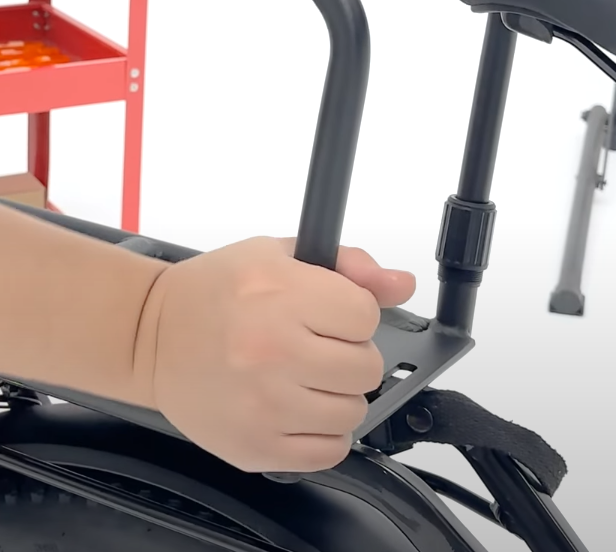
- Insert the two support bars into the anchors. Tighten the anchors by hand to secure the bars in place.
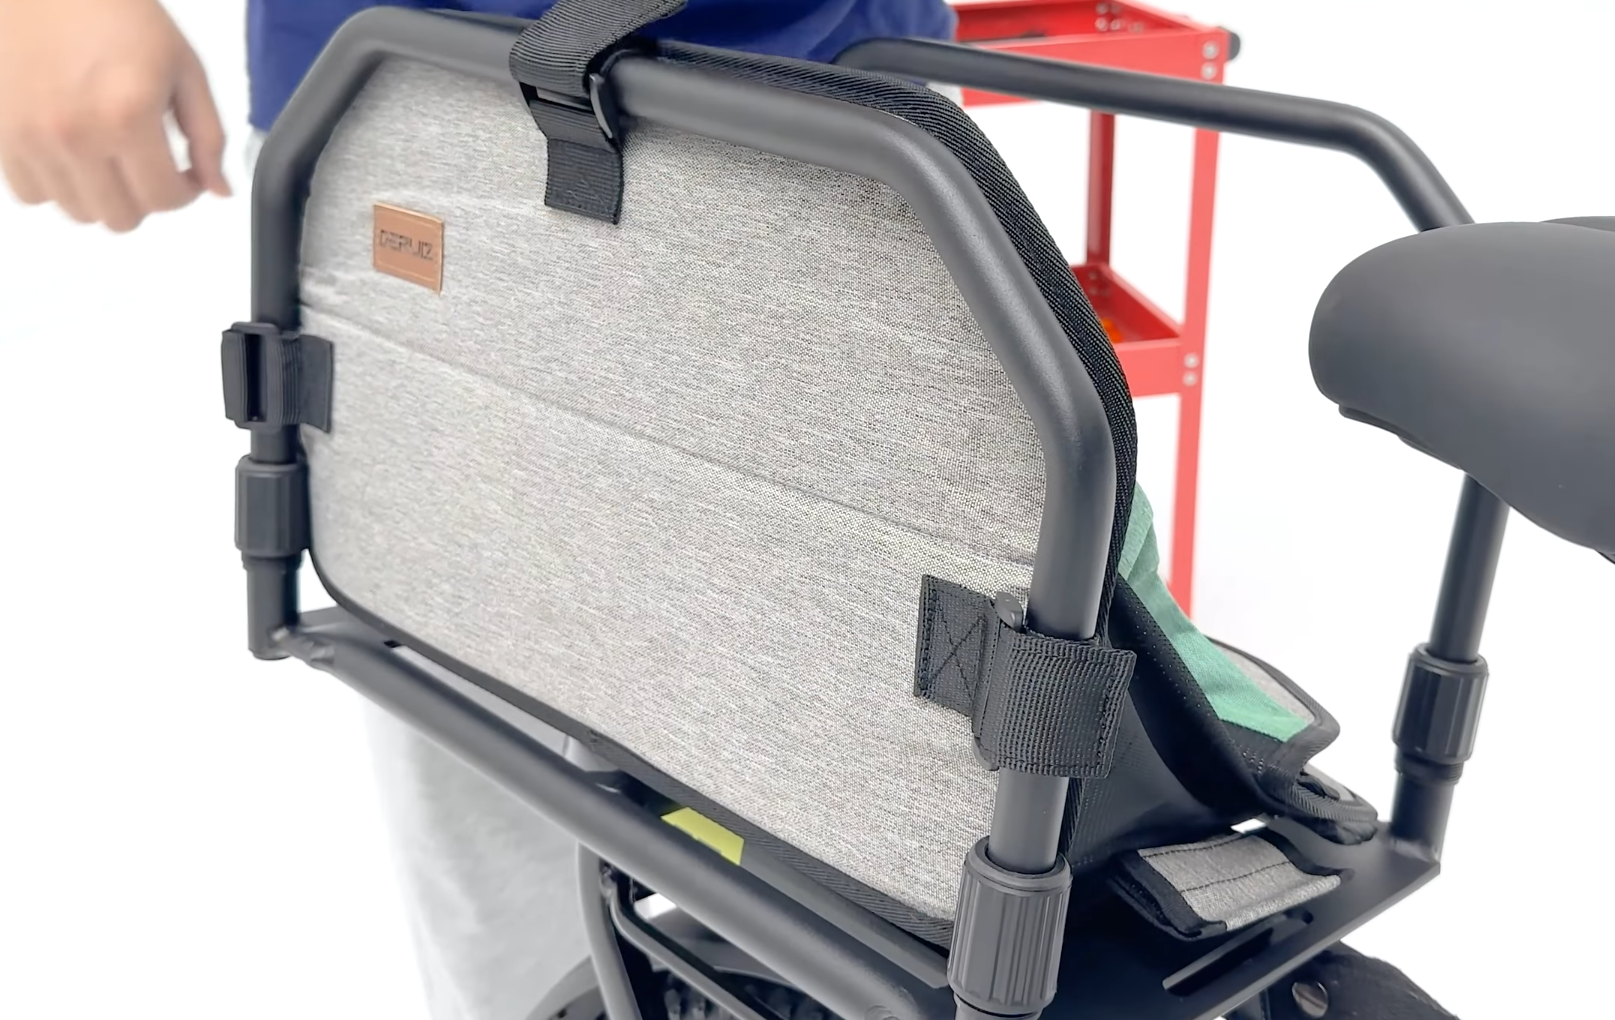
Pet Carrier Bag (No ceiling):
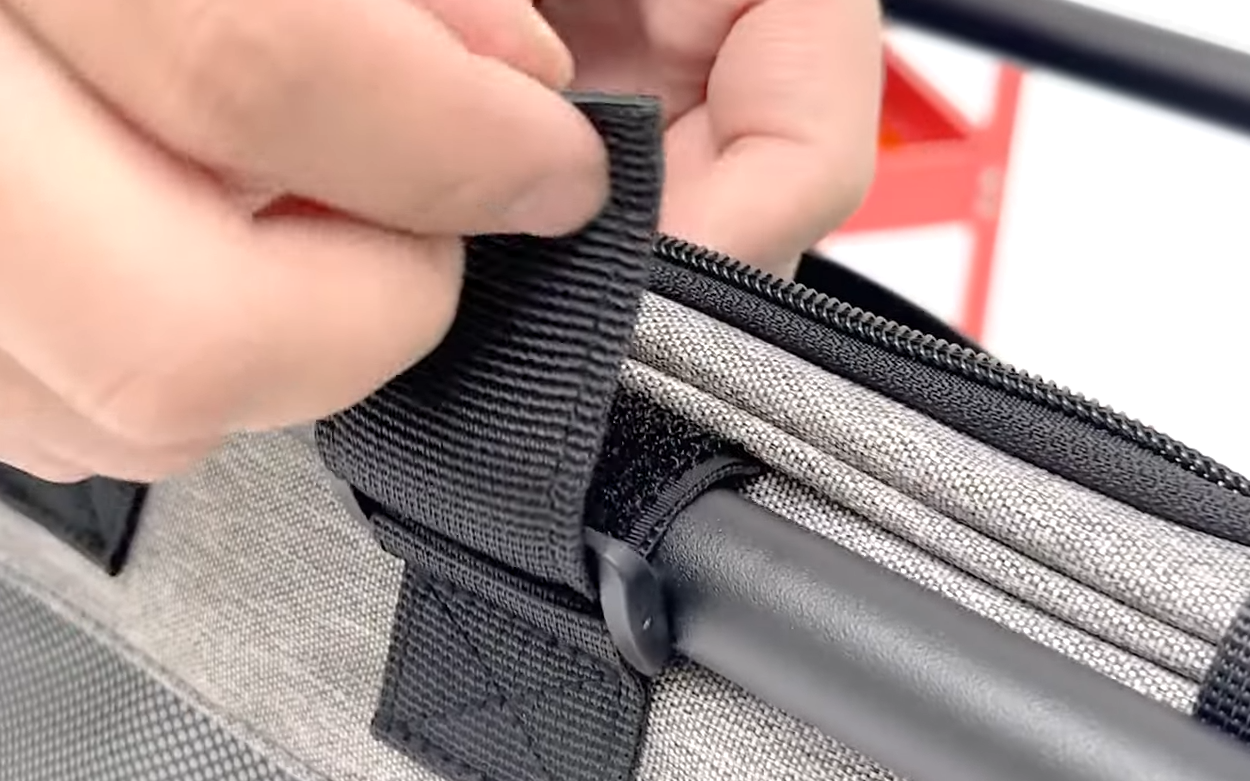
- Place the carrier bag on the base, between the support bars, and unfold it fully. On each side of the bag, you'll find three Velcro straps:
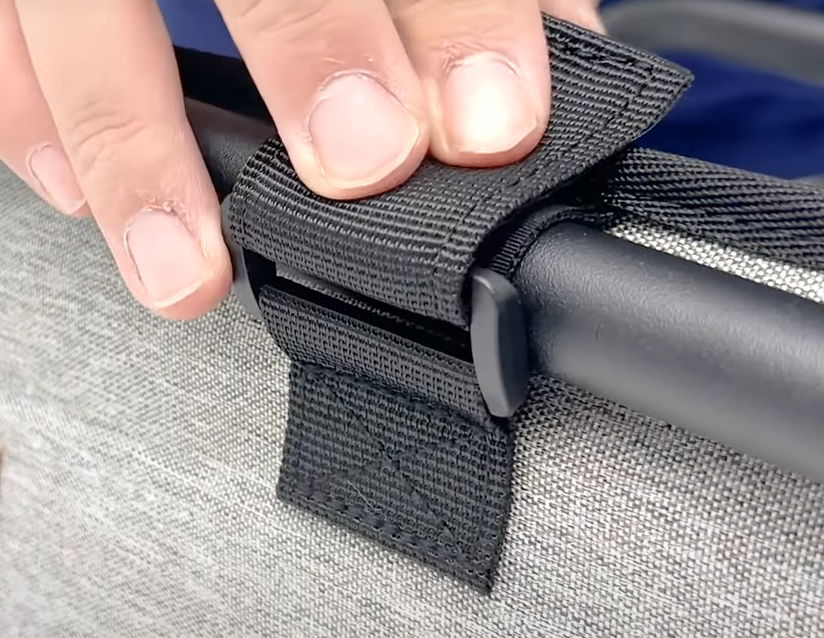
- Start by removing the Velcro strap from its tri-glide buckle.
- Wrap the strap around the support bar.
- Feed it back through the buckle and press the Velcro down to fasten it securely.
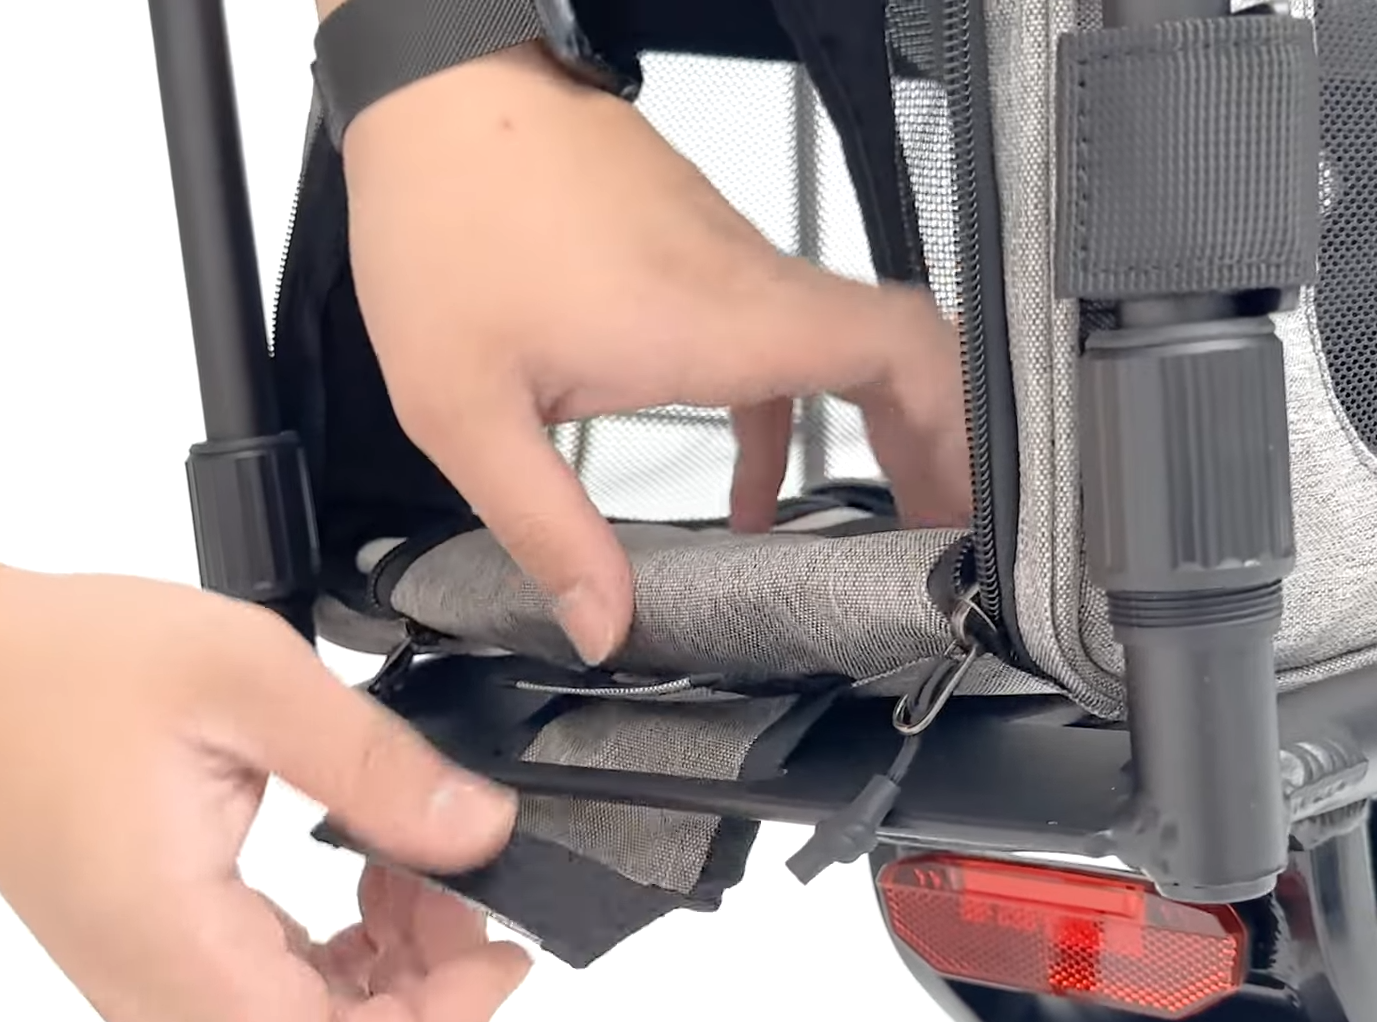
- Repeat the process for all six side straps (three on each side).
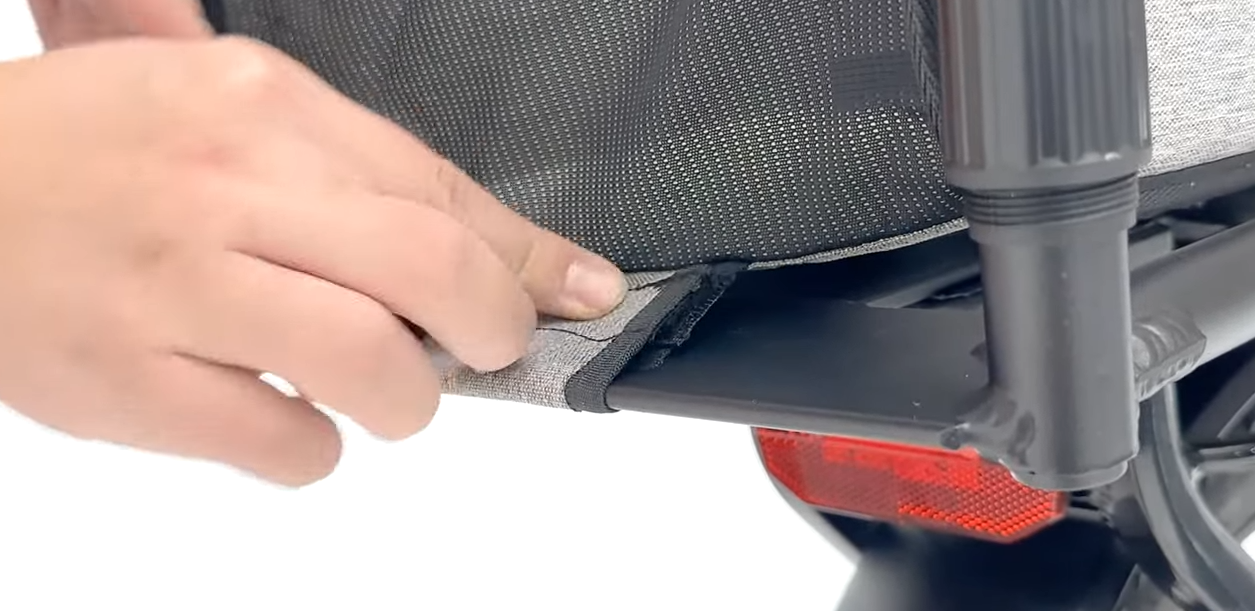
- Secure the two additional Velcro straps at the front and rear of the bag base to keep it firmly in place.
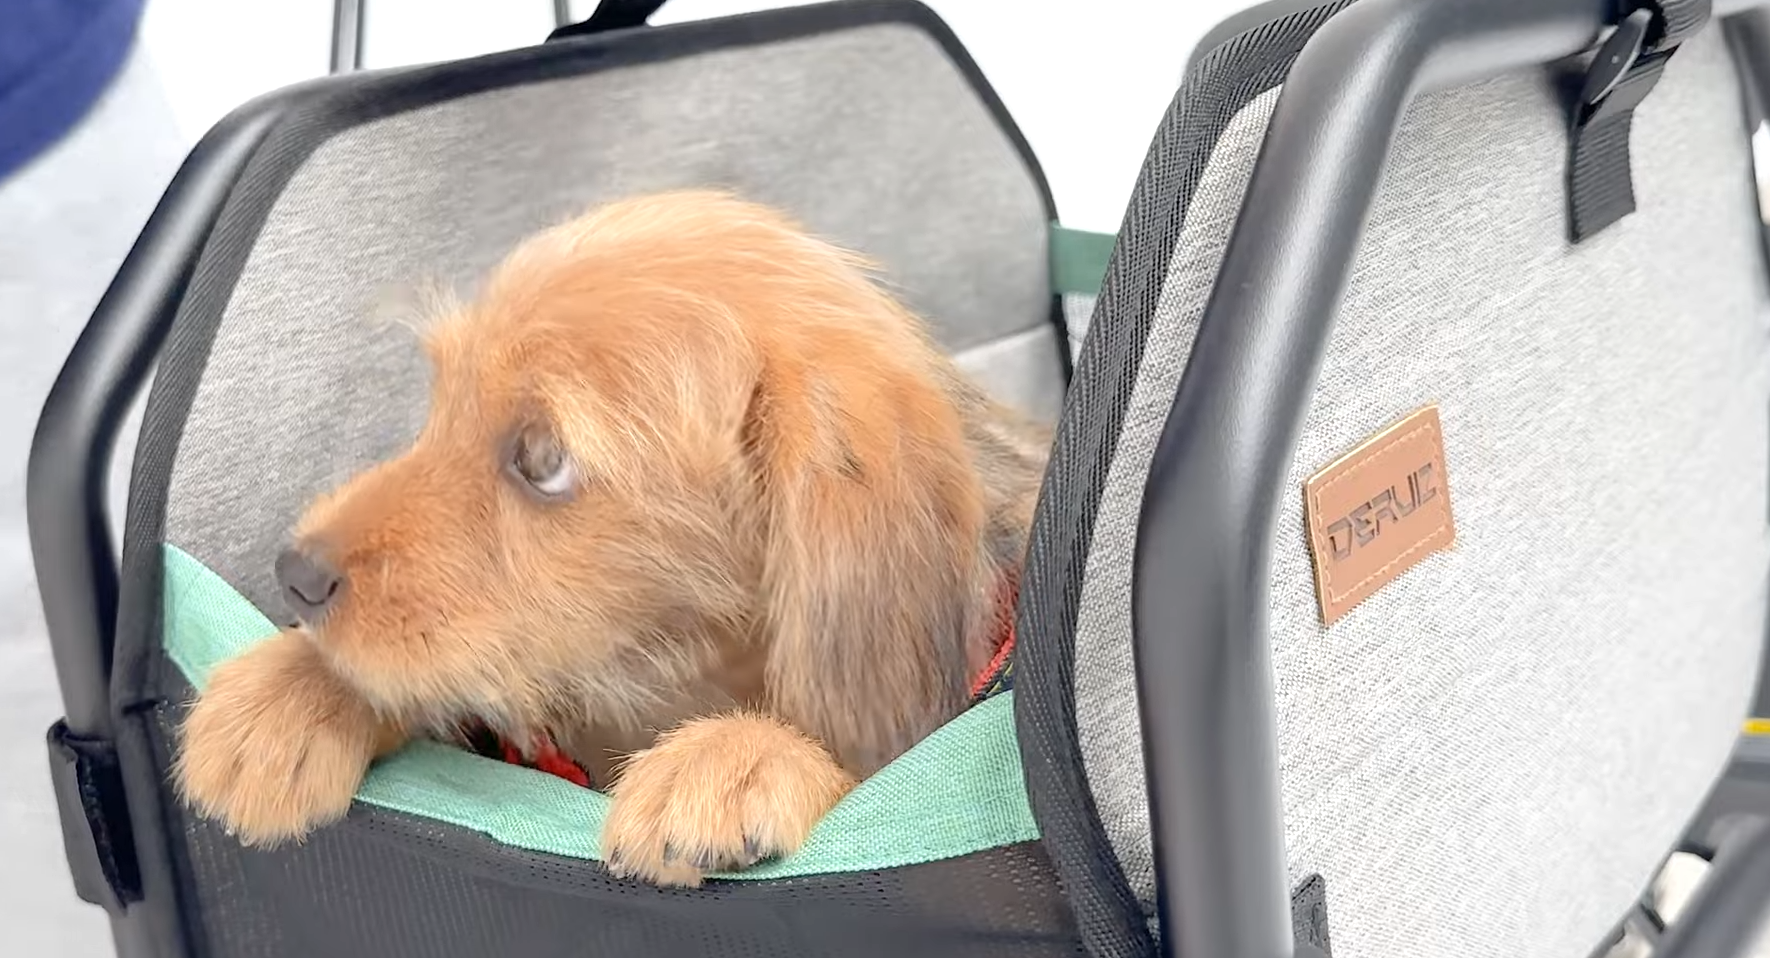

🐶 Bag Variants
Pet Carrier Bag: Open-top design, ideal for dogs who like the breeze.
Rear Pet Mesh Bag: Comes with mesh siding and zipper panels for more enclosure.
🎥 Video Tutorial Available
For a visual guide, watch our step-by-step video here: