MiniWave Rear Basket Assembly TutorialUpdated 6 months ago
Tools Required:
- Phillips head screwdriver
- 3mm Hex Key
- Stanley Knife/Scissors
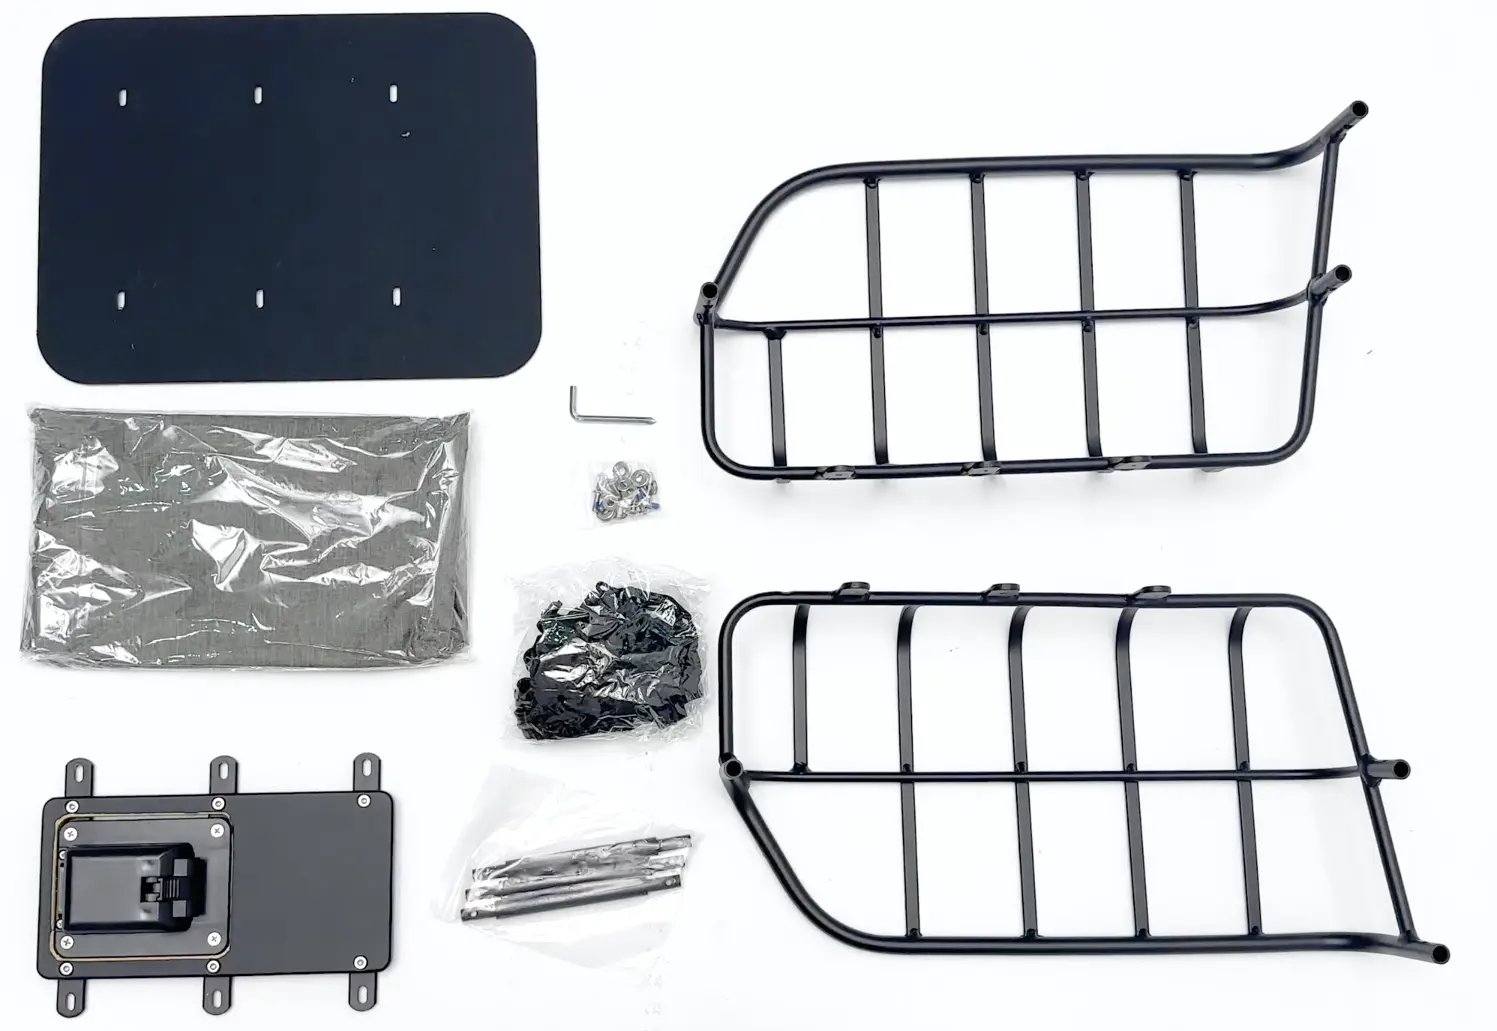
- Carefully open the box using a suitable tool, lay out all components on a flat, clean surface to ensure nothing is missing.
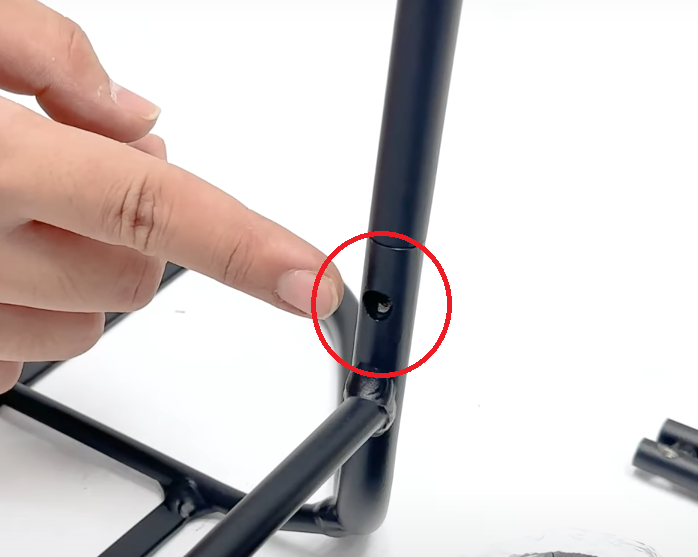
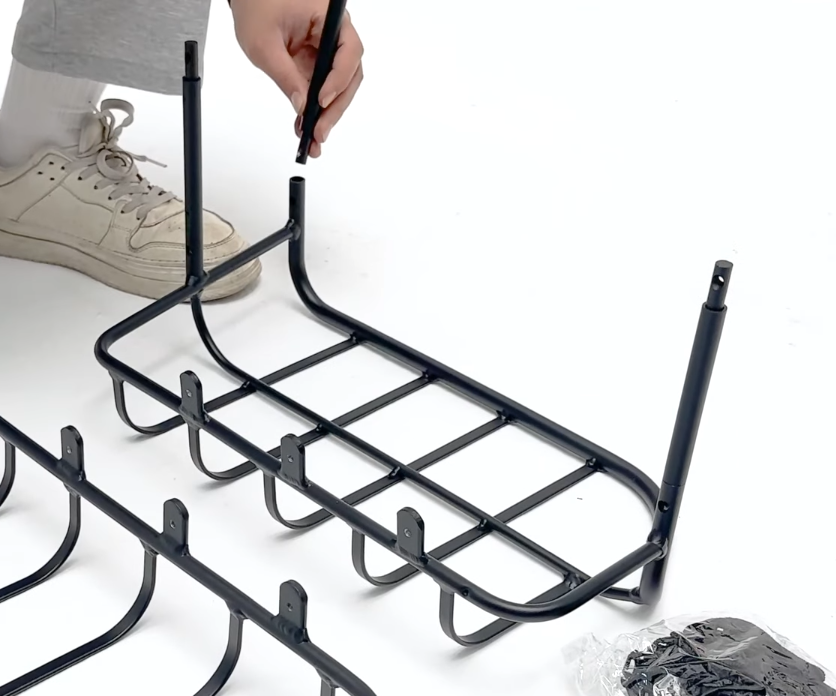
- Insert the black support bars into the three slots on one side of the basket. Ensure the holes are properly aligned and threaded. Once all three support bars are in place, attach the opposite side panel of the basket.
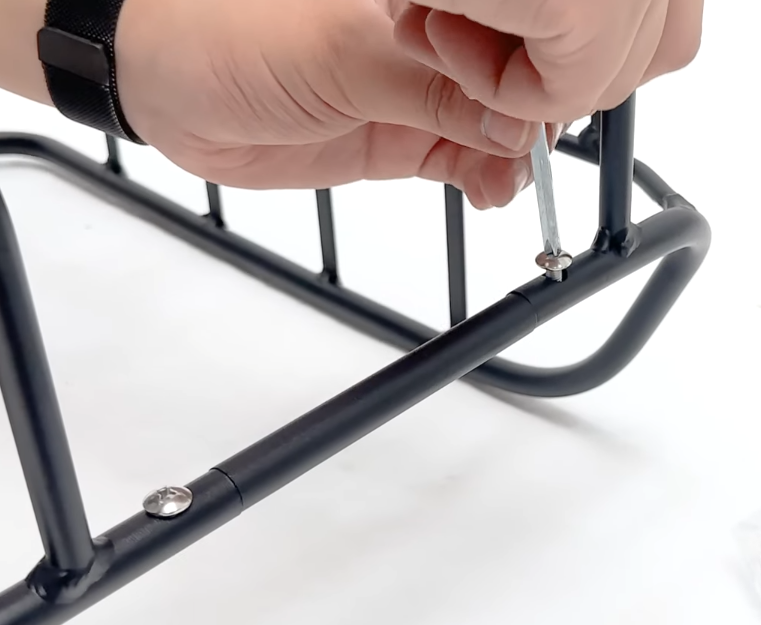
- Using a Phillips head screwdriver, fasten the basket together with the 6 provided screws. Use 4 large washers for the rear screws, and 2 small washers for the front screws. Double-check that all holes are aligned before fully tightening each screw.
- Place the latch mechanism into the bottom of the basket with the latch facing downward and towards the front of the basket. Ensure the 6 screw holes in the latch mechanism align with the holes on the basket frame.
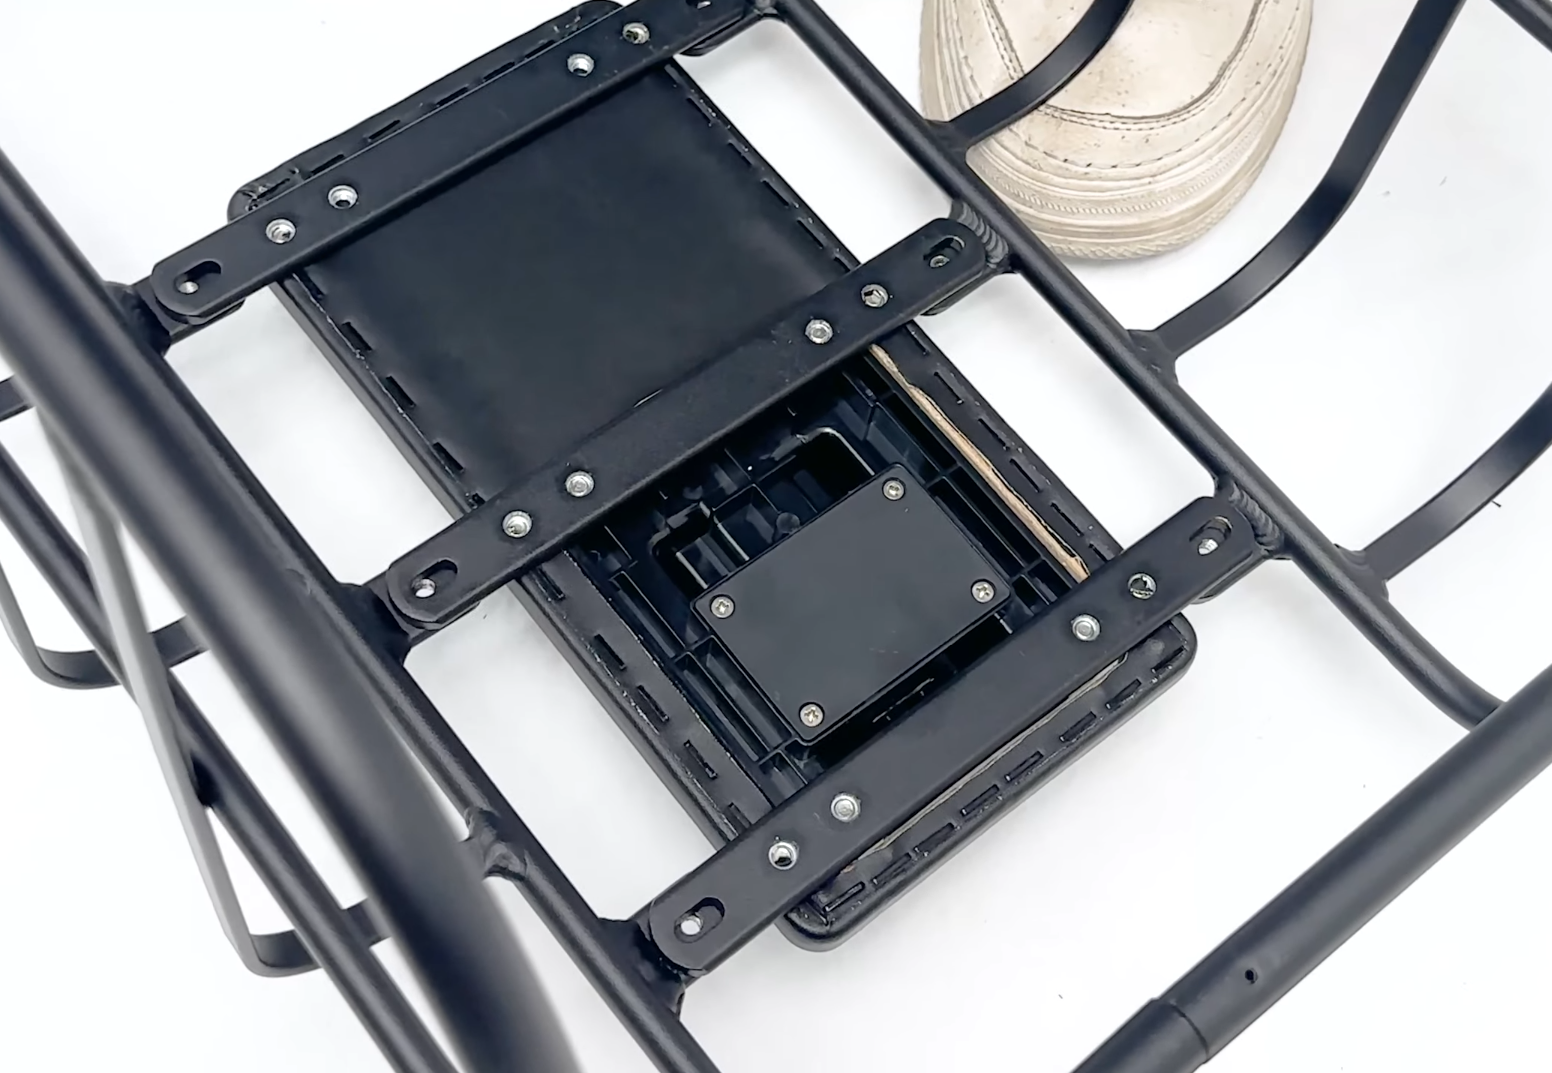
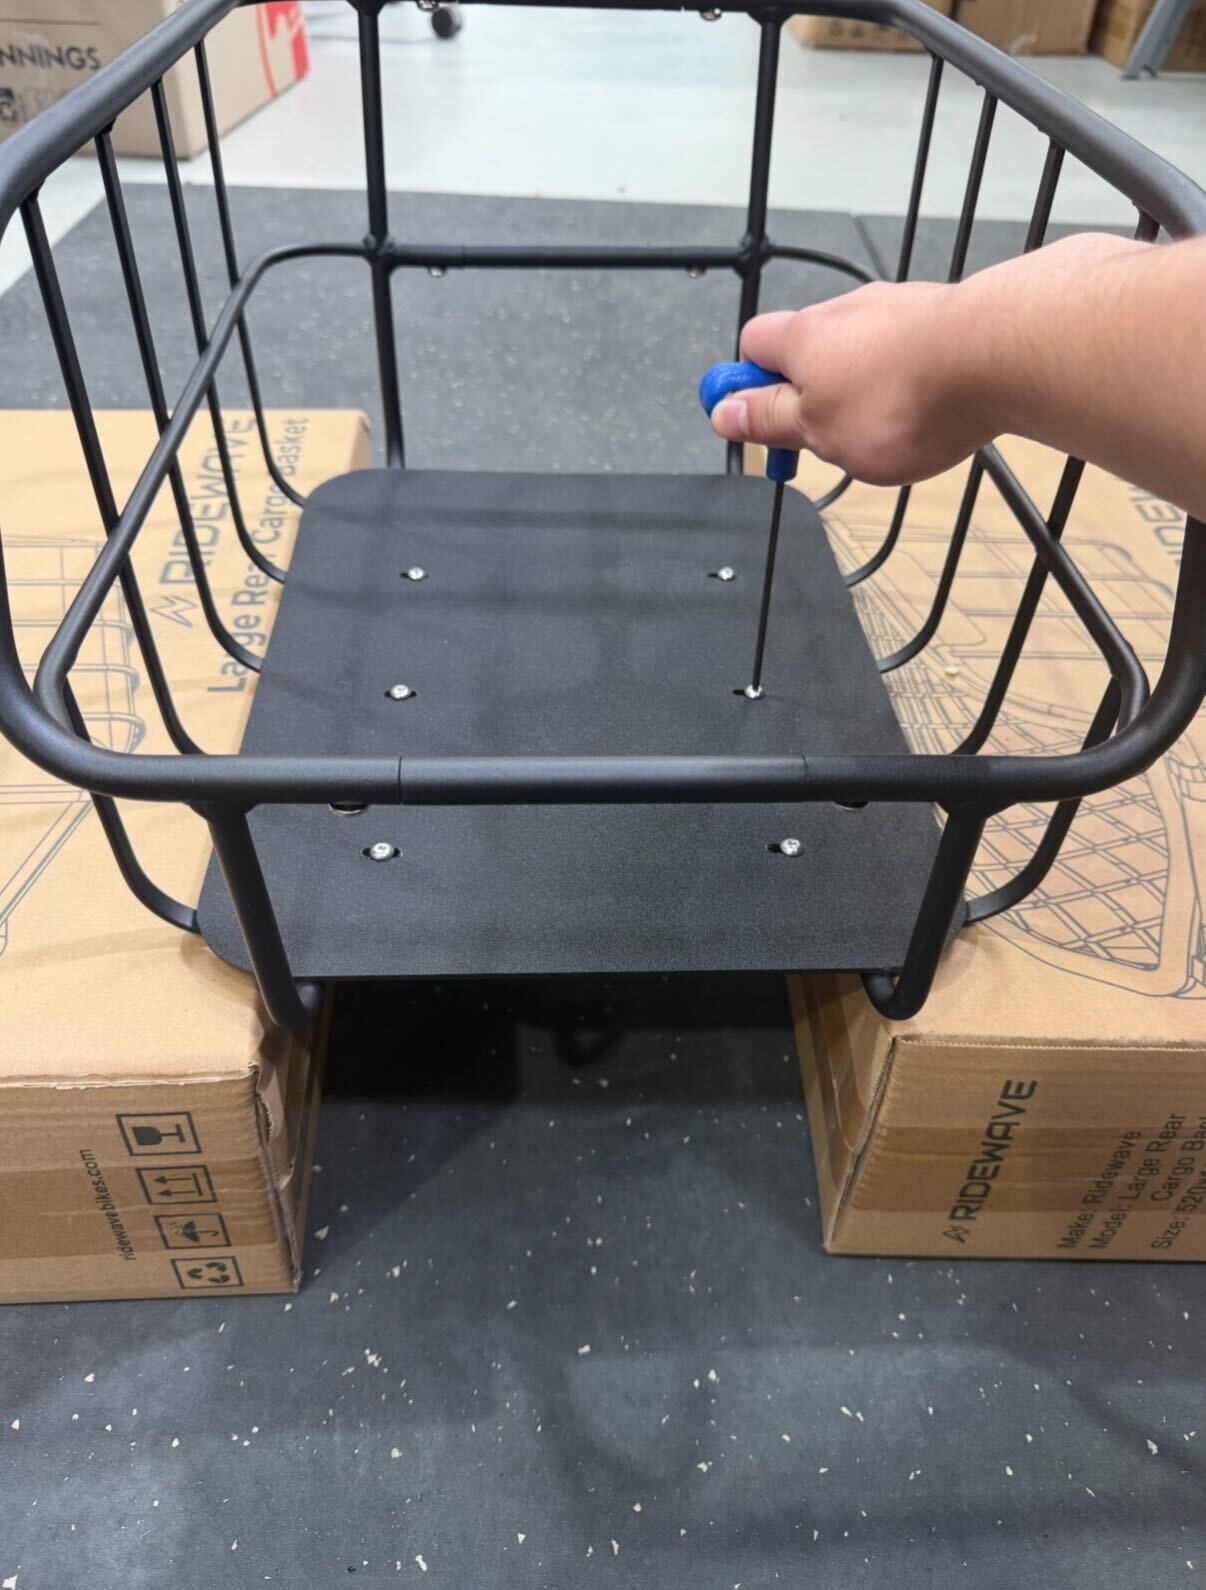
- Position the black base plate over the latch mechanism with the shiny side facing down. Confirm all holes are aligned before inserting the 6 screws.
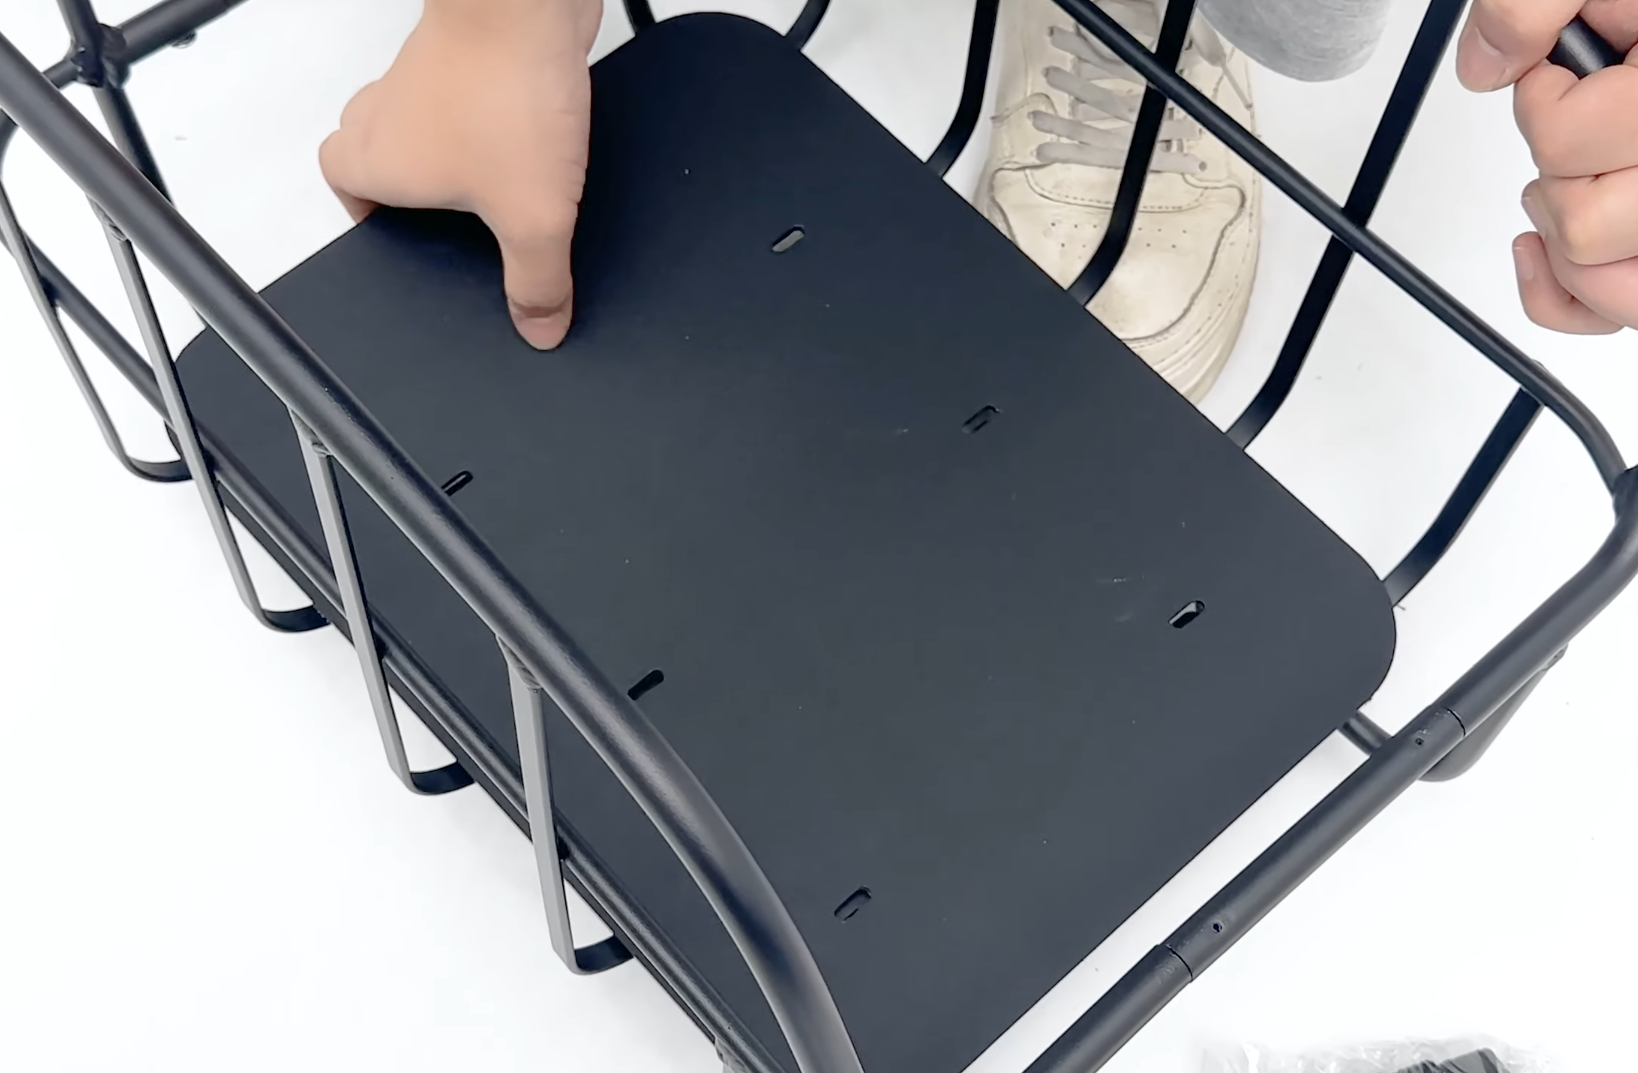
- Use the 3mm hex key to secure the base. Use the remaining small washers to secure the screws at the base of the basket. Tip: To help align the screw holes, elevate the basket slightly by placing your foot or an object under one edge for support.

Tip: Elevating the basket off the ground can help stabilise it. By suspending the basket, the quick-release locking mechanism is able to ‘float,’ keeping everything steady and in place.
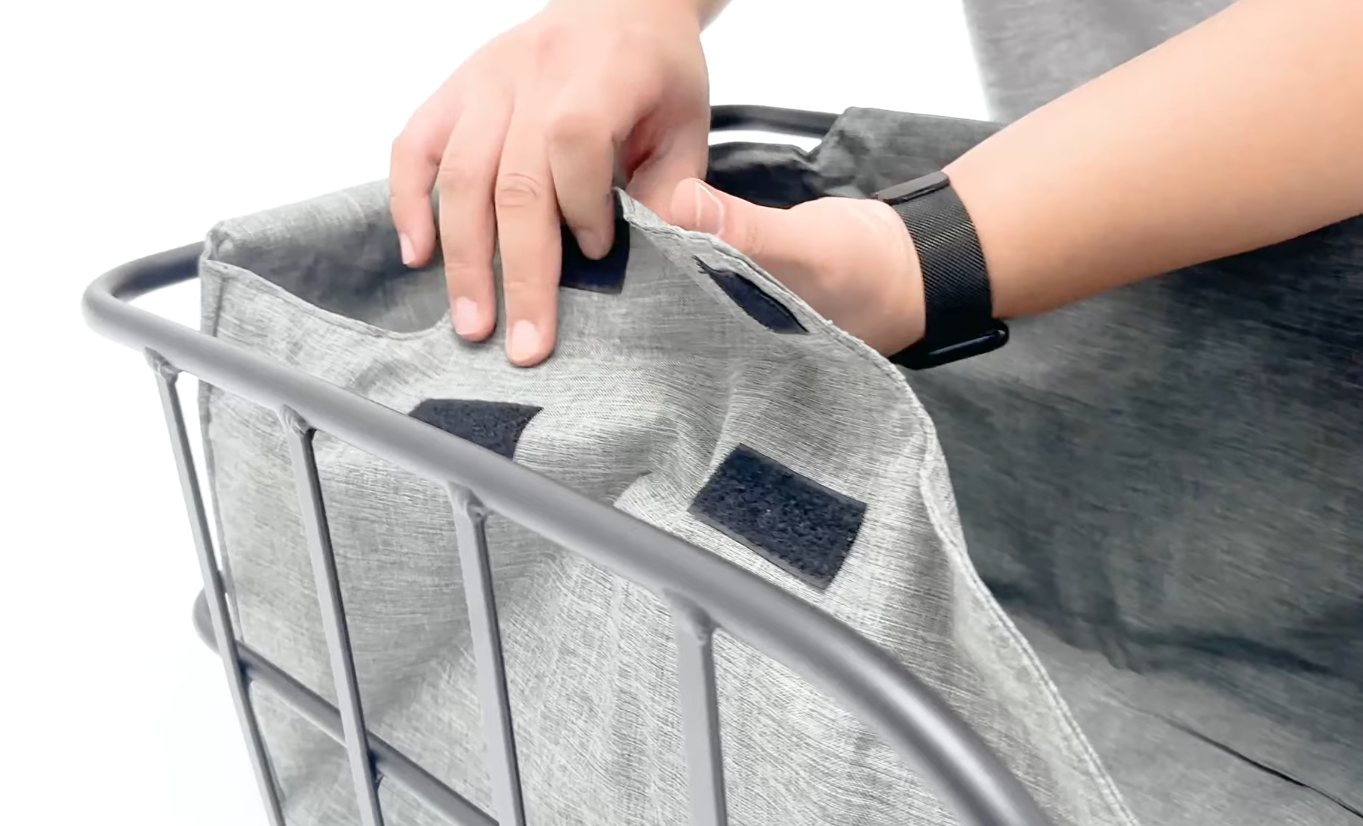
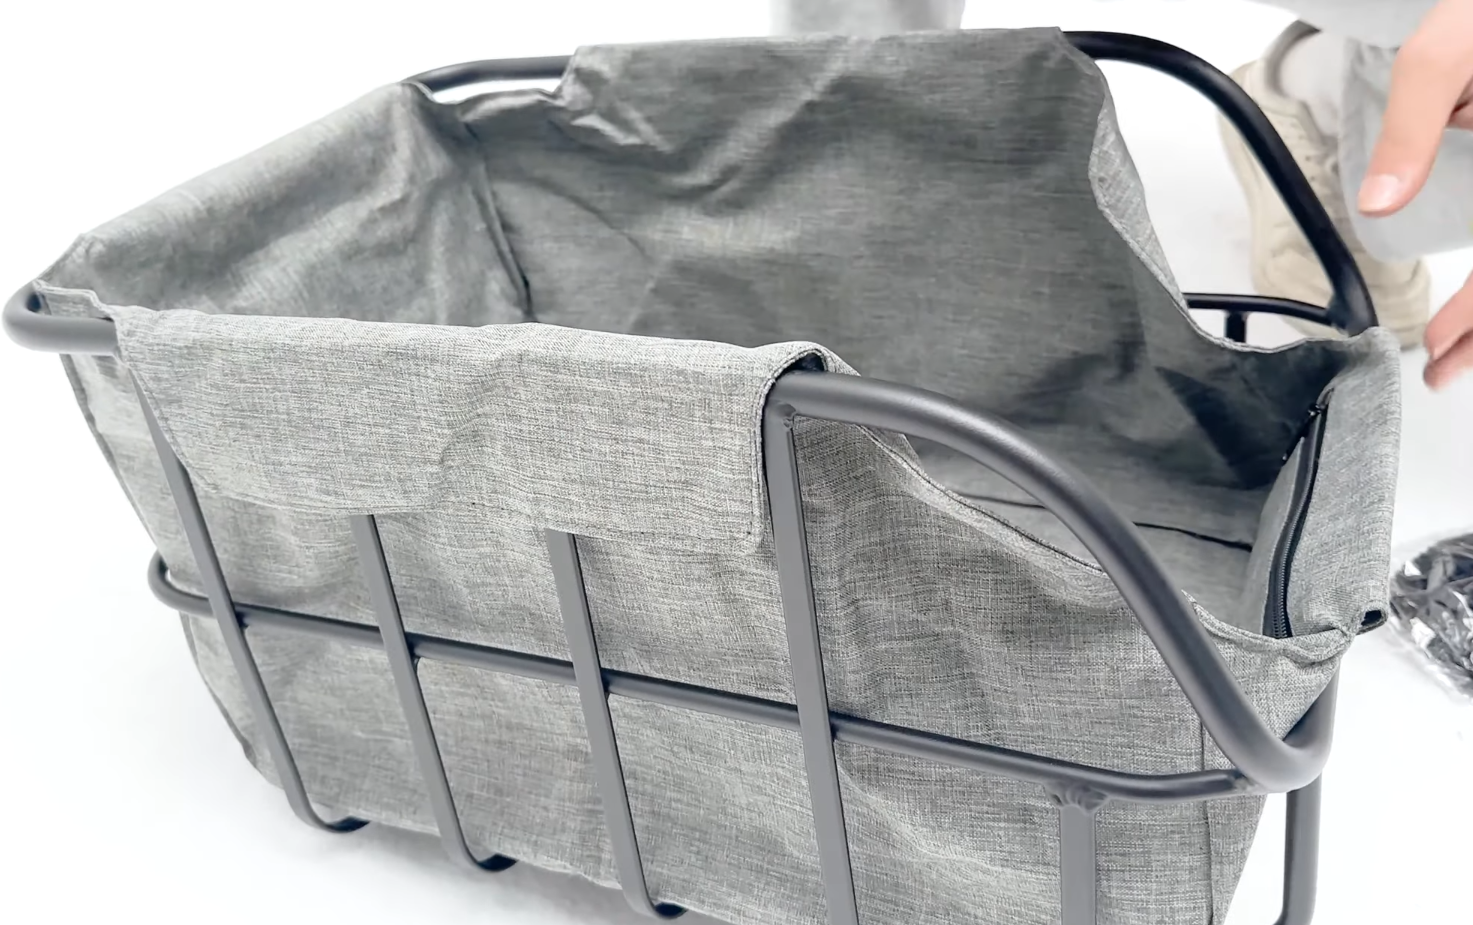
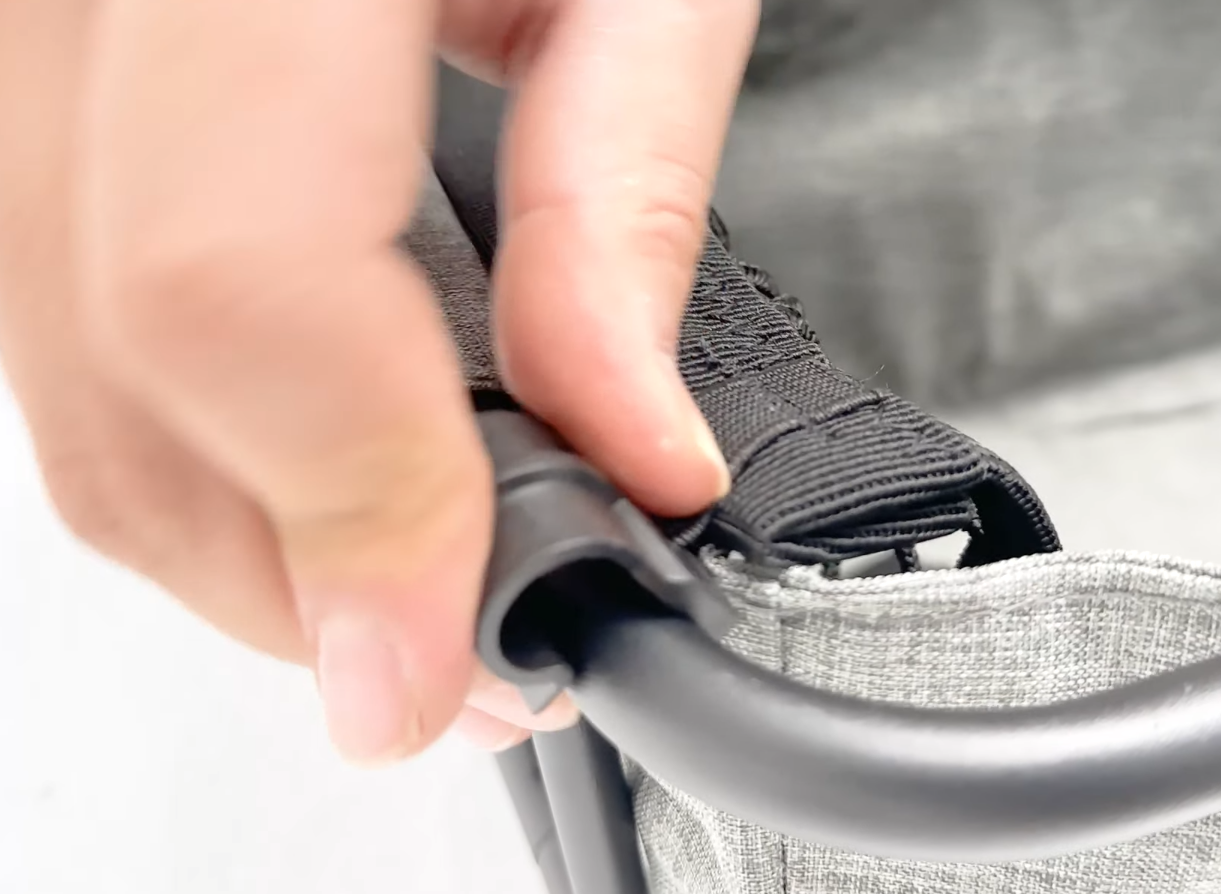
- Place the soft internal bag into the base of the basket. Unfold it and secure it using the Velcro straps, wrapping them around the top edges of the basket frame.
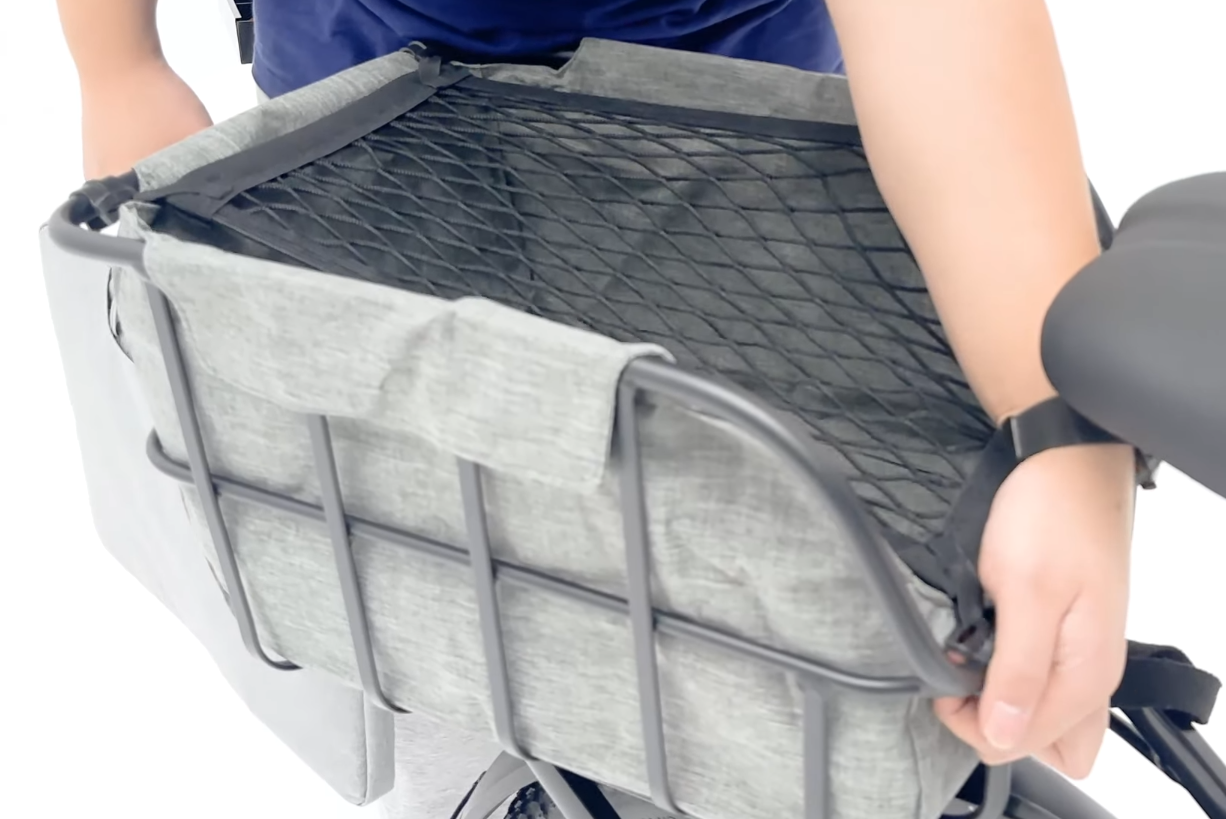
- Secure the lace cover to the top of the basket by pressing down on the clips. To access the basket, remove one clip at a time. Reattach after loading items to keep everything secure while riding.
- Align the bottom latch system with the rear rack on your bike. Press down firmly on the basket until you hear a click, indicating that the latch has locked into place. Test the attachment by lifting the bike by the basket—if correctly latched, the basket will support the bike's weight without detaching.
🎥 Video Tutorial Available
For a visual guide, watch our step-by-step video here: