MiniWave Rear Rack Saddle Assembly TutorialUpdated 5 months ago
Tools Required:
- 13mm Wrench
- Stanley Knife or Scissors
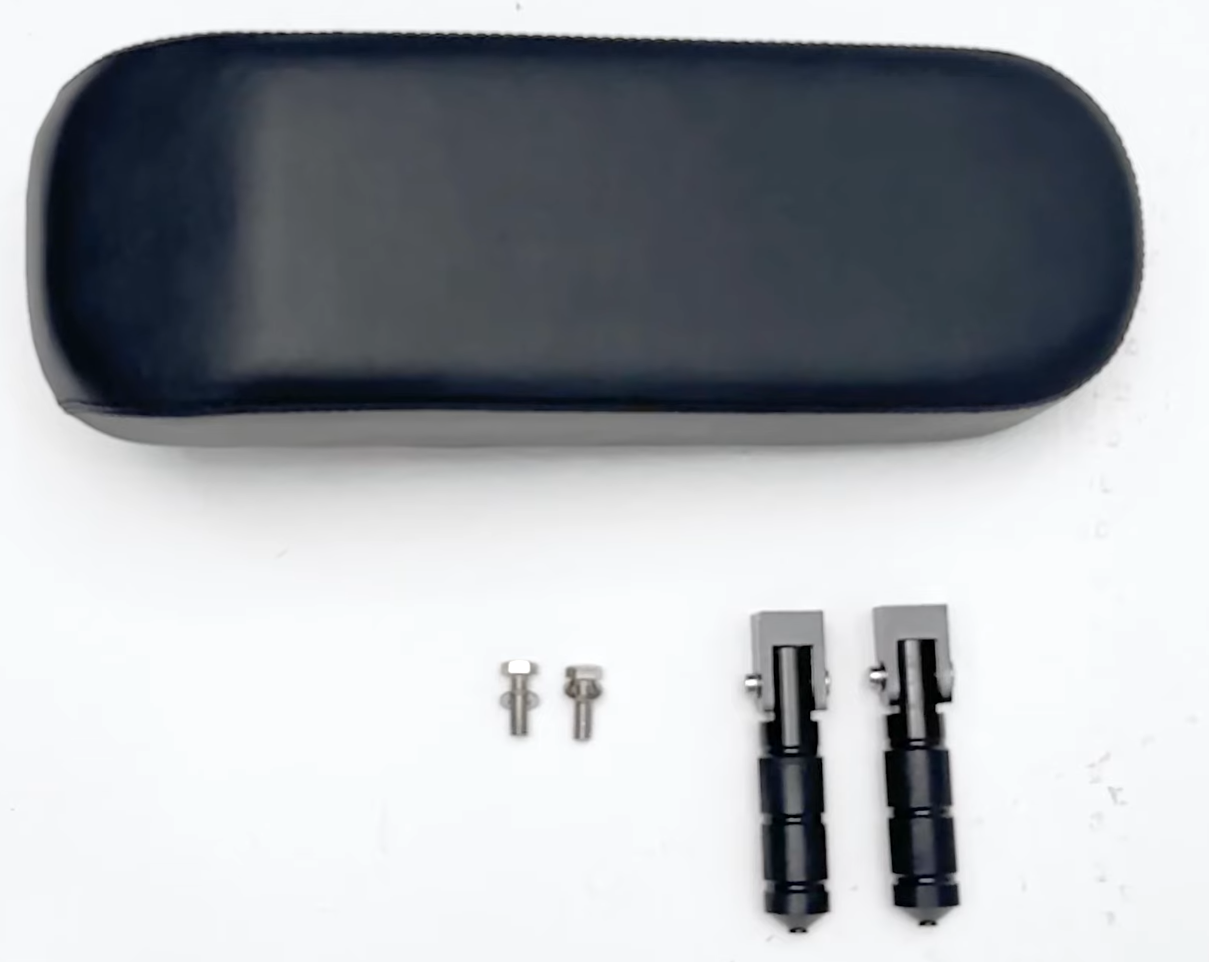
- Carefully open the box using a suitable tool, lay out all components on a flat, clean surface to ensure nothing is missing.
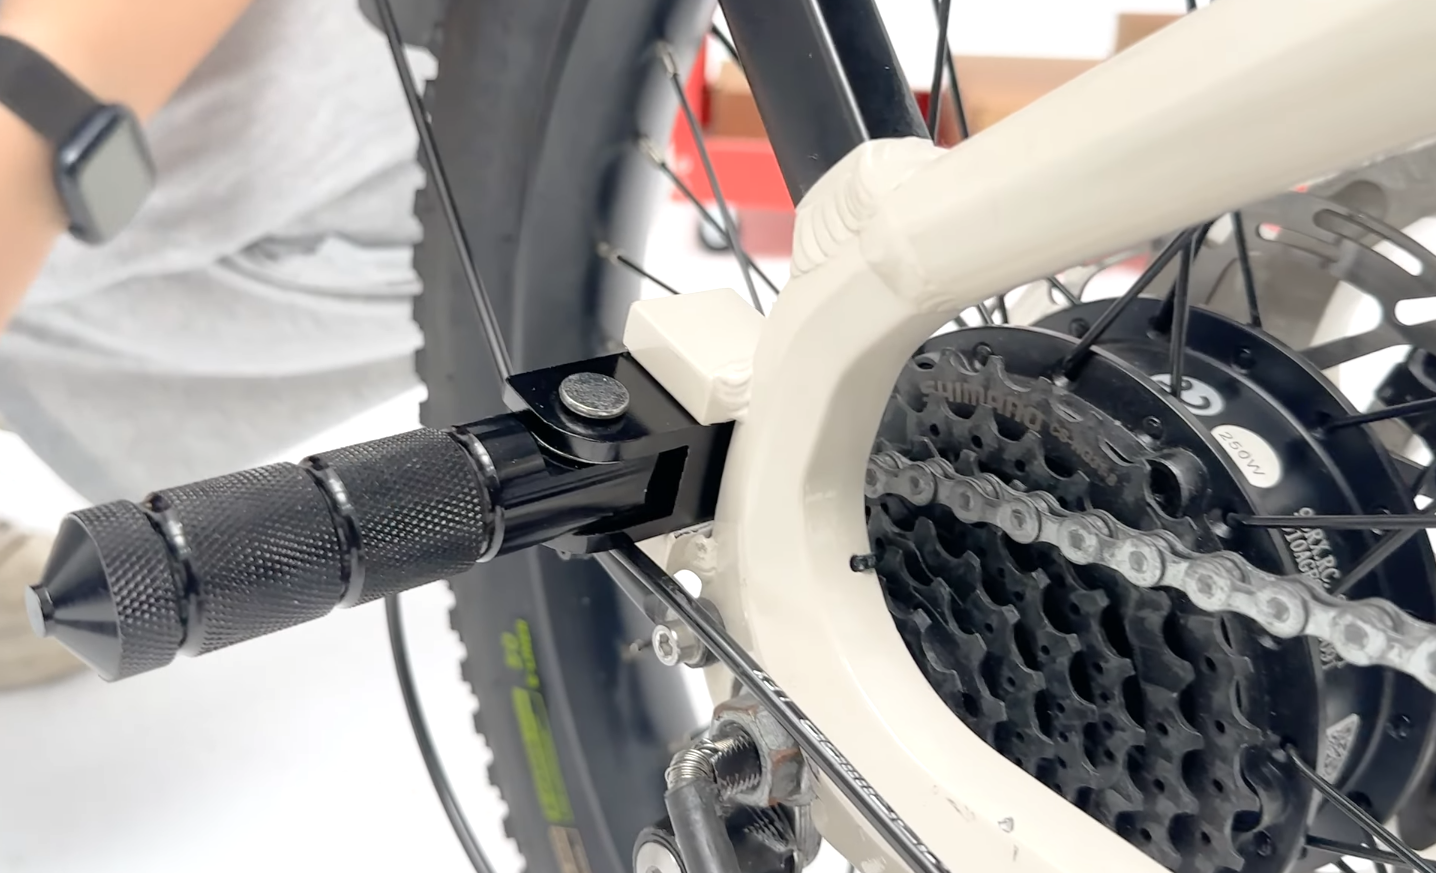
- Locate the mounting space at the rear of the frame, just above the mudguard screw points. Insert one footpeg into position, then insert the bolt through the mounting hole on the opposite side, ensuring the peg is correctly aligned with the frame. Ensure the footpegs fold forward when not in use. This orientation allows the rear passenger to apply backward pressure when riding, preventing the pegs from folding up during use.
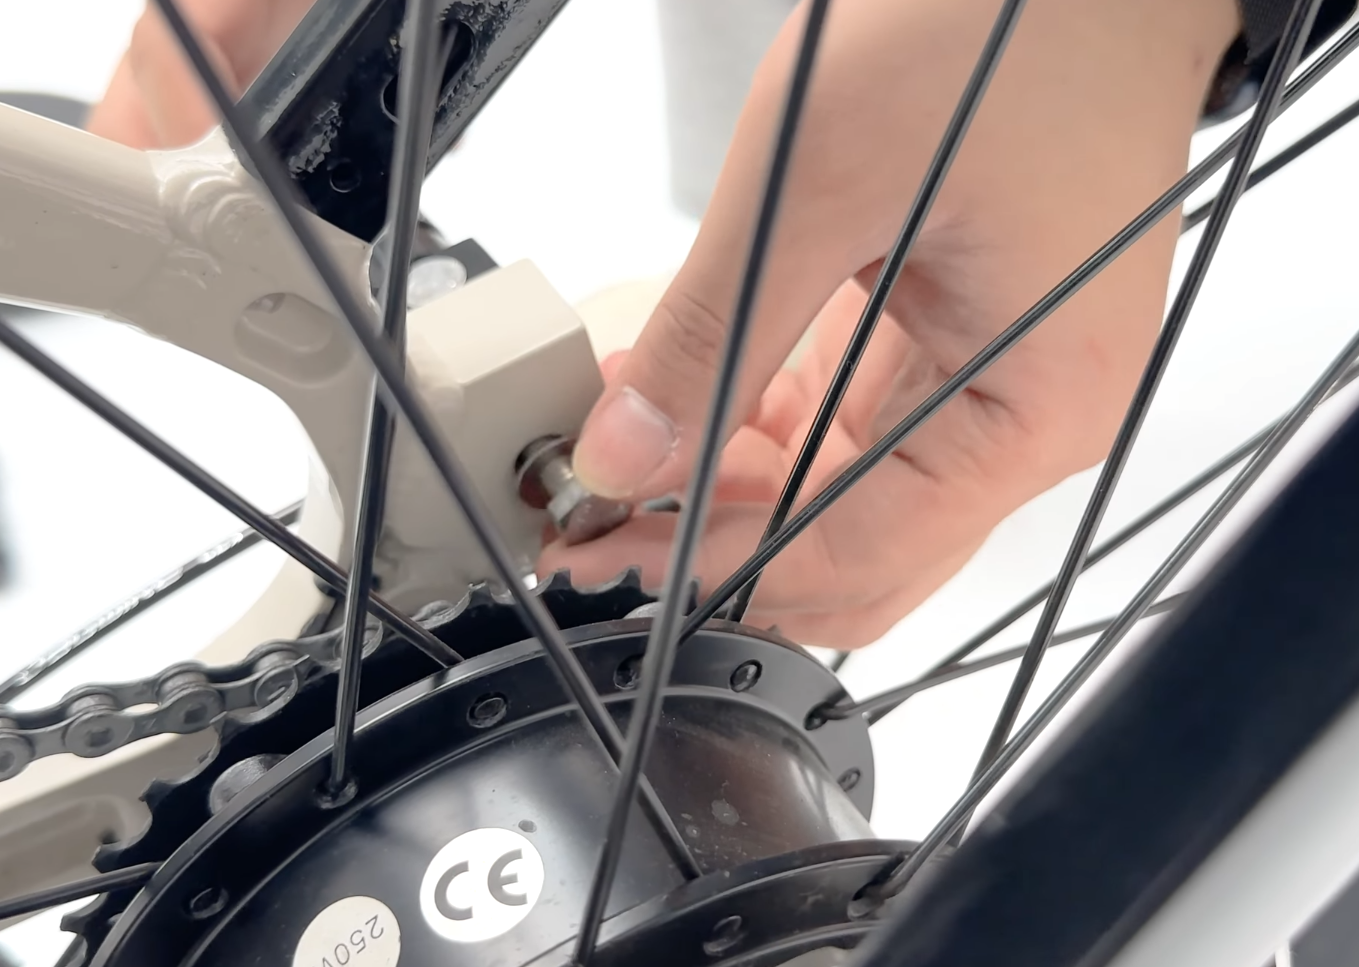
- Hand-tighten the bolt as much as possible. Use the 13mm wrench to fully tighten and secure the footpeg in place.
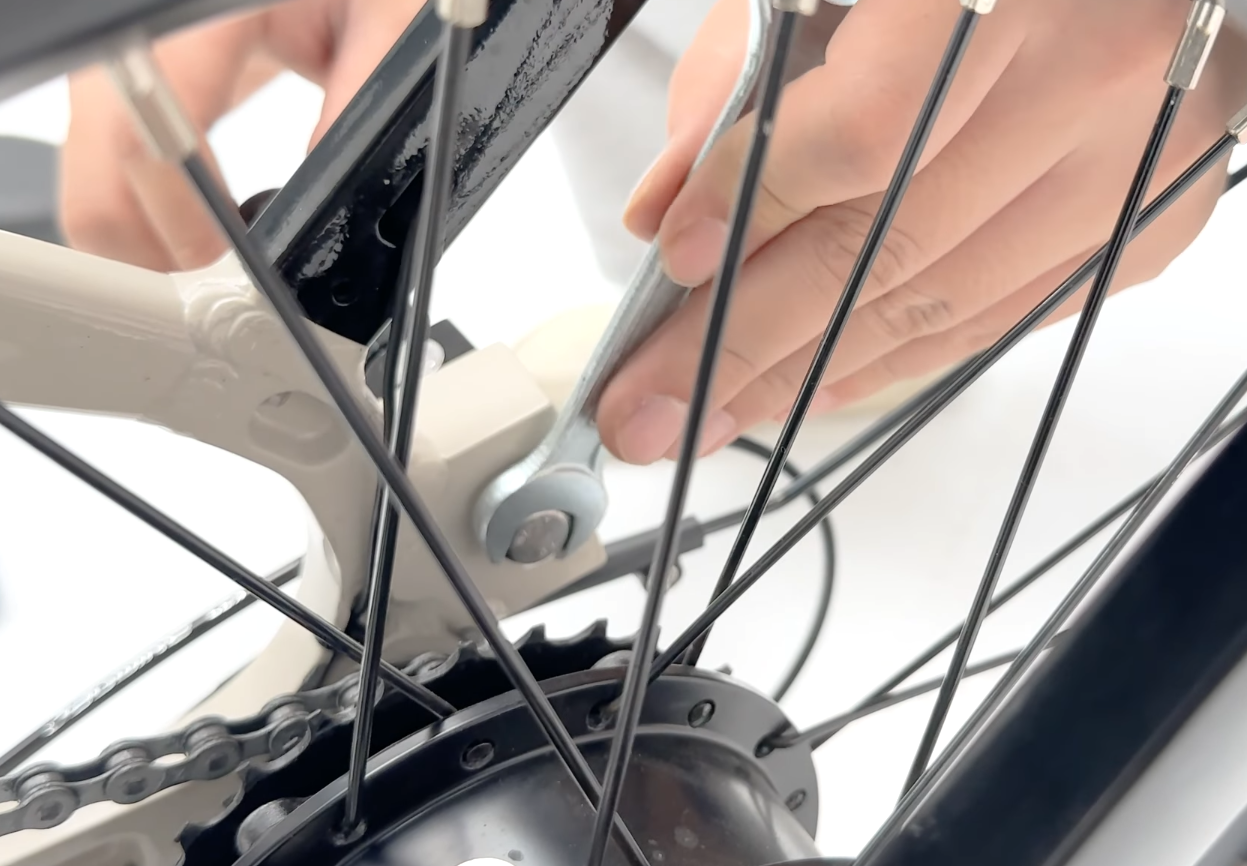
- Repeat the process on the opposite side of the bike, ensuring both footpegs are securely fastened to the frame of the bike.

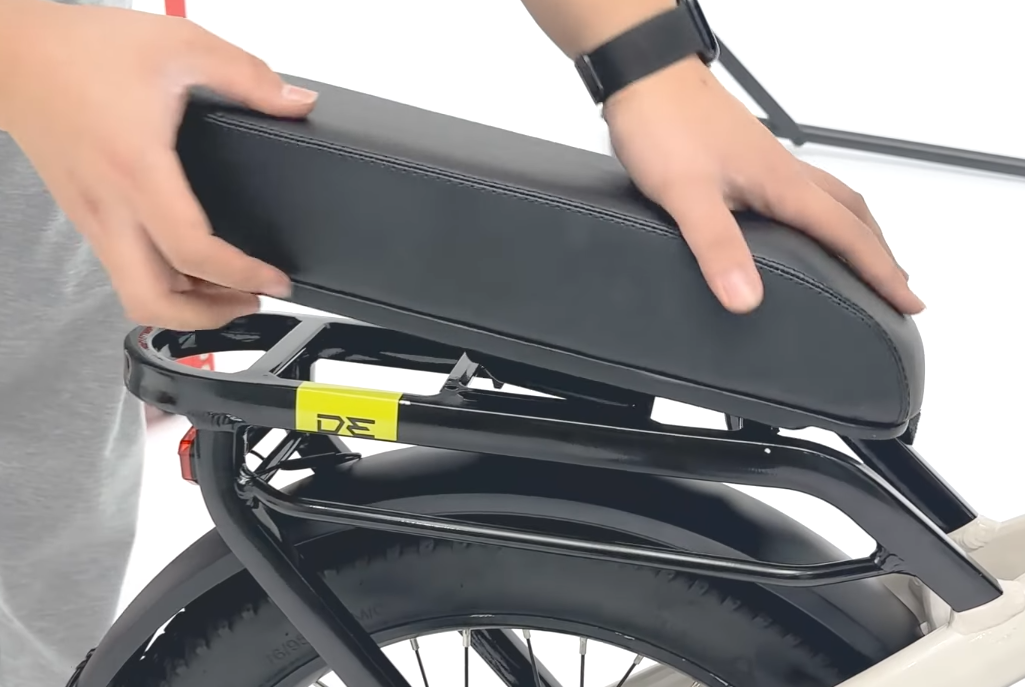
- Align the bottom latch mechanism of the saddle with the rear rack on your bike. Press down firmly on the saddle until you hear a click, indicating that the latch has securely locked into place. To confirm the saddle is properly attached, lift the bike by the saddle—if it holds the bike’s weight, it’s correctly fastened. To remove the saddle: Push the latch lever forward (towards the front of the bike) while pulling upward on the saddle to release it from the rack.
🎥 Video Tutorial Available
For a visual guide, watch our step-by-step video here: